Maintenance for the week of December 1:
• PC/Mac: No maintenance – December 1
• NA megaservers for patch maintenance – December 3, 3:00AM EST (8:00 UTC) - 12:00PM EST (17:00 UTC)
• EU megaservers for patch maintenance – December 3, 8:00 UTC (3:00AM EST) - 17:00 UTC (12:00PM EST)
• PC/Mac: No maintenance – December 1
• NA megaservers for patch maintenance – December 3, 3:00AM EST (8:00 UTC) - 12:00PM EST (17:00 UTC)
• EU megaservers for patch maintenance – December 3, 8:00 UTC (3:00AM EST) - 17:00 UTC (12:00PM EST)
Wrathstone - Veteran Frostvault - Relentless Raider tips and suggestions

code65536
✭✭✭✭✭
✭✭✭✭✭
✭✭✭✭✭
Someone recently messaged me asking for tips on the Relentless Raider achievement, and I thought I'd post my response in public so others can see.
Play it safe.
You need to get hard mode, no-death, and speed-run all in the same run. But the only real challenge is the no-death: the speed requirement is very generous. As a point of reference, our Relentless Raider run clocked in at 25 minutes. We had a comfortable 5 minutes to spare despite stopping to loot chests and even at one point pausing to clear inventory! So there's no need to rush into things recklessly. Play it safe and go with strategies that result in consistently clearing an encounter deathless, even if such a strategy may be a bit slower.
Icestalker
In going for this achievement, as soon as someone dies, we would wipe and reset the dungeon. And we initially had a high number of resets on Icestalker, which is surprising since it's the first boss. The problem is the ice wraiths. Their Skeletal Smash will CC a player, and since the player doesn't gain CC immunity afterwards, it's possible, if you get unlucky, to get chain-CCed and not be able to do anything for several seconds. And if our healer got chain-CCed, they often ended up dying. There is a strong element of luck here, but just throwing up our hands and saying, "well, we got bad RNG, time to reset" isn't very satisfying.
Our strategy here is to have the tank cast Guard on the healer, for us to stagger and time our ultimates so that we clear out the wraiths quickly after they spawn, and for us to use an AoE CC ability (Time Stop). After these changes in strategy, we had virtually no resets on the first boss.
Vault Protector
The strategy that we used was to essentially run two tanks on this fight. Those empowered ricochet waves can hit for 25K. Taunting is of very limited use since people are stacked for the sweeps. Ranged interrupts are of limited use because you can't reliably target them if they are behind the boss, and even the regular ricochet waves are pretty spicy. So we had our healer run high health (any healer who has healed vAS +1 Felms or vAS +2 should have a high-health setup at their disposal) and cast Guard on one of the DDs and the tank will cast Guard on the other DD. We almost never had any resets on the Vault Protector.
Stonekeeper: Arquebuses
There's a lot that spawn in Hard Mode, and the fastest and most reliable way to dispose of them is to knock them off the platform. Sure, you can kill them via traditional means too, but that just takes too long.
Not all knockback skills have the same knockback range, though. If you have a Templar in your group, they need to slot Javelin, since that is hands-down the most effective skill at knocking them off. Stamina DDs can use Draining Shot, which is not quite as effective. And magicka DDs are unfortunately stuck with Flame Touch, which has the shortest knockback range and is noticeably the least effective (but better than nothing).
Our healer used Javelin, and one of our DDs slotted Flame Reach as backup.
Stonekeeper: Fire vs. Blade Arm
Fire Arm:
Blade Arm:
Which arm you want to kill first depends on what the bigger threat to your group is. Is the tank struggling to deal with the fire DoT through the defile? Kill the fire arm. Do you think Scattered Embers is a bigger problem than Whipping Bolts? Kill the fire arm. Are people dying to Whipping Bolts? Kill the blade arm first.
After trying both, we decided that we preferred killing the fire arm first. The Whipping Bolts are easily dodged, and if you don't have eyes on the blade arm because you are focused on killing the fire arm, a callout from either the tank or the Combat Alerts addon will help.
Stonekeeper: Centurions
We had the healer run high health and taunt the centurions (and dodge the heavy attacks). Most groups will have the tank taunt the centurion, but, again, we are focused on minimizing risk, and with this fight being particularly taxing on the tank, we concluded that it would be safer to have someone else taunt them. As an added benefit, the centurion can be stacked on an arm that we are killing, whereas the tank is not able to do that.
This is a bit of an unorthodox approach and it might not work well for many groups. But it is an option to consider if tank deaths are an issue.
Stonekeeper: Skeevatons
 https://youtu.be/gOQiwBs8Cug
Our strategy is to travel as a single group to disable the first two Shock Conveyors. After clearing the first conveyor, we will make a judgement call: if the first conveyor was close to the starting location, we will return and follow the lighted path to the second conveyor. This is demonstrated in the first Skeevaton phase in the video.
If the first conveyor is far from the starting location, then we still start moving to another part of the map, looking to find a lighted path to guide us to the next conveyor. This is demonstrated in the second Skeevaton phase in the video.
After two conveyors are disabled, we will return to the starting location and split into two groups to disable the final two conveyors. Since there is no need to backtrack and return after disabling the final two conveyors, we can safely split up for these final runs.
Edited by code65536 on March 17, 2019 10:15PM 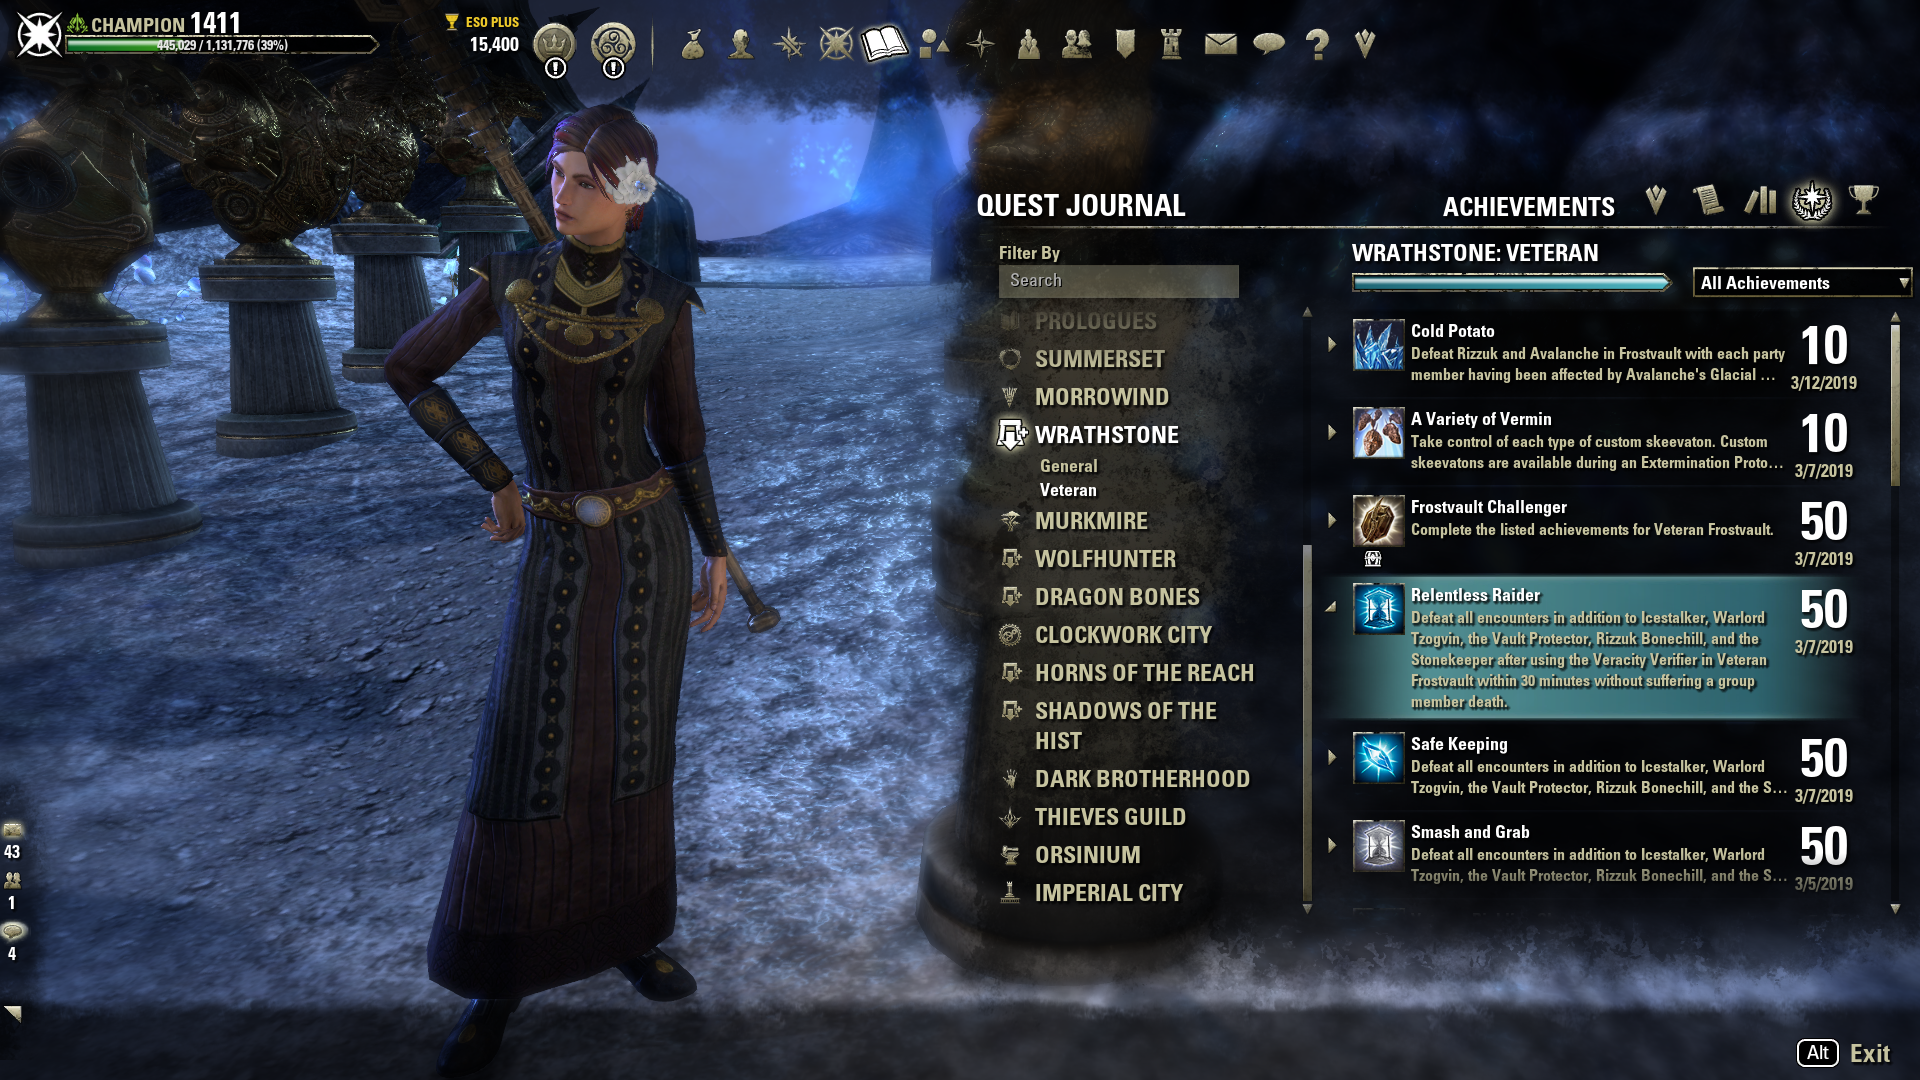
Play it safe.
You need to get hard mode, no-death, and speed-run all in the same run. But the only real challenge is the no-death: the speed requirement is very generous. As a point of reference, our Relentless Raider run clocked in at 25 minutes. We had a comfortable 5 minutes to spare despite stopping to loot chests and even at one point pausing to clear inventory! So there's no need to rush into things recklessly. Play it safe and go with strategies that result in consistently clearing an encounter deathless, even if such a strategy may be a bit slower.
Icestalker
In going for this achievement, as soon as someone dies, we would wipe and reset the dungeon. And we initially had a high number of resets on Icestalker, which is surprising since it's the first boss. The problem is the ice wraiths. Their Skeletal Smash will CC a player, and since the player doesn't gain CC immunity afterwards, it's possible, if you get unlucky, to get chain-CCed and not be able to do anything for several seconds. And if our healer got chain-CCed, they often ended up dying. There is a strong element of luck here, but just throwing up our hands and saying, "well, we got bad RNG, time to reset" isn't very satisfying.
Our strategy here is to have the tank cast Guard on the healer, for us to stagger and time our ultimates so that we clear out the wraiths quickly after they spawn, and for us to use an AoE CC ability (Time Stop). After these changes in strategy, we had virtually no resets on the first boss.
Vault Protector
The strategy that we used was to essentially run two tanks on this fight. Those empowered ricochet waves can hit for 25K. Taunting is of very limited use since people are stacked for the sweeps. Ranged interrupts are of limited use because you can't reliably target them if they are behind the boss, and even the regular ricochet waves are pretty spicy. So we had our healer run high health (any healer who has healed vAS +1 Felms or vAS +2 should have a high-health setup at their disposal) and cast Guard on one of the DDs and the tank will cast Guard on the other DD. We almost never had any resets on the Vault Protector.
Stonekeeper: Arquebuses
There's a lot that spawn in Hard Mode, and the fastest and most reliable way to dispose of them is to knock them off the platform. Sure, you can kill them via traditional means too, but that just takes too long.
Not all knockback skills have the same knockback range, though. If you have a Templar in your group, they need to slot Javelin, since that is hands-down the most effective skill at knocking them off. Stamina DDs can use Draining Shot, which is not quite as effective. And magicka DDs are unfortunately stuck with Flame Touch, which has the shortest knockback range and is noticeably the least effective (but better than nothing).
Our healer used Javelin, and one of our DDs slotted Flame Reach as backup.
Stonekeeper: Fire vs. Blade Arm
Fire Arm:
- The DoT from the fire arm is more of a threat to the tank than the damage from the blade arm.
- During the second phase of the fight, the longer the fire arm is alive, the more risk you run of a whirring blade getting ignited and spraying the group with Scattered Embers. Yes, blade ignition is largely a matter of luck, but killing the fire arm first does somewhat mitigate that during the arm phase of the fight (of course, after the arms are destroyed, ignition can once again happen by way of the Disintegration Protocol mechanic)
Blade Arm:
- The spray of damage from Whipping Bolts is a threat to the healer and DDs. It is particularly dangerous when players can't see the blade arm animation (i.e., if they are focused on killing the fire arm and don't have eyes on the blade arm).
Which arm you want to kill first depends on what the bigger threat to your group is. Is the tank struggling to deal with the fire DoT through the defile? Kill the fire arm. Do you think Scattered Embers is a bigger problem than Whipping Bolts? Kill the fire arm. Are people dying to Whipping Bolts? Kill the blade arm first.
After trying both, we decided that we preferred killing the fire arm first. The Whipping Bolts are easily dodged, and if you don't have eyes on the blade arm because you are focused on killing the fire arm, a callout from either the tank or the Combat Alerts addon will help.
Stonekeeper: Centurions
We had the healer run high health and taunt the centurions (and dodge the heavy attacks). Most groups will have the tank taunt the centurion, but, again, we are focused on minimizing risk, and with this fight being particularly taxing on the tank, we concluded that it would be safer to have someone else taunt them. As an added benefit, the centurion can be stacked on an arm that we are killing, whereas the tank is not able to do that.
This is a bit of an unorthodox approach and it might not work well for many groups. But it is an option to consider if tank deaths are an issue.
Stonekeeper: Skeevatons
https://youtu.be/gOQiwBs8CugOur strategy is to travel as a single group to disable the first two Shock Conveyors. After clearing the first conveyor, we will make a judgement call: if the first conveyor was close to the starting location, we will return and follow the lighted path to the second conveyor. This is demonstrated in the first Skeevaton phase in the video.
If the first conveyor is far from the starting location, then we still start moving to another part of the map, looking to find a lighted path to guide us to the next conveyor. This is demonstrated in the second Skeevaton phase in the video.
After two conveyors are disabled, we will return to the starting location and split into two groups to disable the final two conveyors. Since there is no need to backtrack and return after disabling the final two conveyors, we can safely split up for these final runs.
Nightfighters ― PC/NA and PC/EU
Dungeons and Trials:
Personal best scores:
Dungeon trifectas:
- Dragonstar Arena: 46817 (NA)
- Maelstrom Arena: 600526 (NA)
- Blackrose Prison: 99274 (EU) (Unchained)
- Maw of Lorkhaj: 165227 (EU)
- Halls of Fabrication: 220708 (NA) (Tick-Tock Tormentor #1, #2, #3, #4, #5, #6, #7, #8, #9, #10, #11, #12)
- Asylum Sanctorium: 114957 (NA) (Immortal Redeemer #1, #2, #3, #4, #5, #6, #7, #8, #9, #10)
- Cloudrest: 131256 (NA) (Gryphon Heart #1, #2, #3, #4, #5, #6, #7)
- Sunspire: 250866 (EU) (Godslayer #1, #2, #3, #4, #5, #6, #7)
- Kyne's Aegis: 235841 (EU) (Dawnbringer #1, #2, #3, #4, #5, #6, #7, #8)
Dungeon trifectas:
- Mountain God and Leave No Bone Unbroken
- Apex Predator and Pure Lunacy
- Depths Defier and Relentless Raider
- Defanged the Devourer and Nature's Wrath
- In Defiance of Death and No Rest for the Wicked
- Bane of Thorns and True Genius
- Ardent Bibliophile and Subterranean Smasher
- Battlespire's Best and Bastion Breaker
- Zero Regrets and Land, Air, and Sea Supremacy
- Fist of Tava and Invader's Bane
- Curator's Champion (Valinna) and Temporal Tempest
- Unshakeable Fervor and Lighting the Embers
Extended Journal Add-Ons: Item Set Browser ― Loot Log ― Character Knowledge ― Collectibles Tracker ― Raidificator
PC/Console Add-Ons: Combat Alerts ― Group Buff Panels
Other Add-Ons: Deconstruction Junk Marker ― Purge Tracker ― Asylum Status Panel ― Smart Looter ― Improved Companion Rapport Information
0