Harrowstorms - An Overview

[INTRODUCTION]
With the recent fix(on July 12/13th), mechanics of the Harrowstorm group event in Western Skyrim and the Reach becomes a little more important. Do note that the following information is based on my observations in-game, after which some of the information is cross-checked with other sites. It may differ, but I have tested and researched a lot to reach the following results.
Just a side note, I'm the author of this guide so if it looks near identical, I did not plagiarize from here: https://steamcommunity.com/sharedfiles/filedetails/?id=2170035078 (if it cannot be accessed, it might have been recently edited).
The pictures are a little low resolution, as unfortunately my setup cannot run at higher resolutions.
[HARROWSTORM FLOW]
There will always be a Harrowstorm active at a given point in time; once one goes down, another Harrowstorm will go active after a brief moment. The order of the Harrowstorms are random, and now the active Harrowstorm is denoted by a marker that can be seen on the map, similar to the Dragons of Elsweyr.
The 3 Witch Pikes are your main target. Taking them down causes the Harrowstorm to enter the next phase, which summons one of 3 final bosses (very rarely, this last boss doesn't spawn in, and it skips this phase). Taking down this final boss will end the Harrowstorm, and you will be able to loot the rewards from the ash pile in the centre where the reliquary was. Do note that the lightning might damage you if you get struck, and temporarily put you into combat, making you unable to interact with the ash pile.
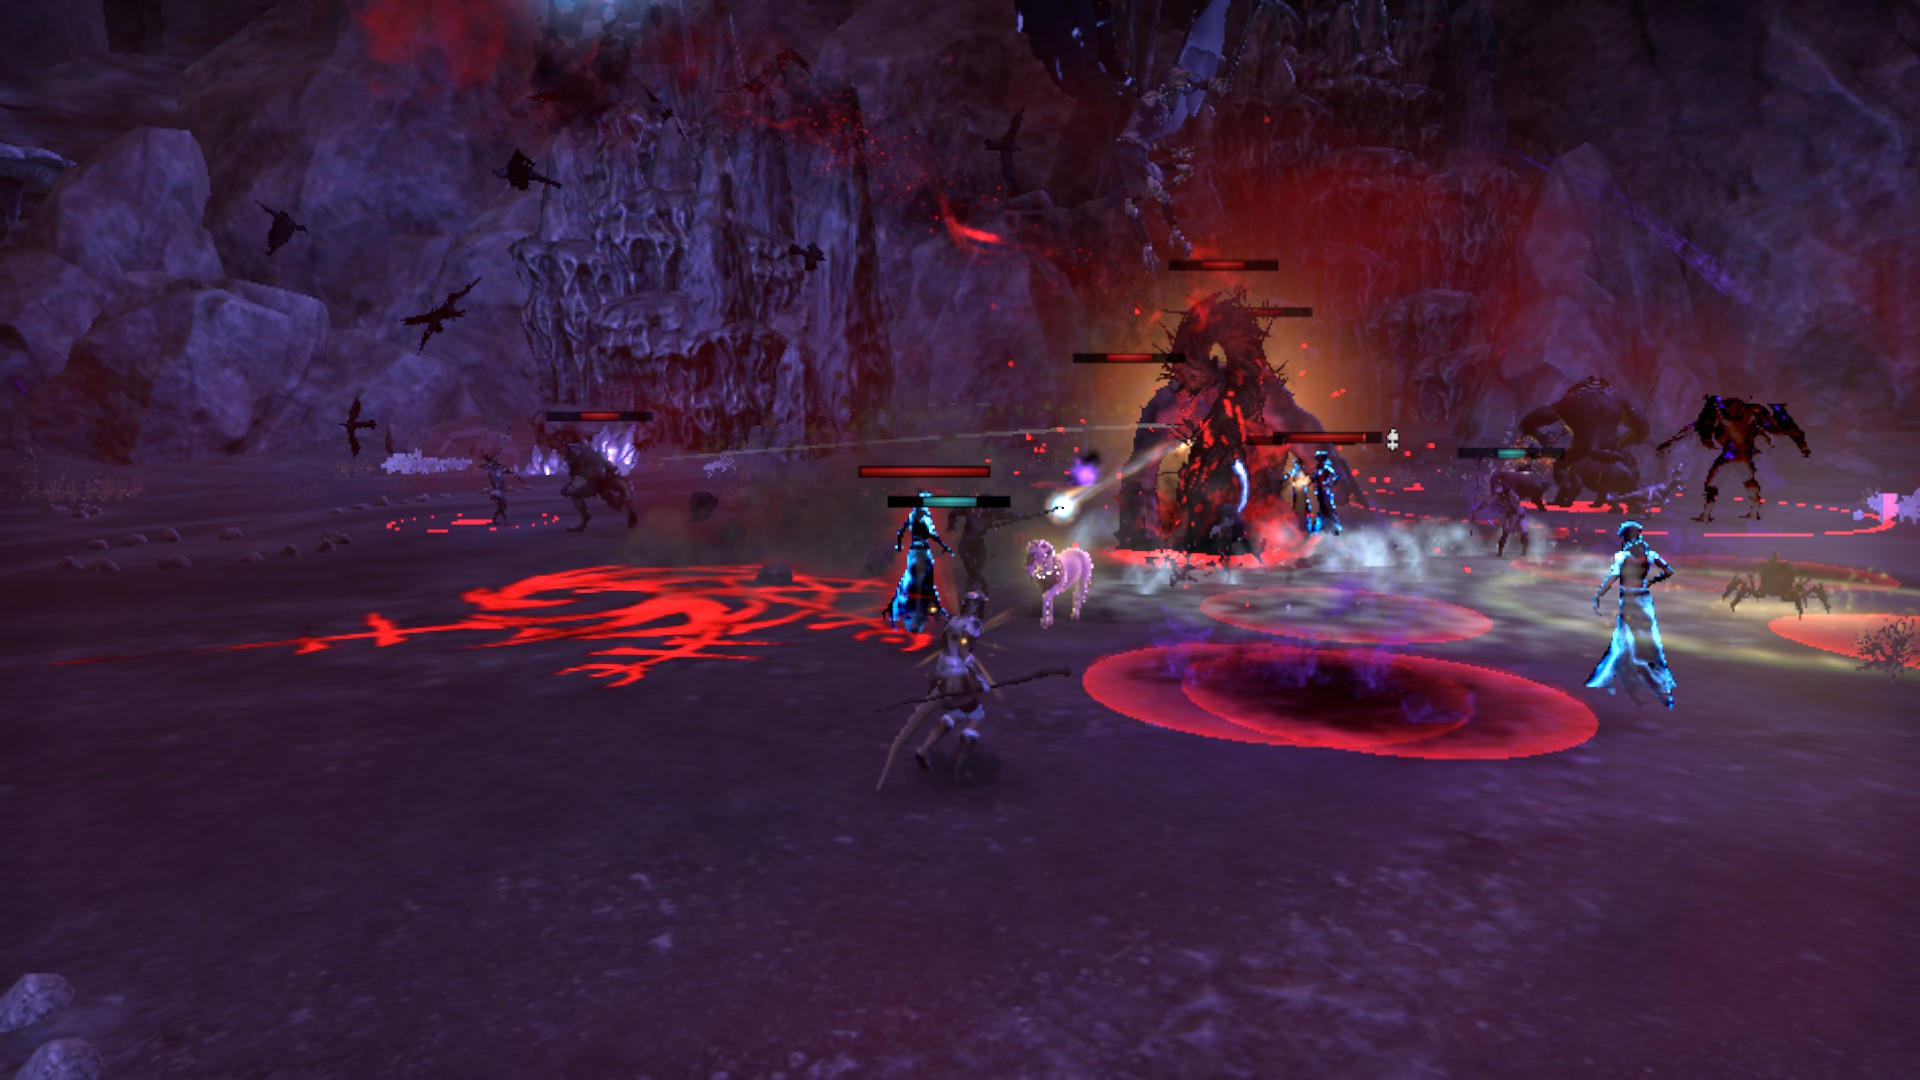
There are persistent adds that spawn in, one of which are called Lost Souls, which look like blue ghosts that will keep spawning in and moving towards the Pikes. Each Soul reaching the Pike will heal it, and Pikes will get charged with each Soul. Upon reaching 3 charges, the Pike will release a ball of energy to the central Reliquary. 3 of these instances will cause a Champion/Elite to spawn in. There can be up to 5 Champions active at a given time, before the Reliquary will start to summon more via the same process. You can see the charge status of the Pikes by the glow, and the same goes for the incoming Champion that will be coming in. Hence, stopping these Souls will make it easier for you to tackle a Harrowstorm without fear of the Champions (unless you need that particular achievement or just want the challenge).
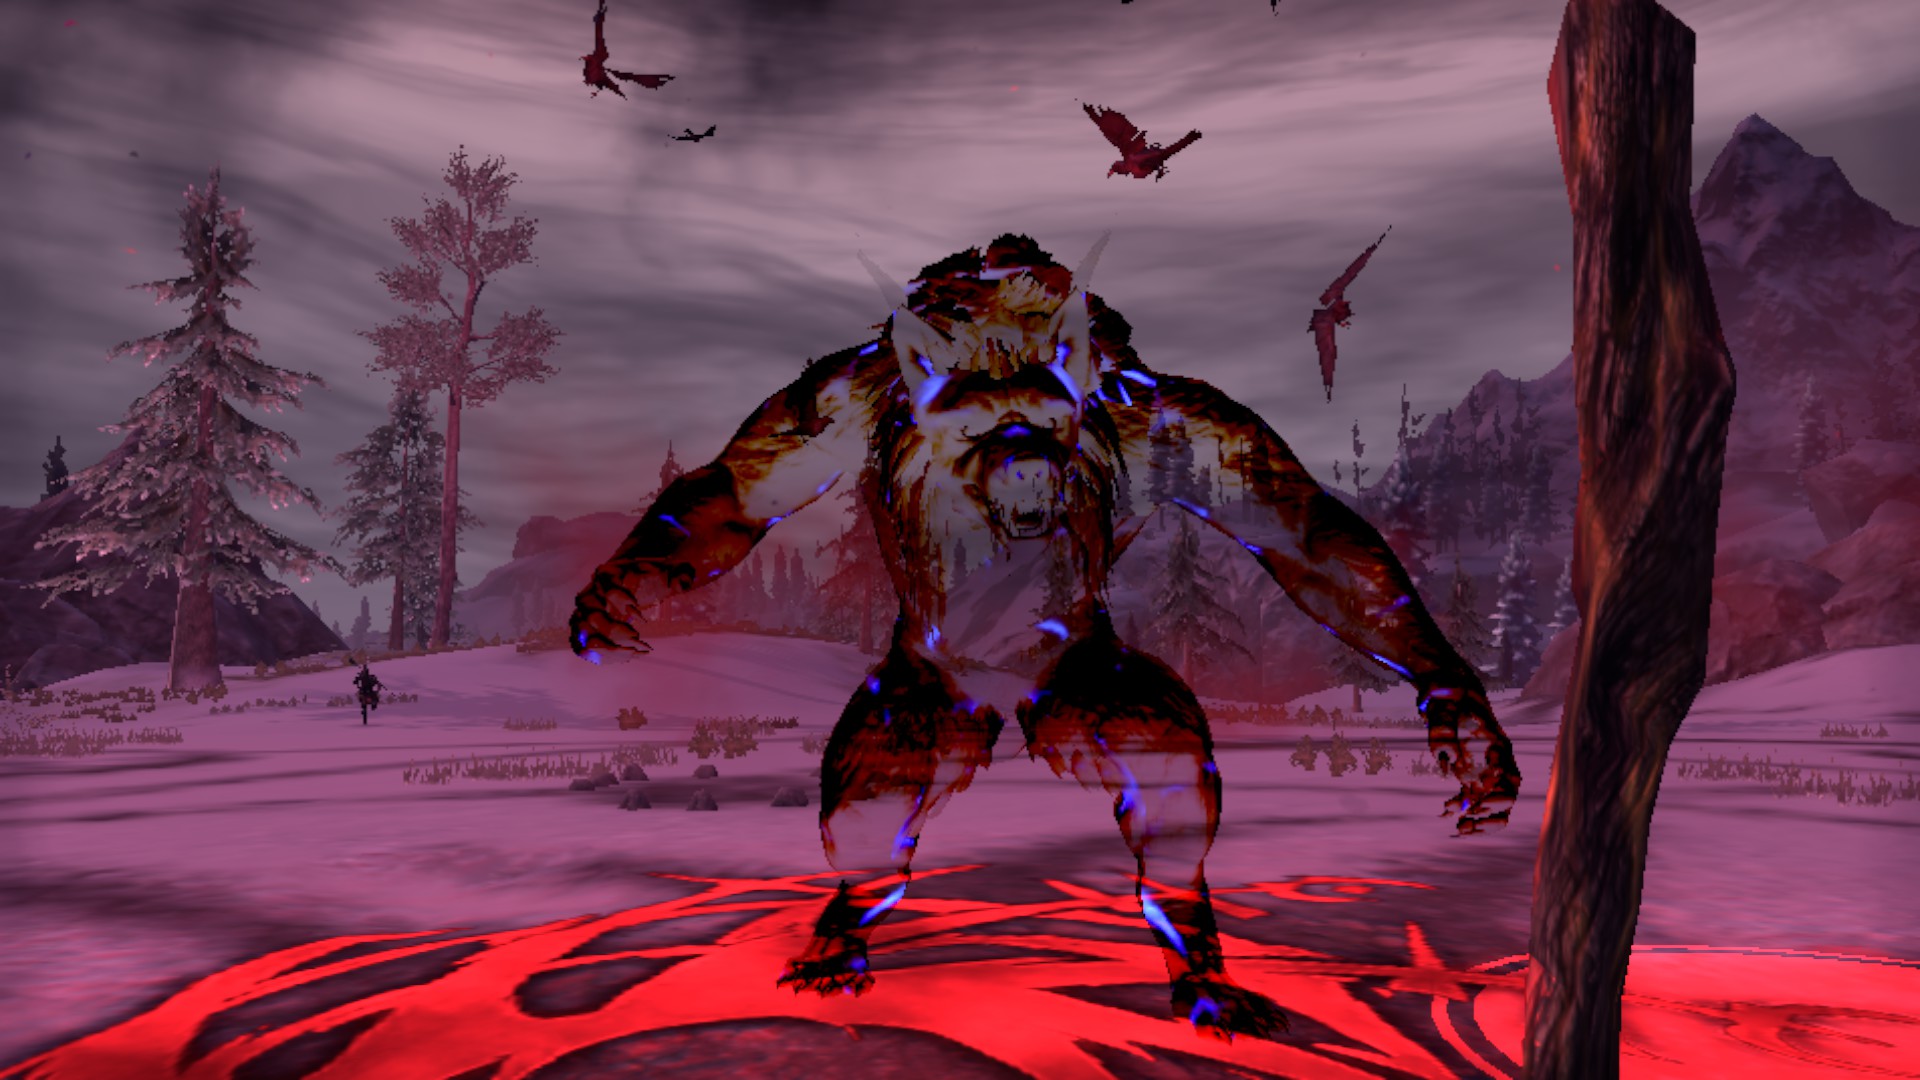
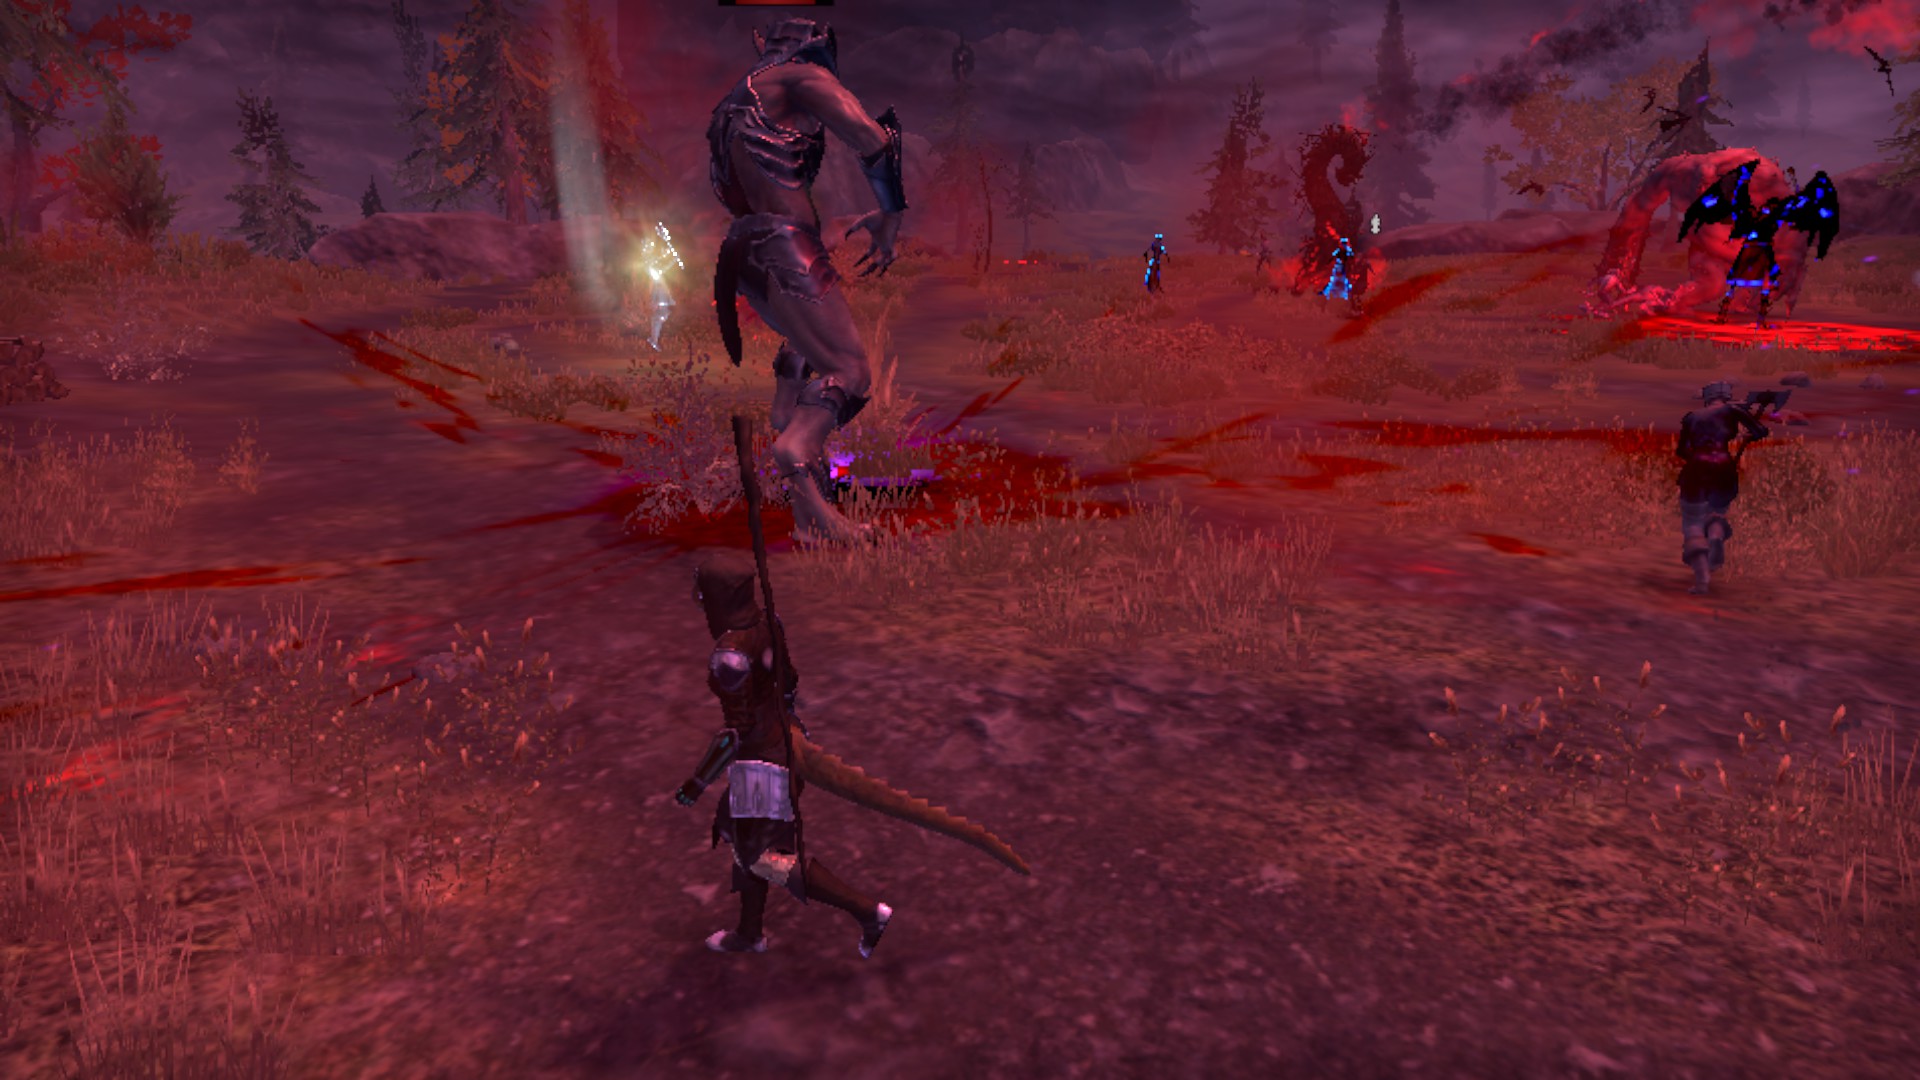
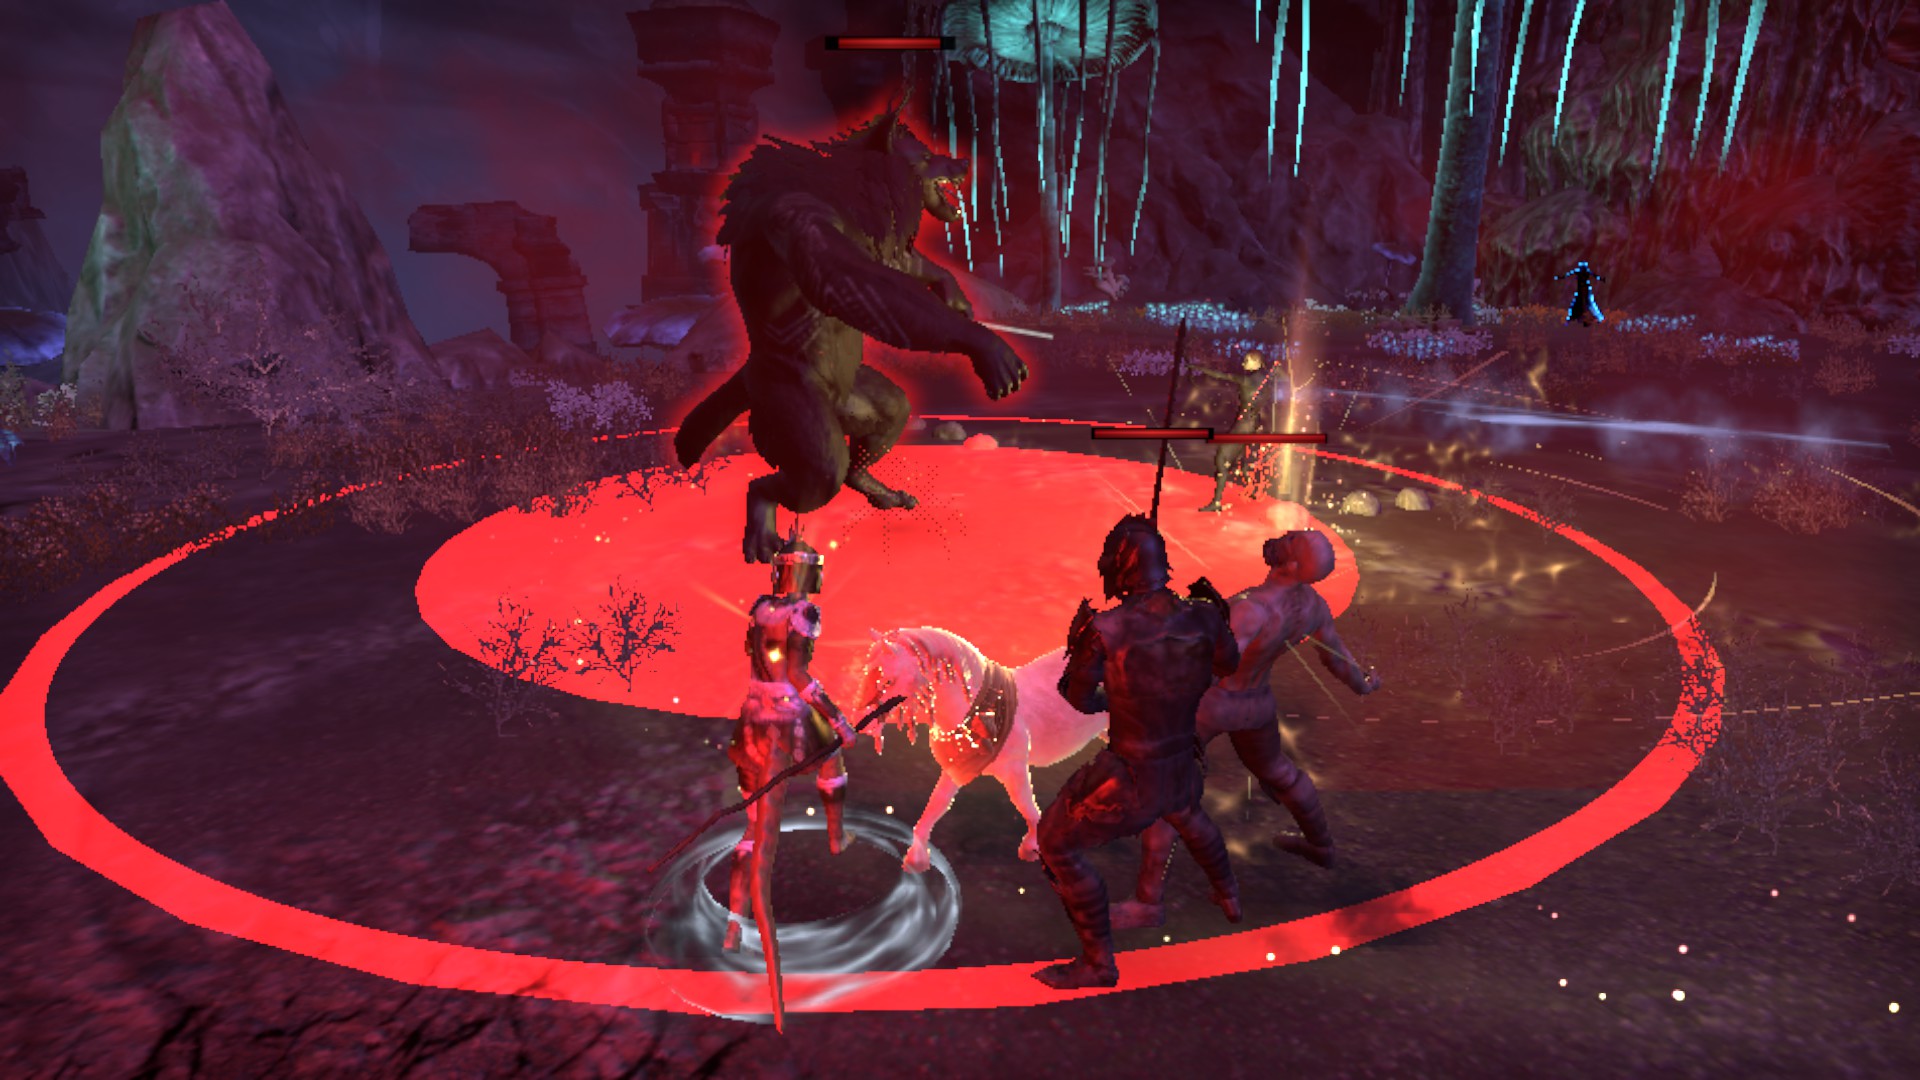
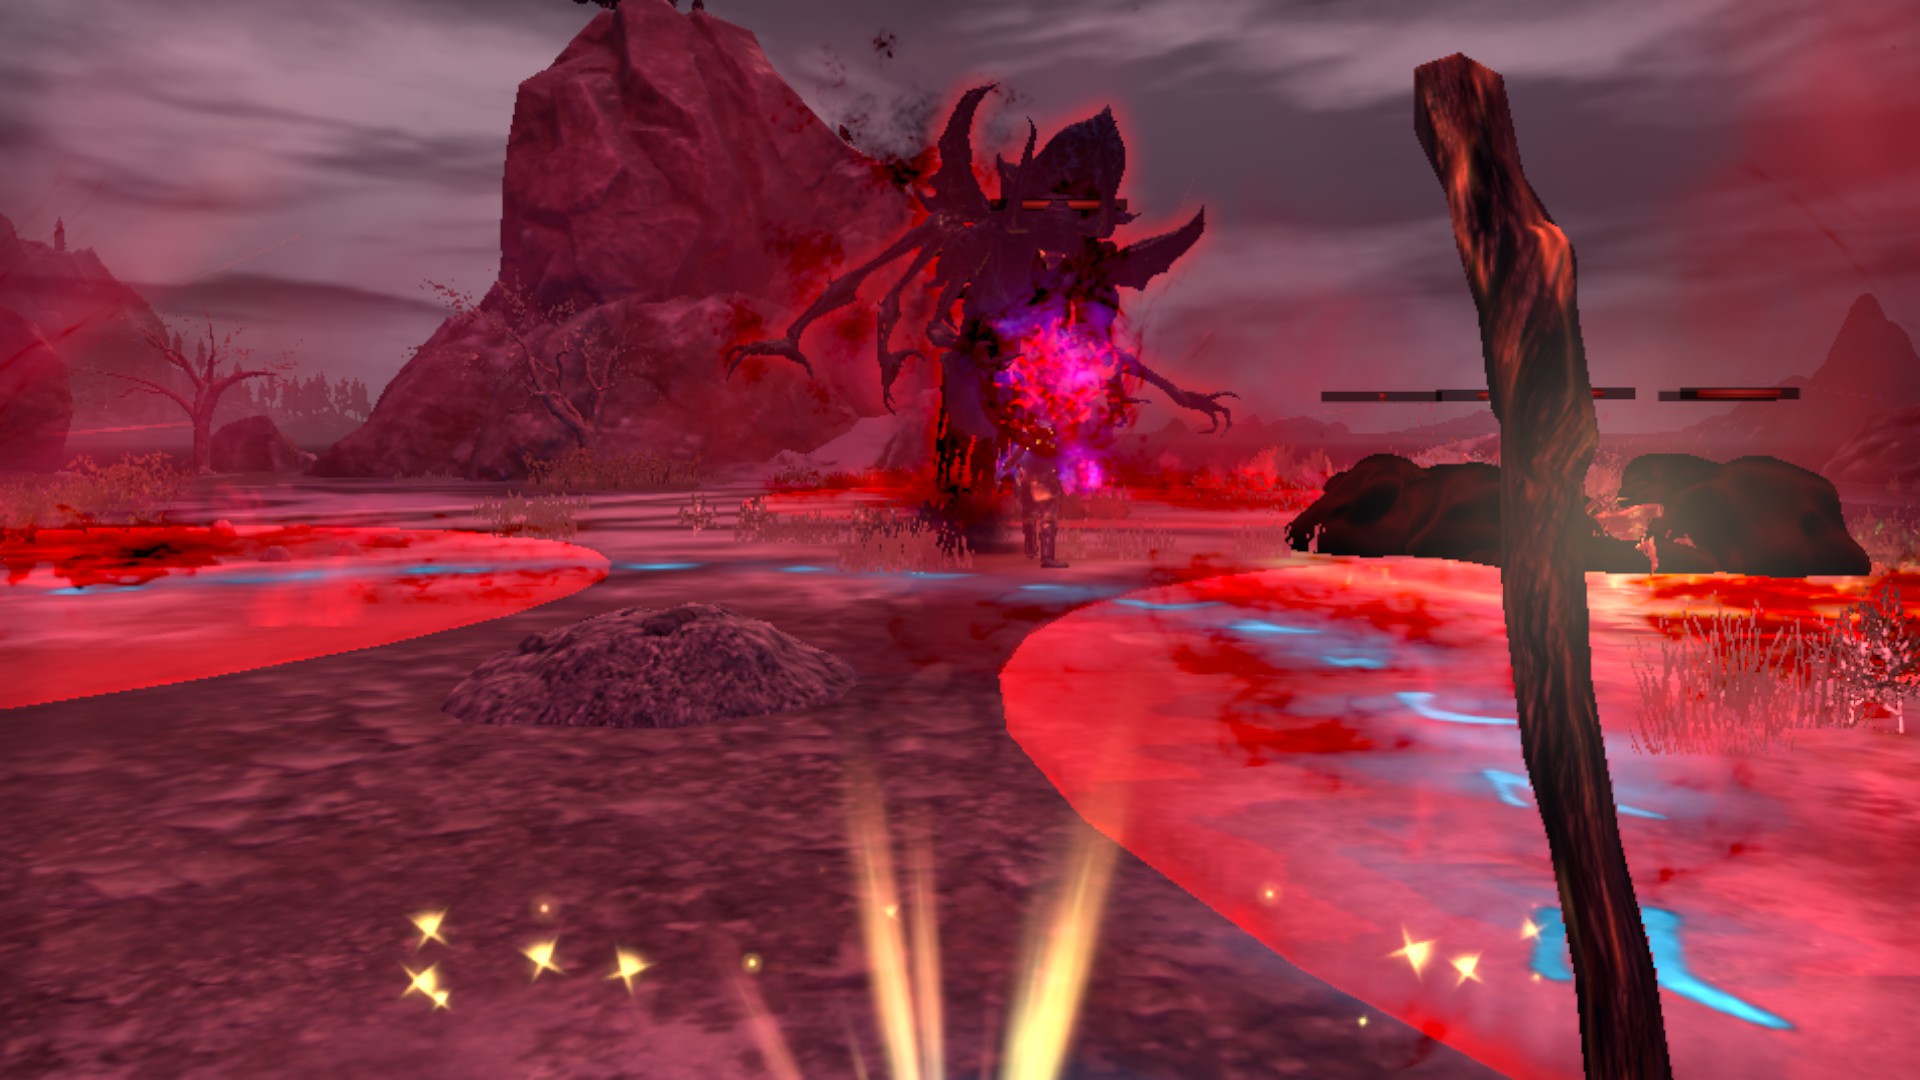
Champion with 1 charge. It is very translucent (see-through) and the flowing energy is not very quick.
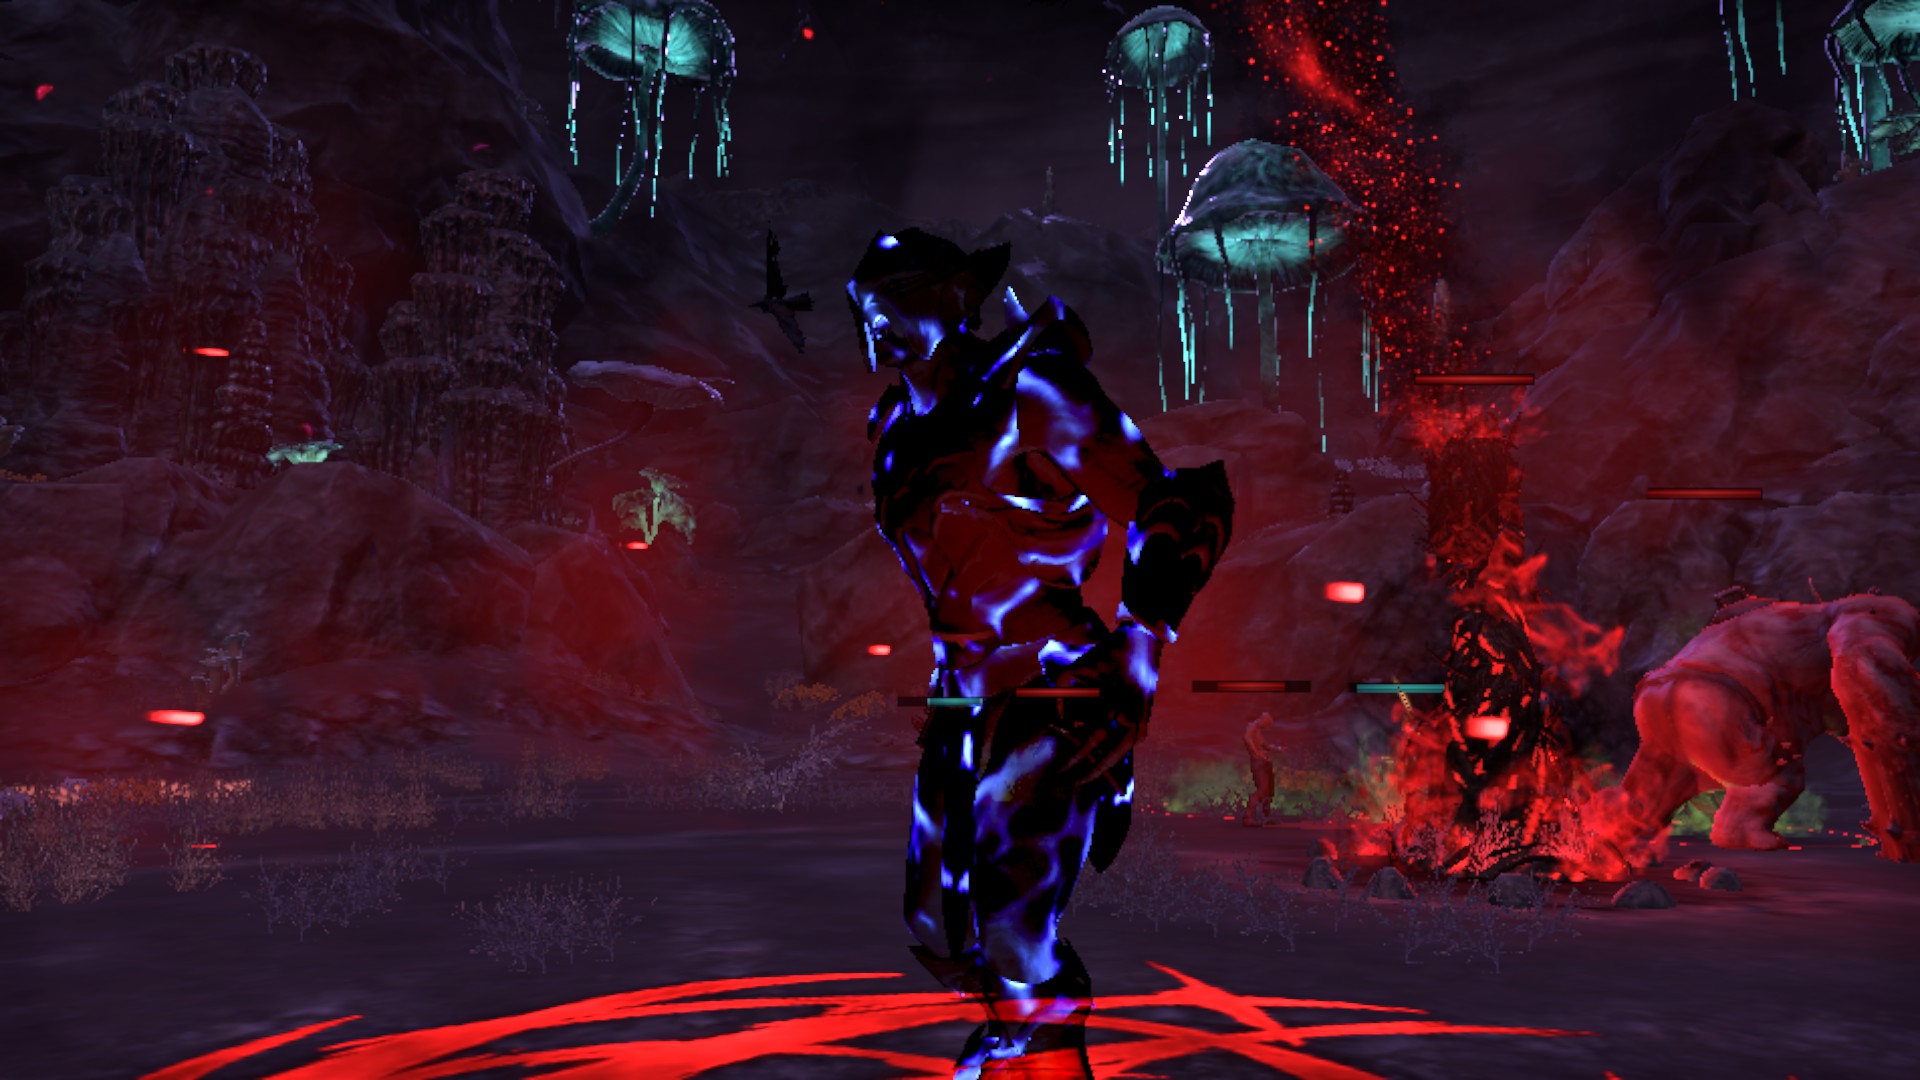
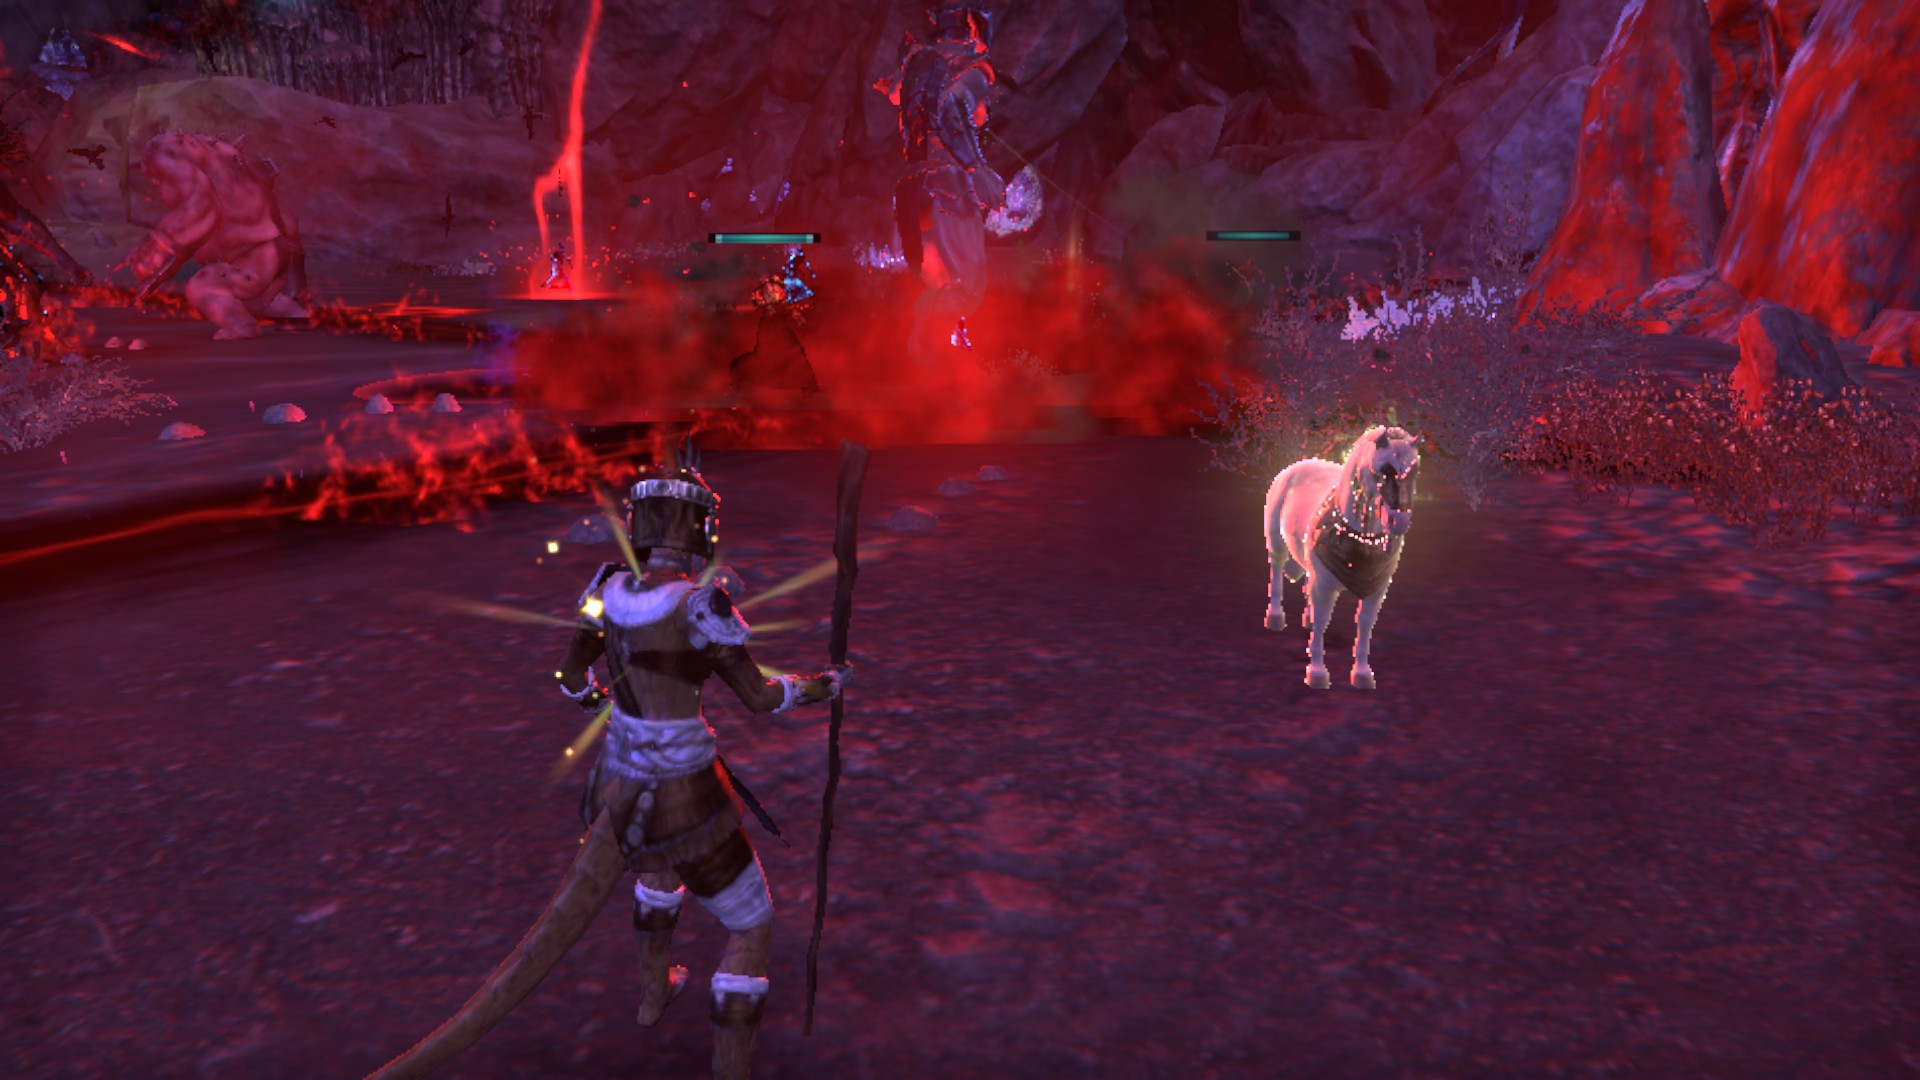
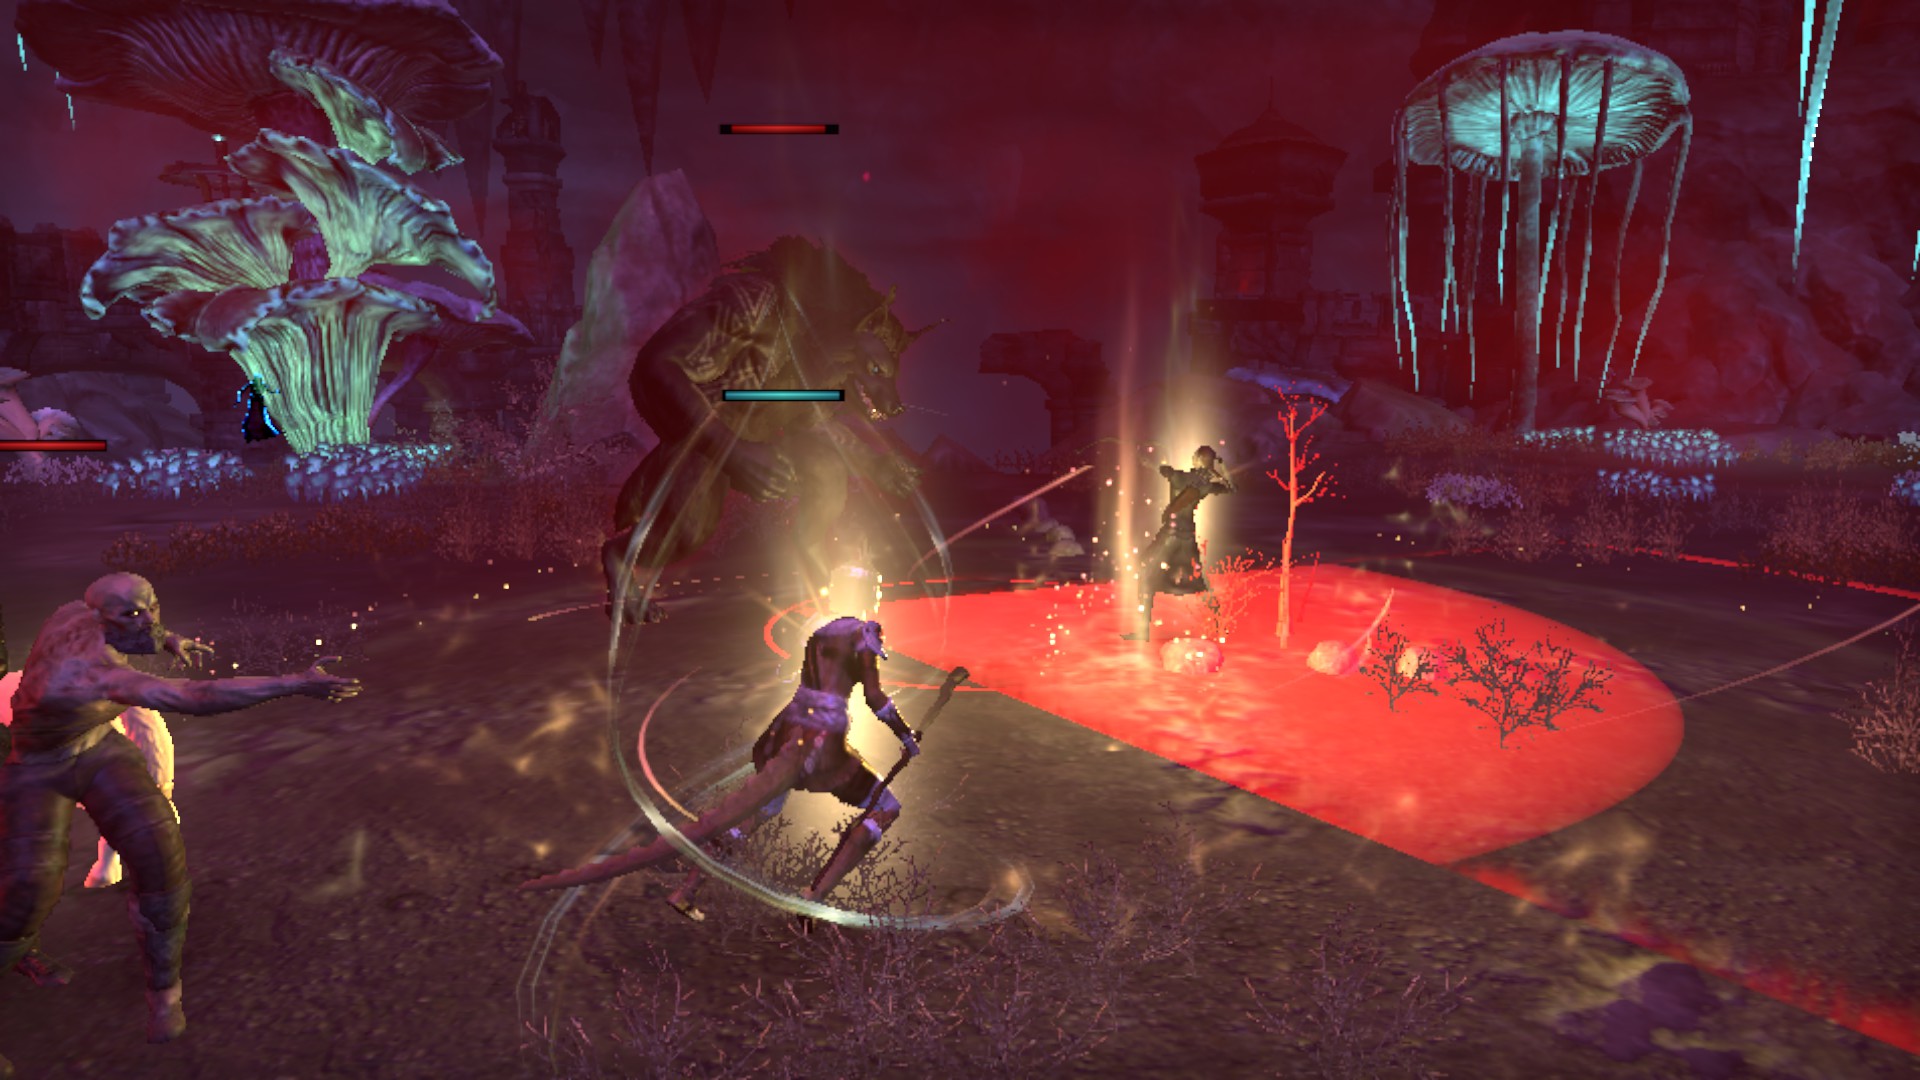
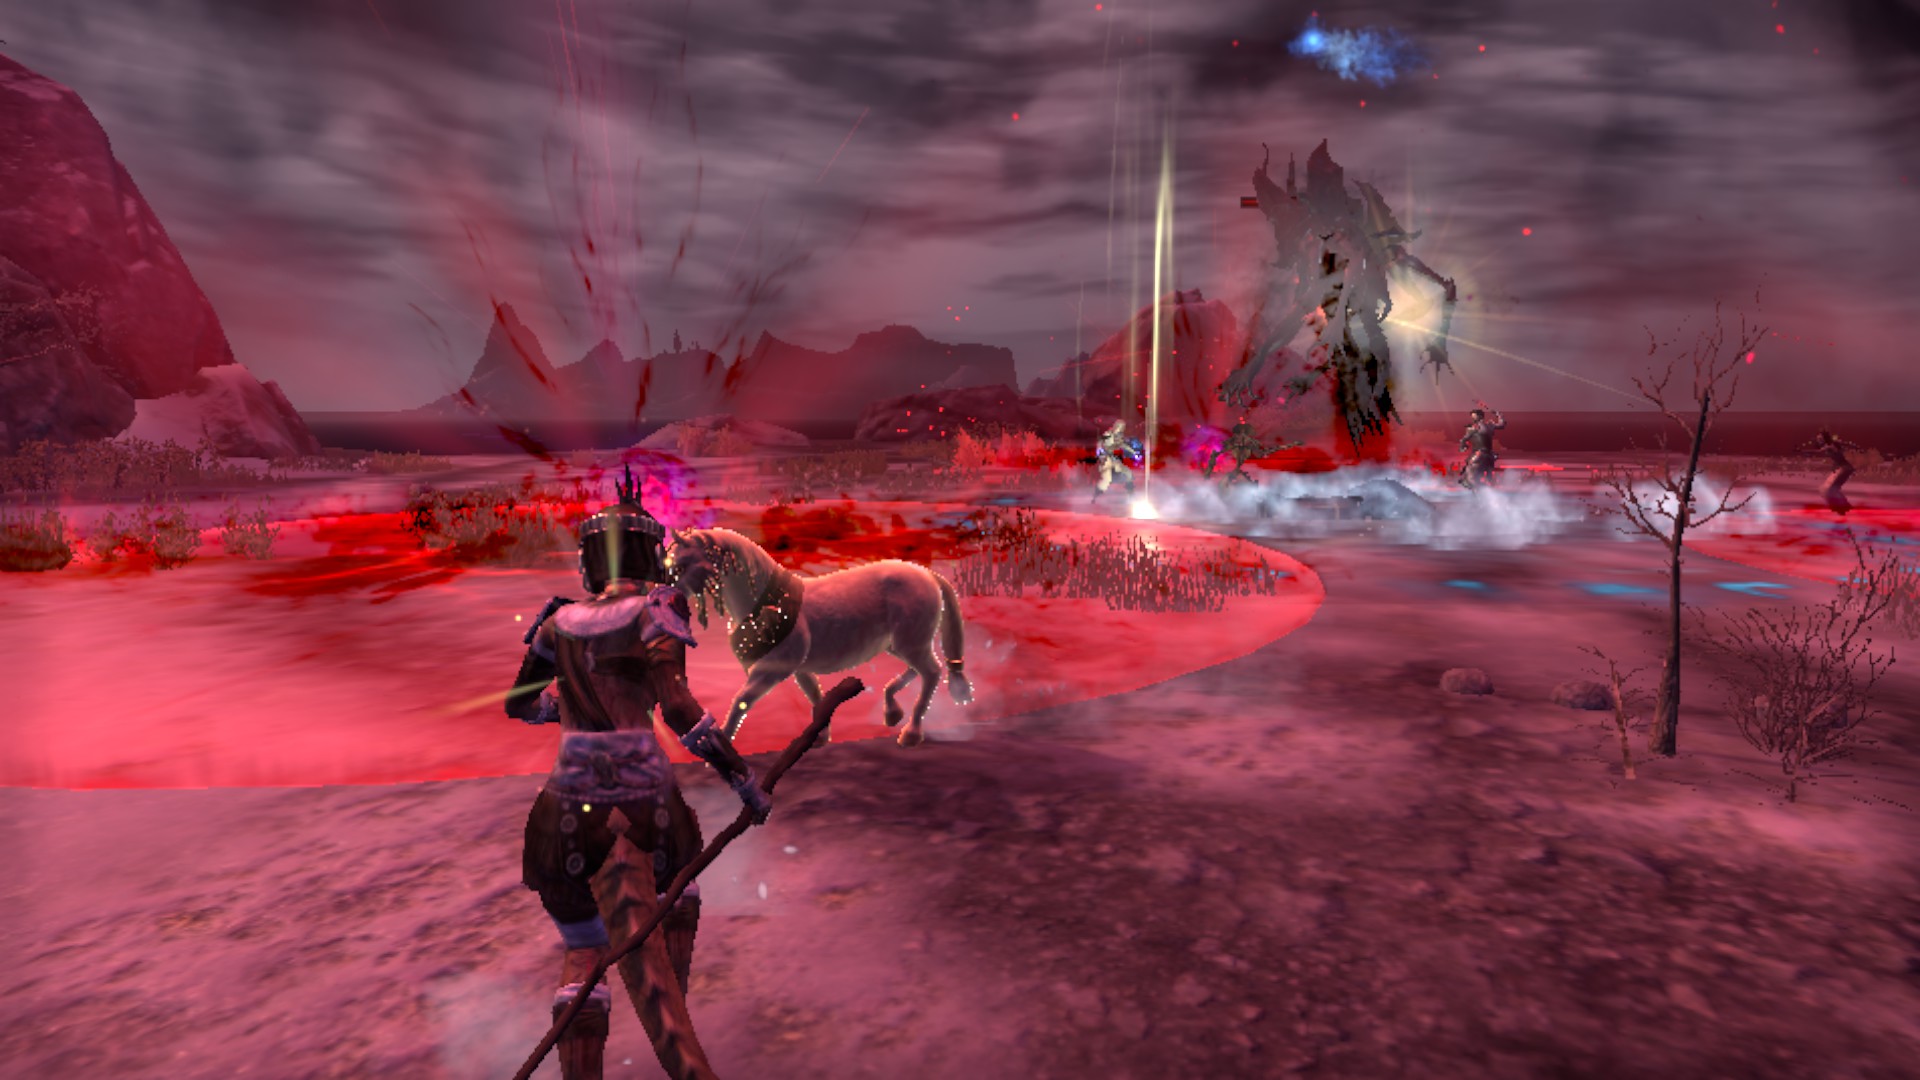
Champion with 2 charges. It becomes near opaque and the flowing energy is highly visible. The next charge the Reliquary receives will cause this Champion to spawn in.
You should be easily able to kill the Lost Souls with some snares, especially the wider area ones. Then some AOEs on the Witch Pikes should kill the Souls as they draw nearer.
Other random adds will also spawn in periodically in groups. They can include witch cultists (ranged and melee), bloodfiends, dread dogs and werewolves. Most of these adds will be able to slow you down or stun you, which is annoying but otherwise they shouldn't cause too much of an issue.
[PERSISTENT ENEMIES]
Random Adds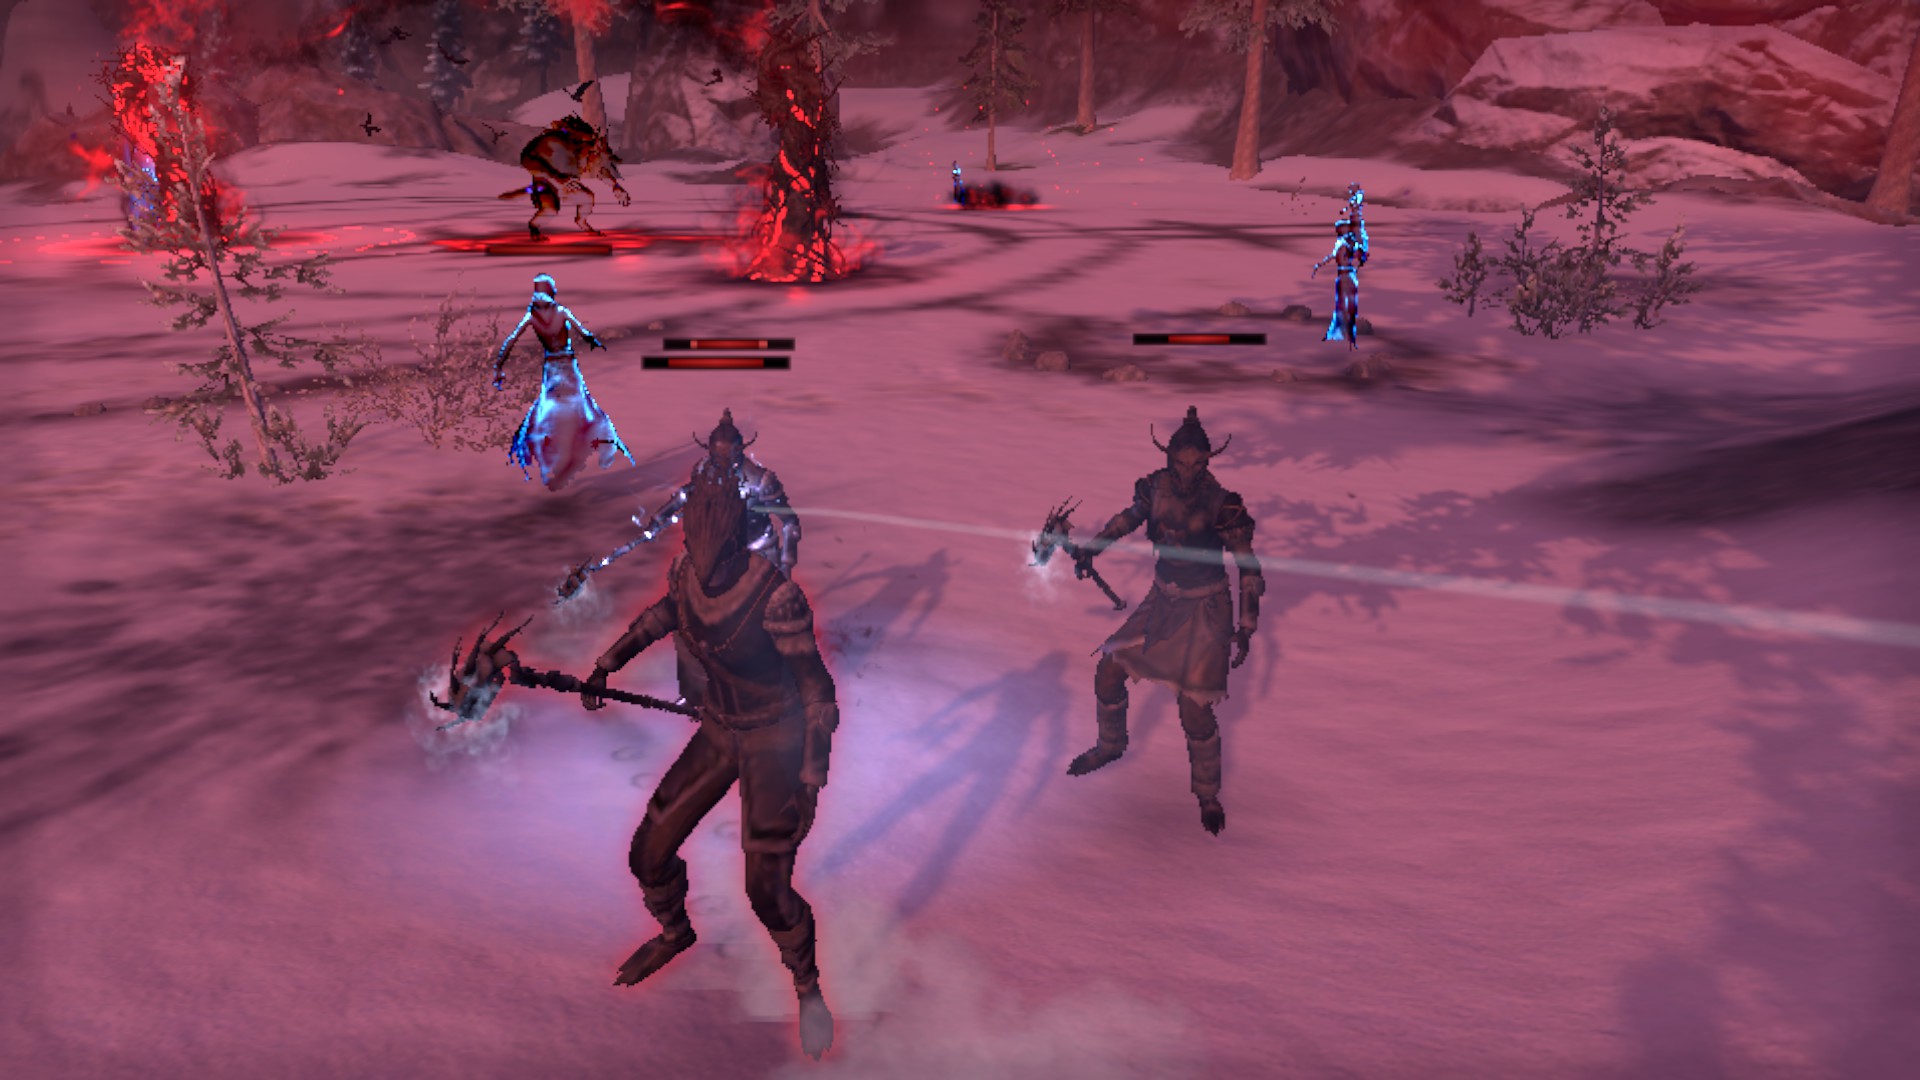
Example of the ranged Cultists that spawn in
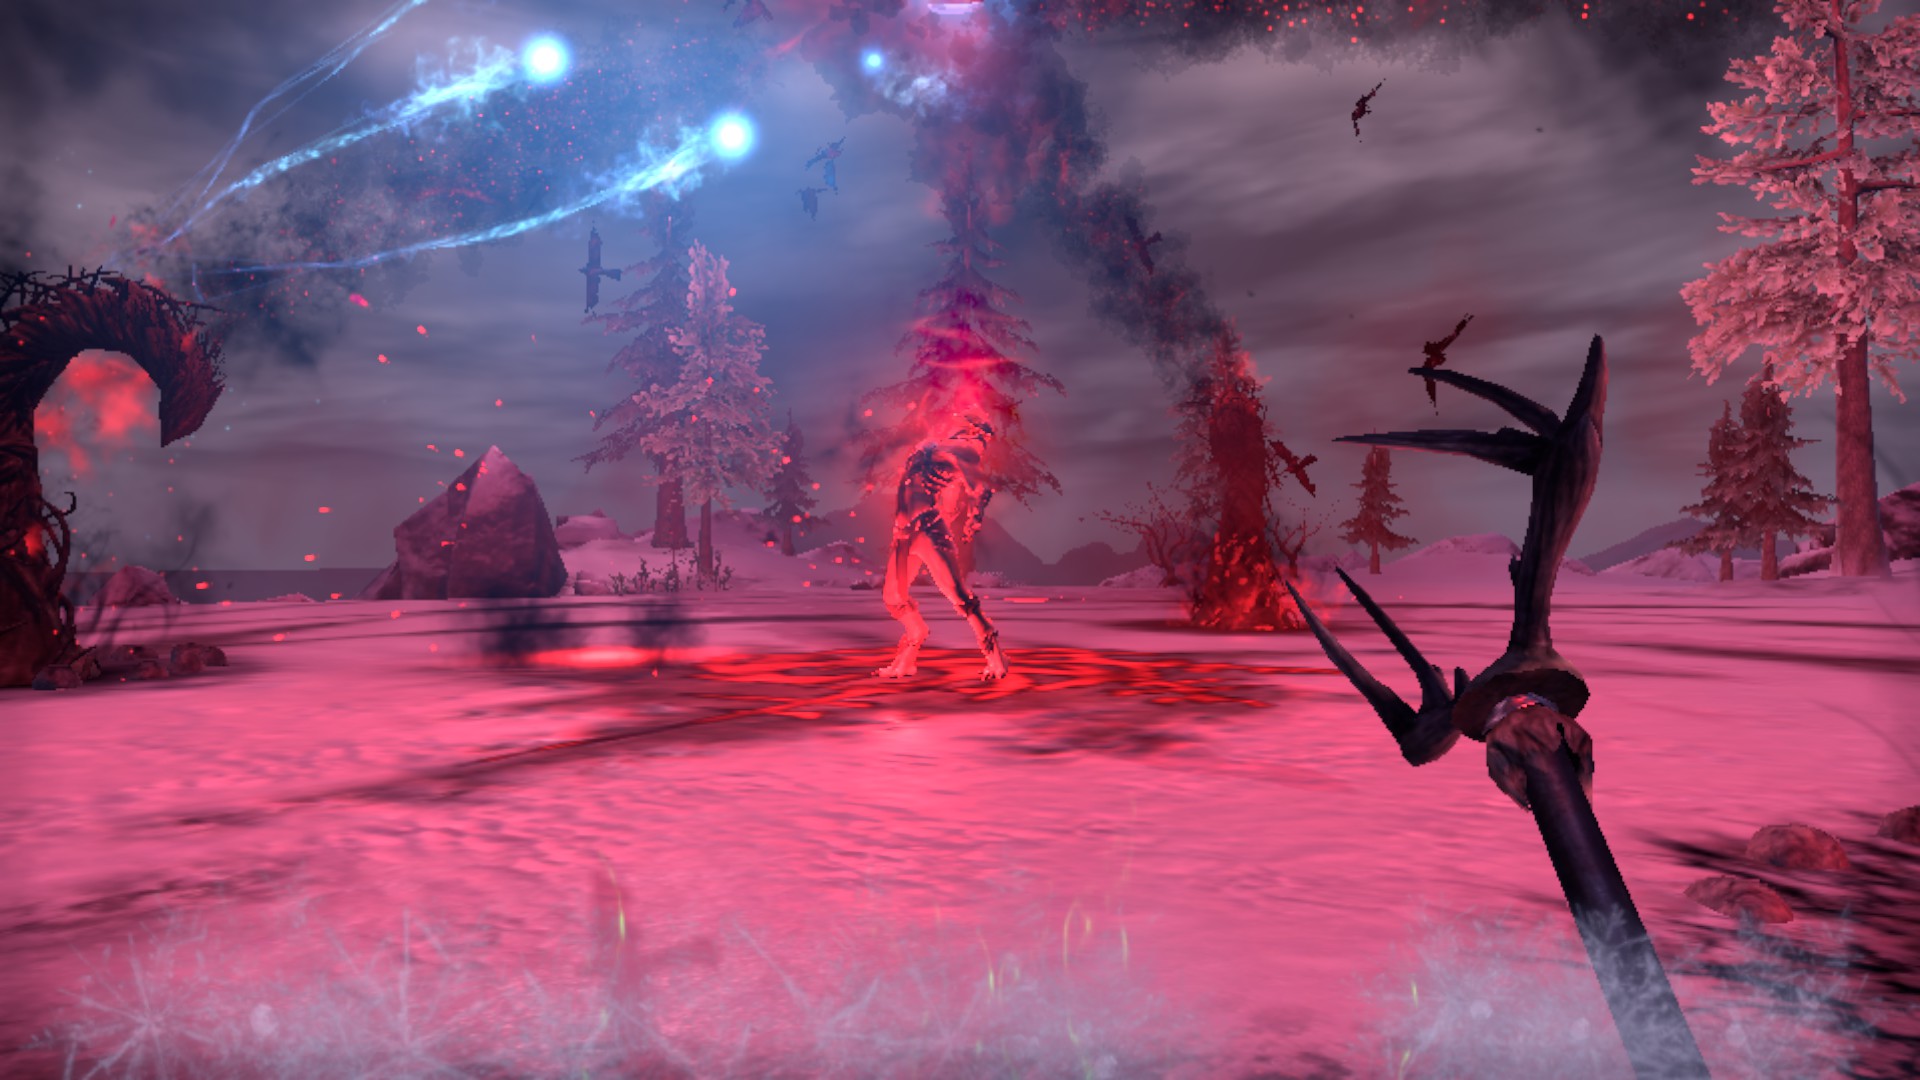
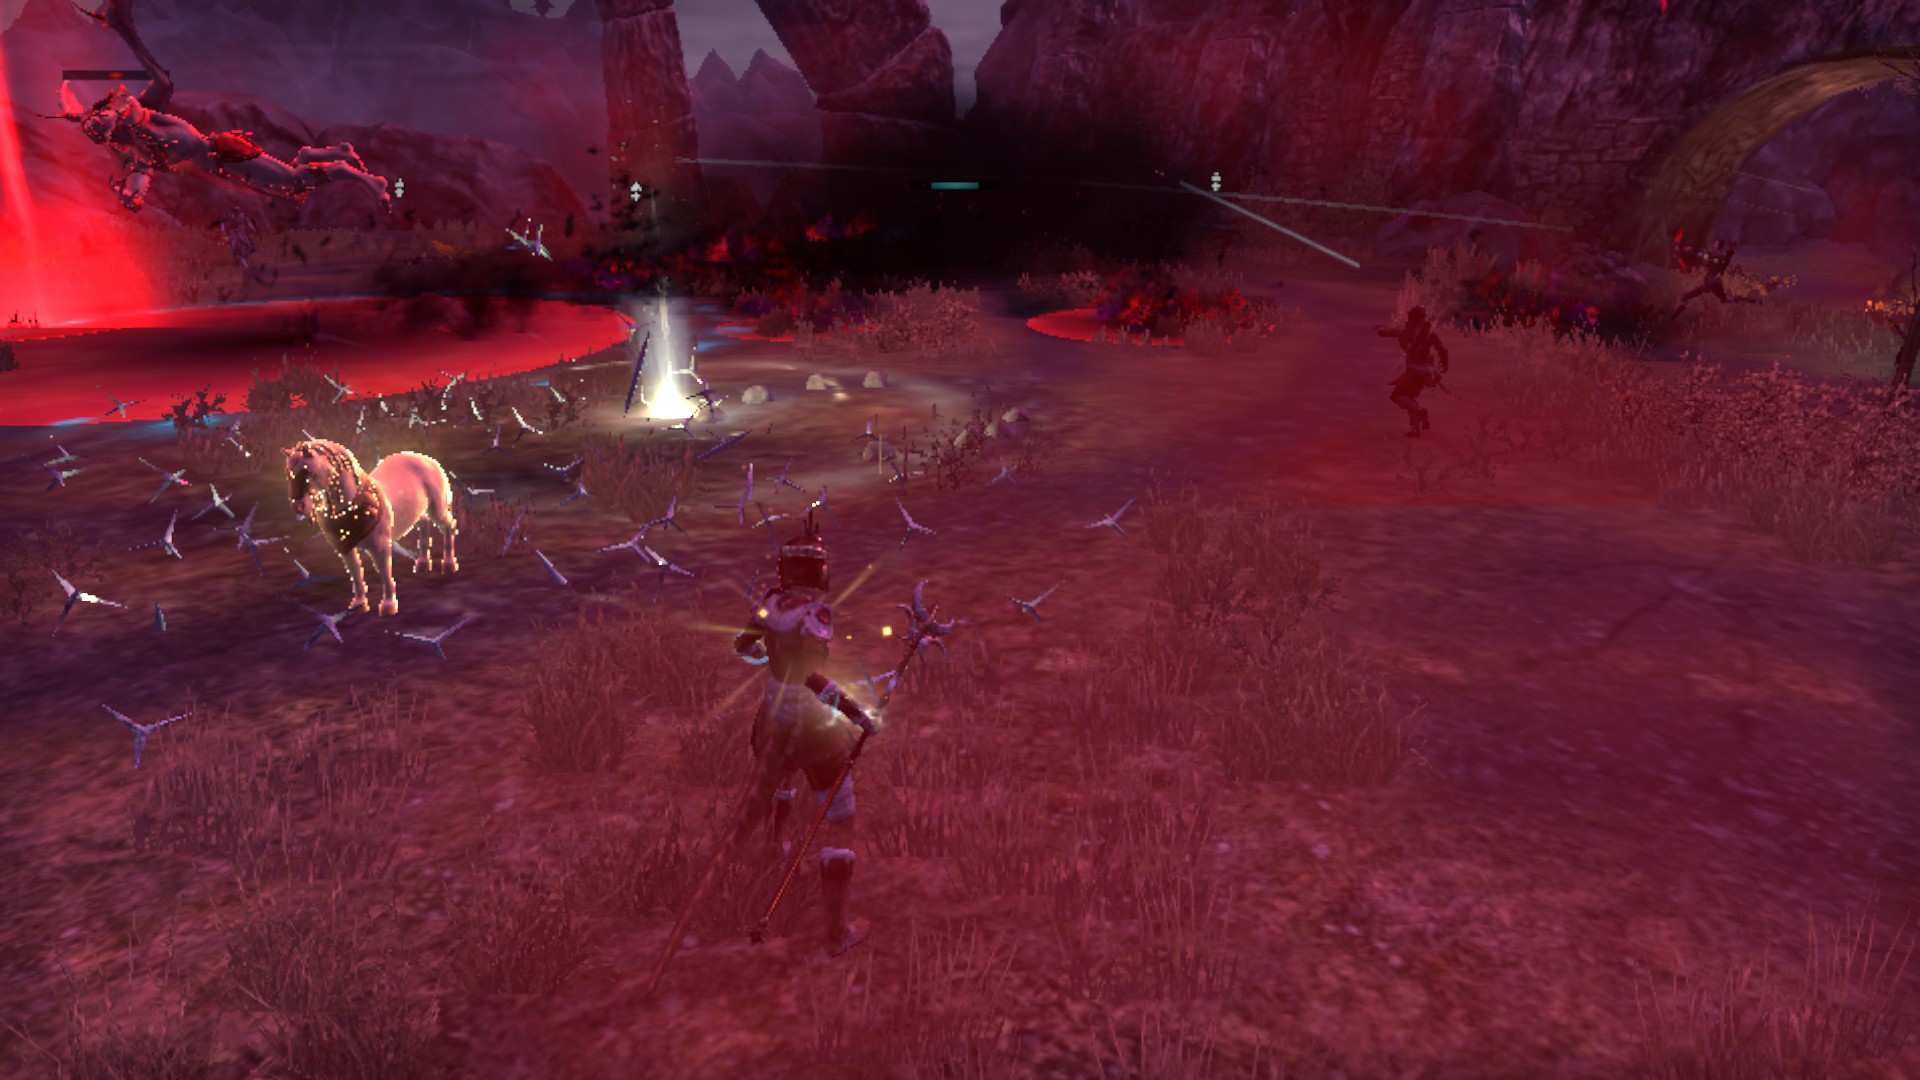
Lost Souls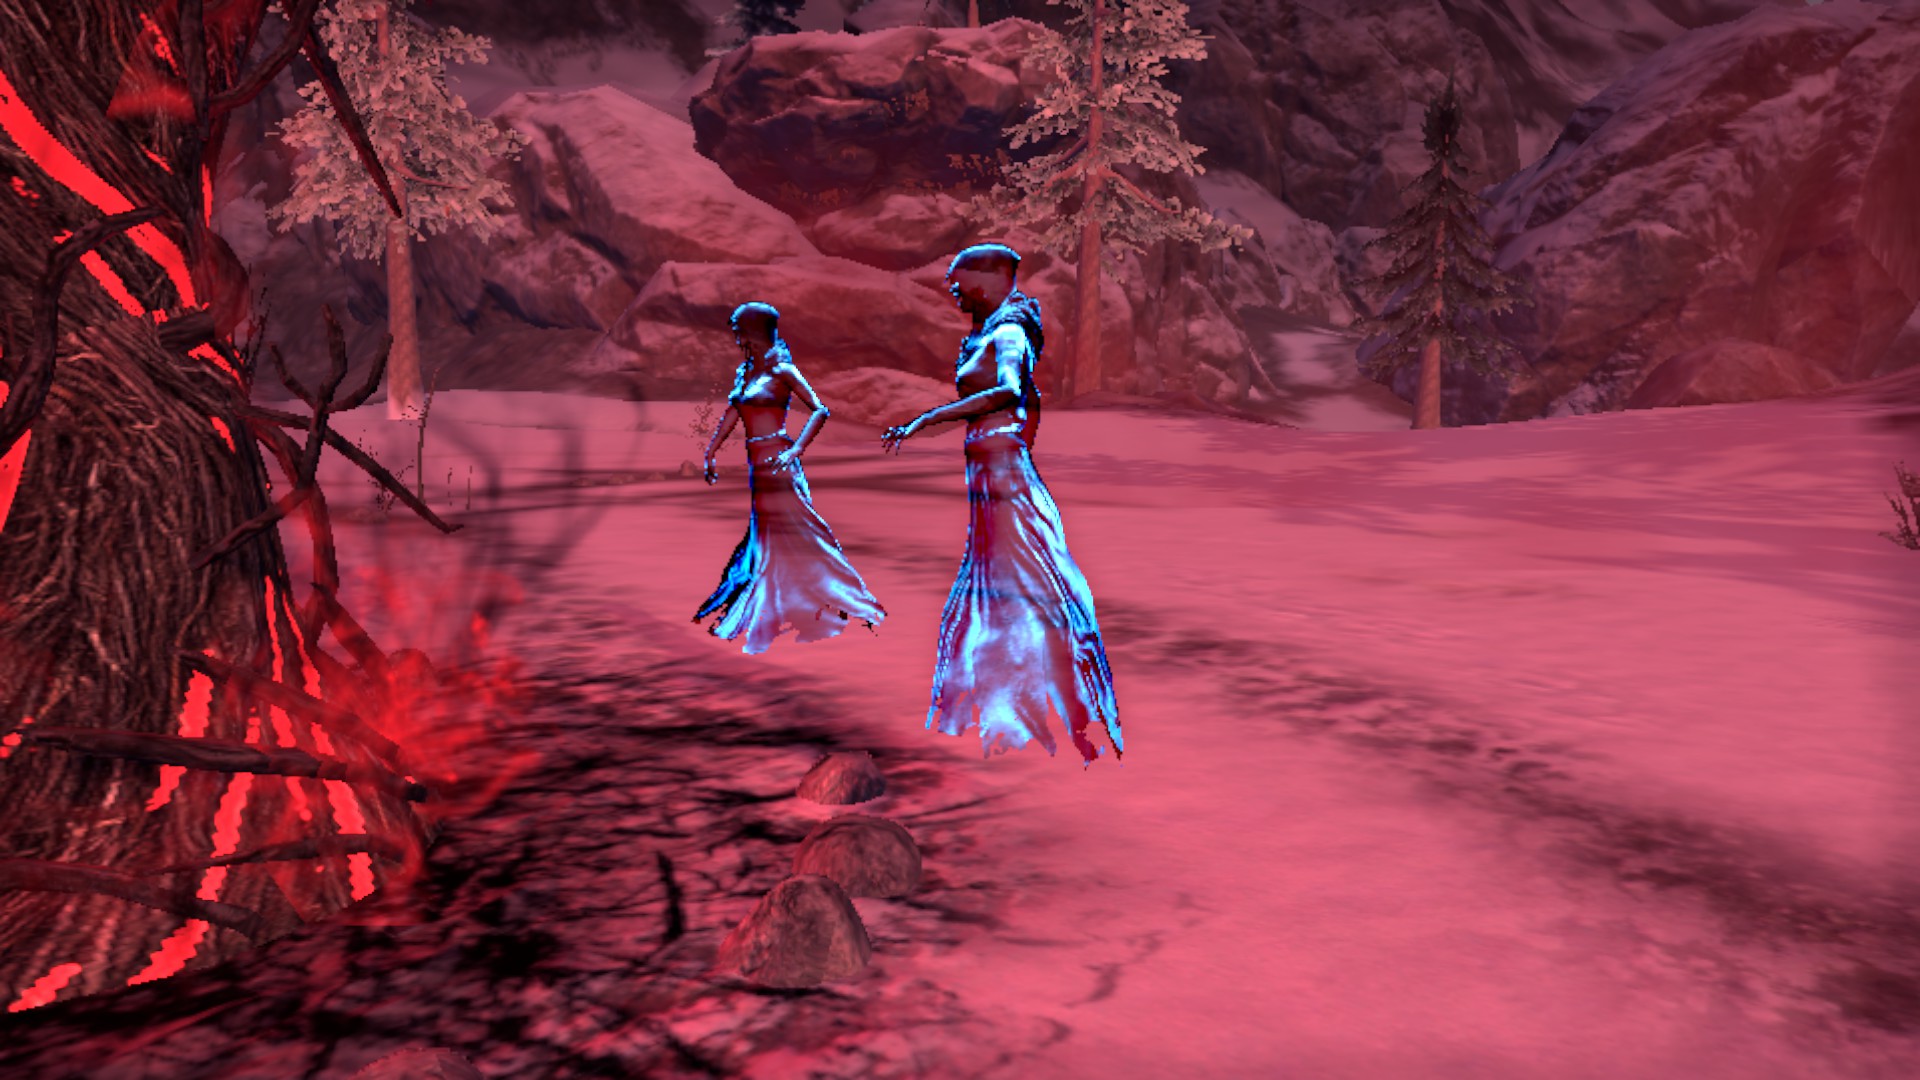
Witch Pikes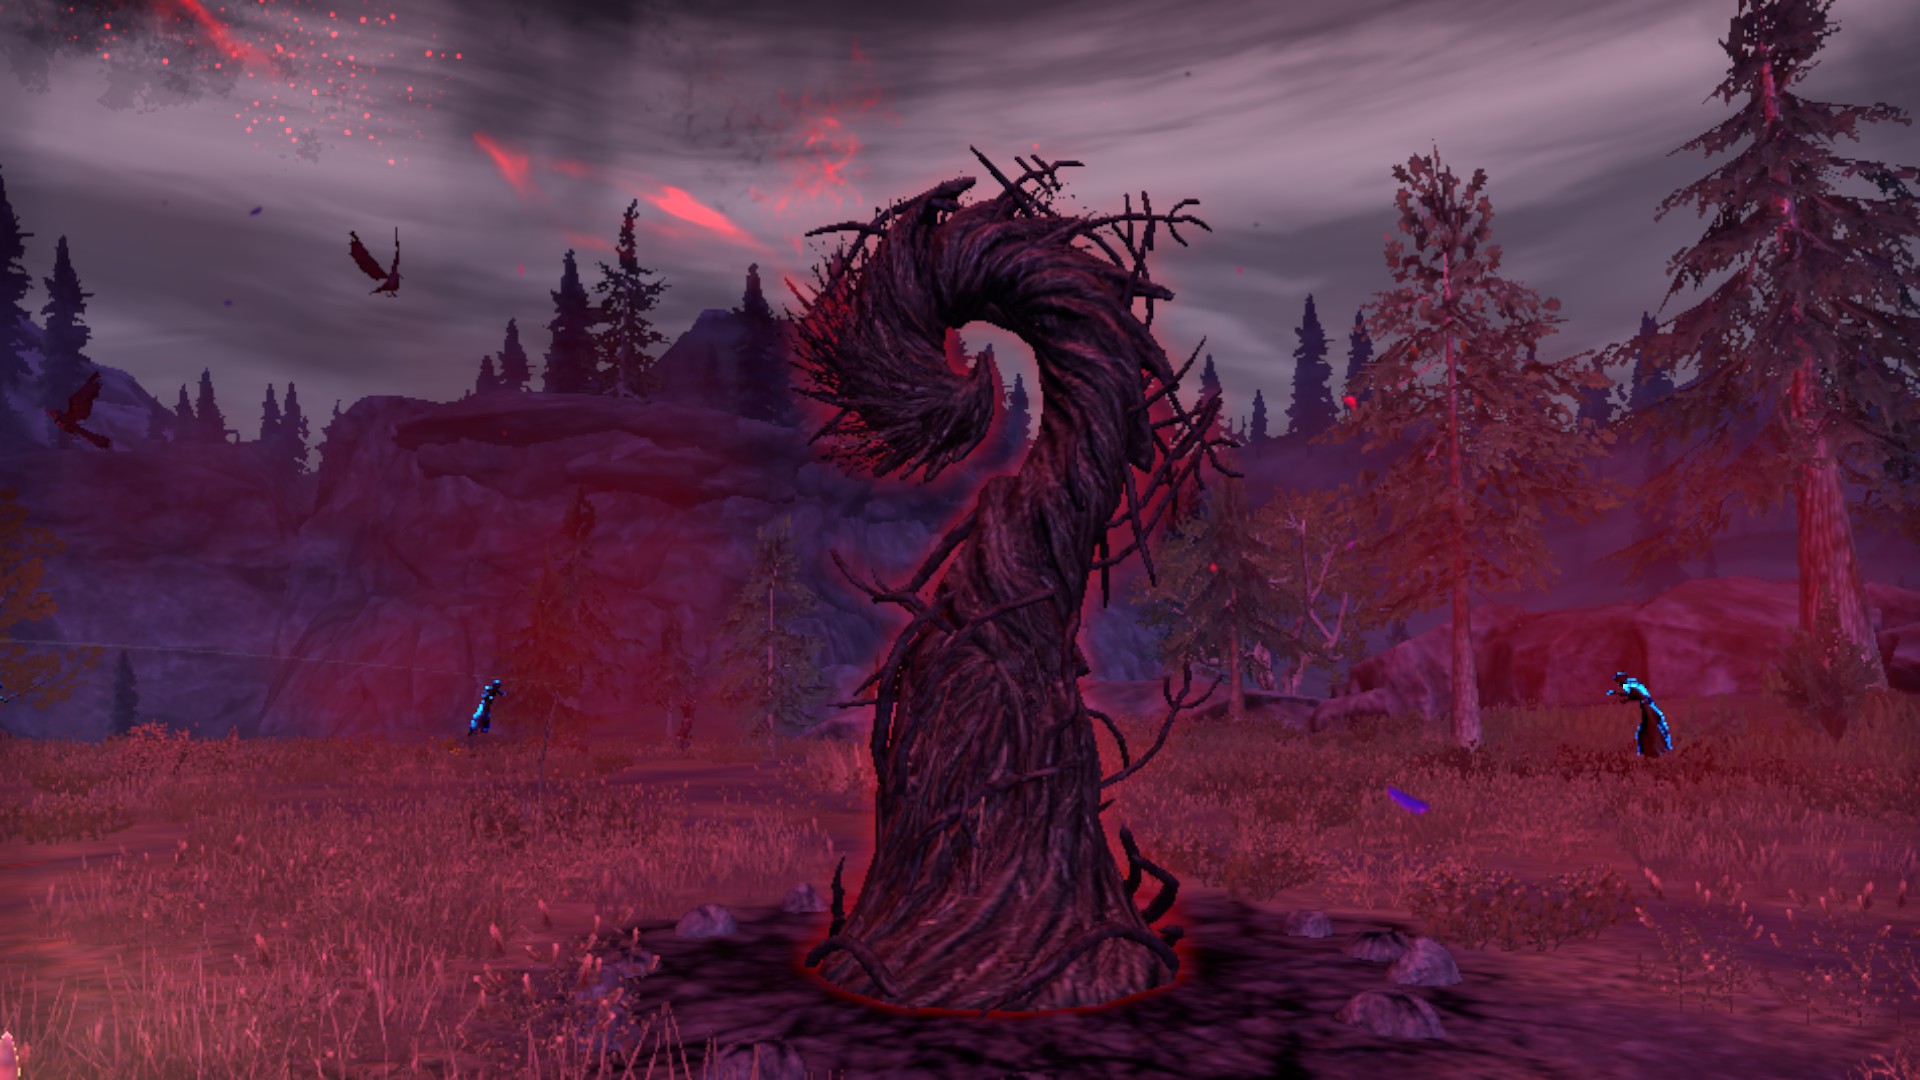
Witch Pike without a charge
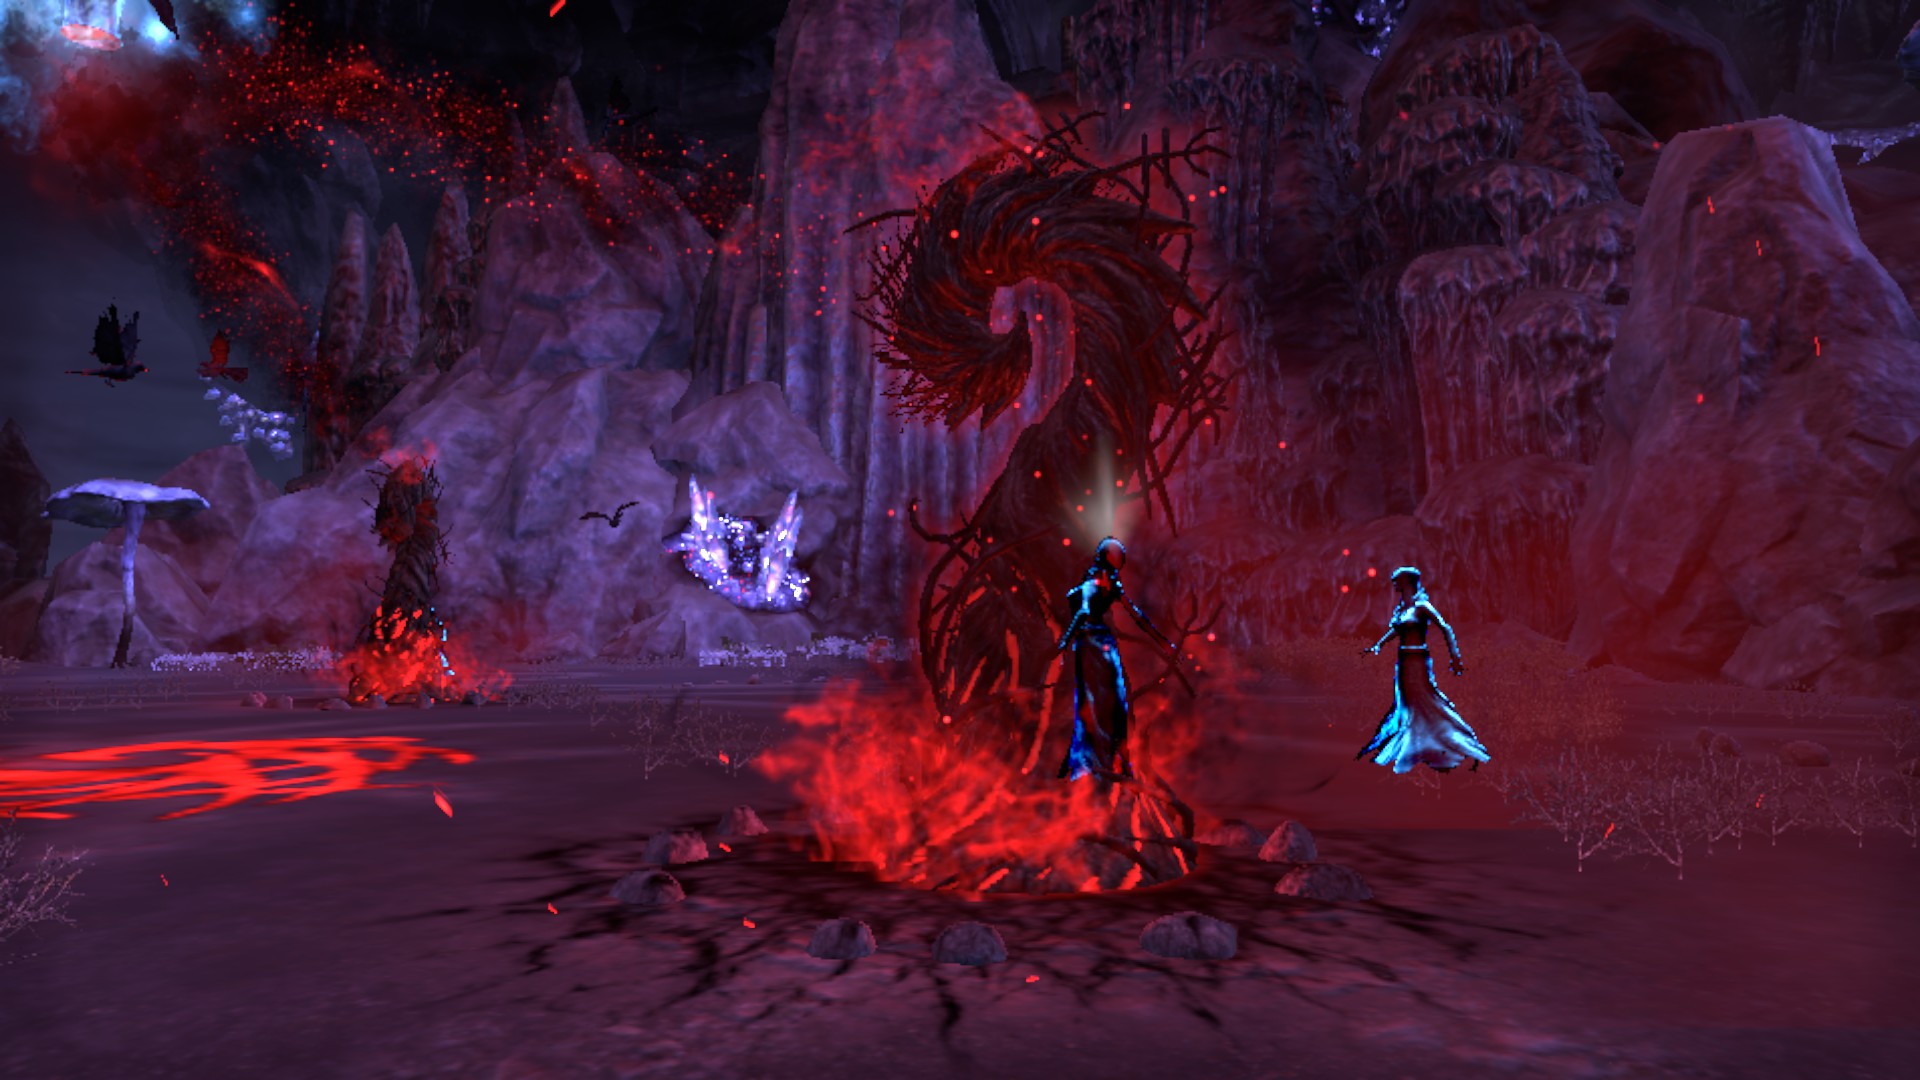
Witch Pike with 1 charge
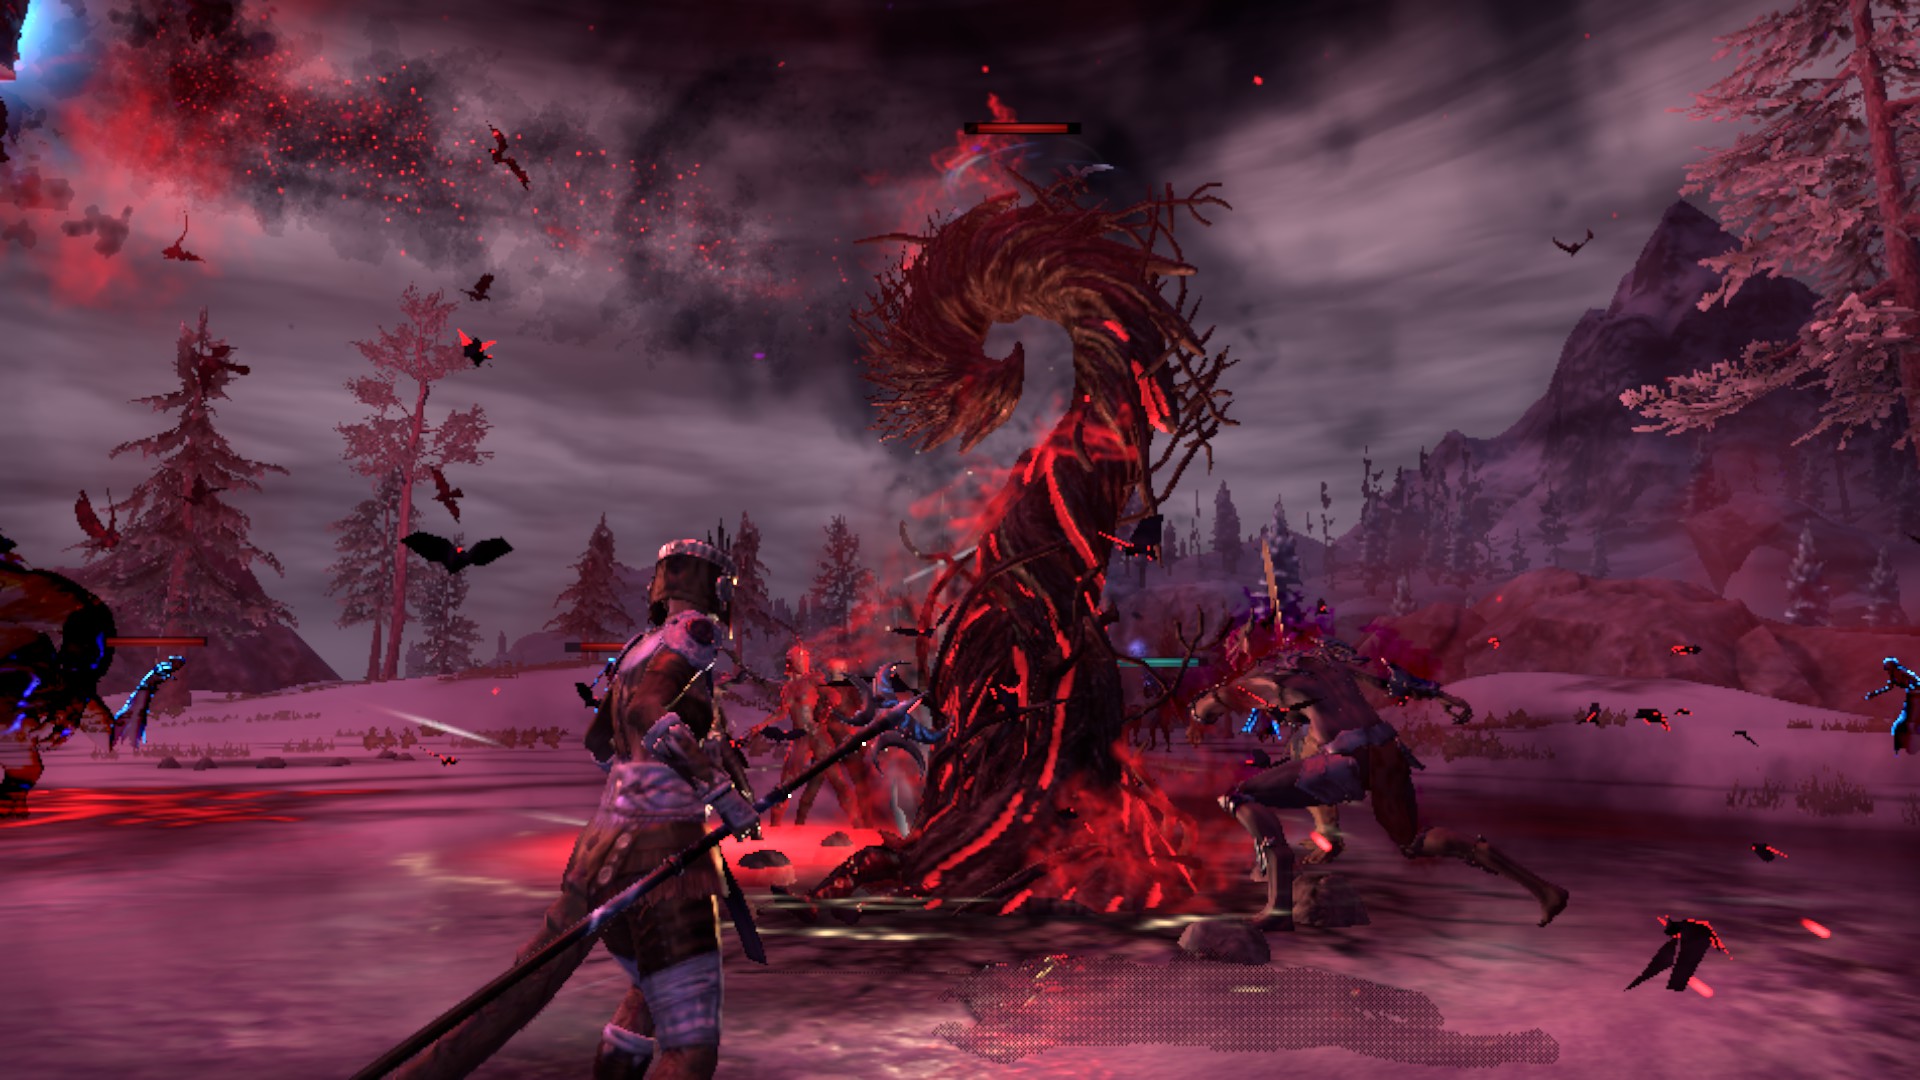
Witch Pike with 2 charges
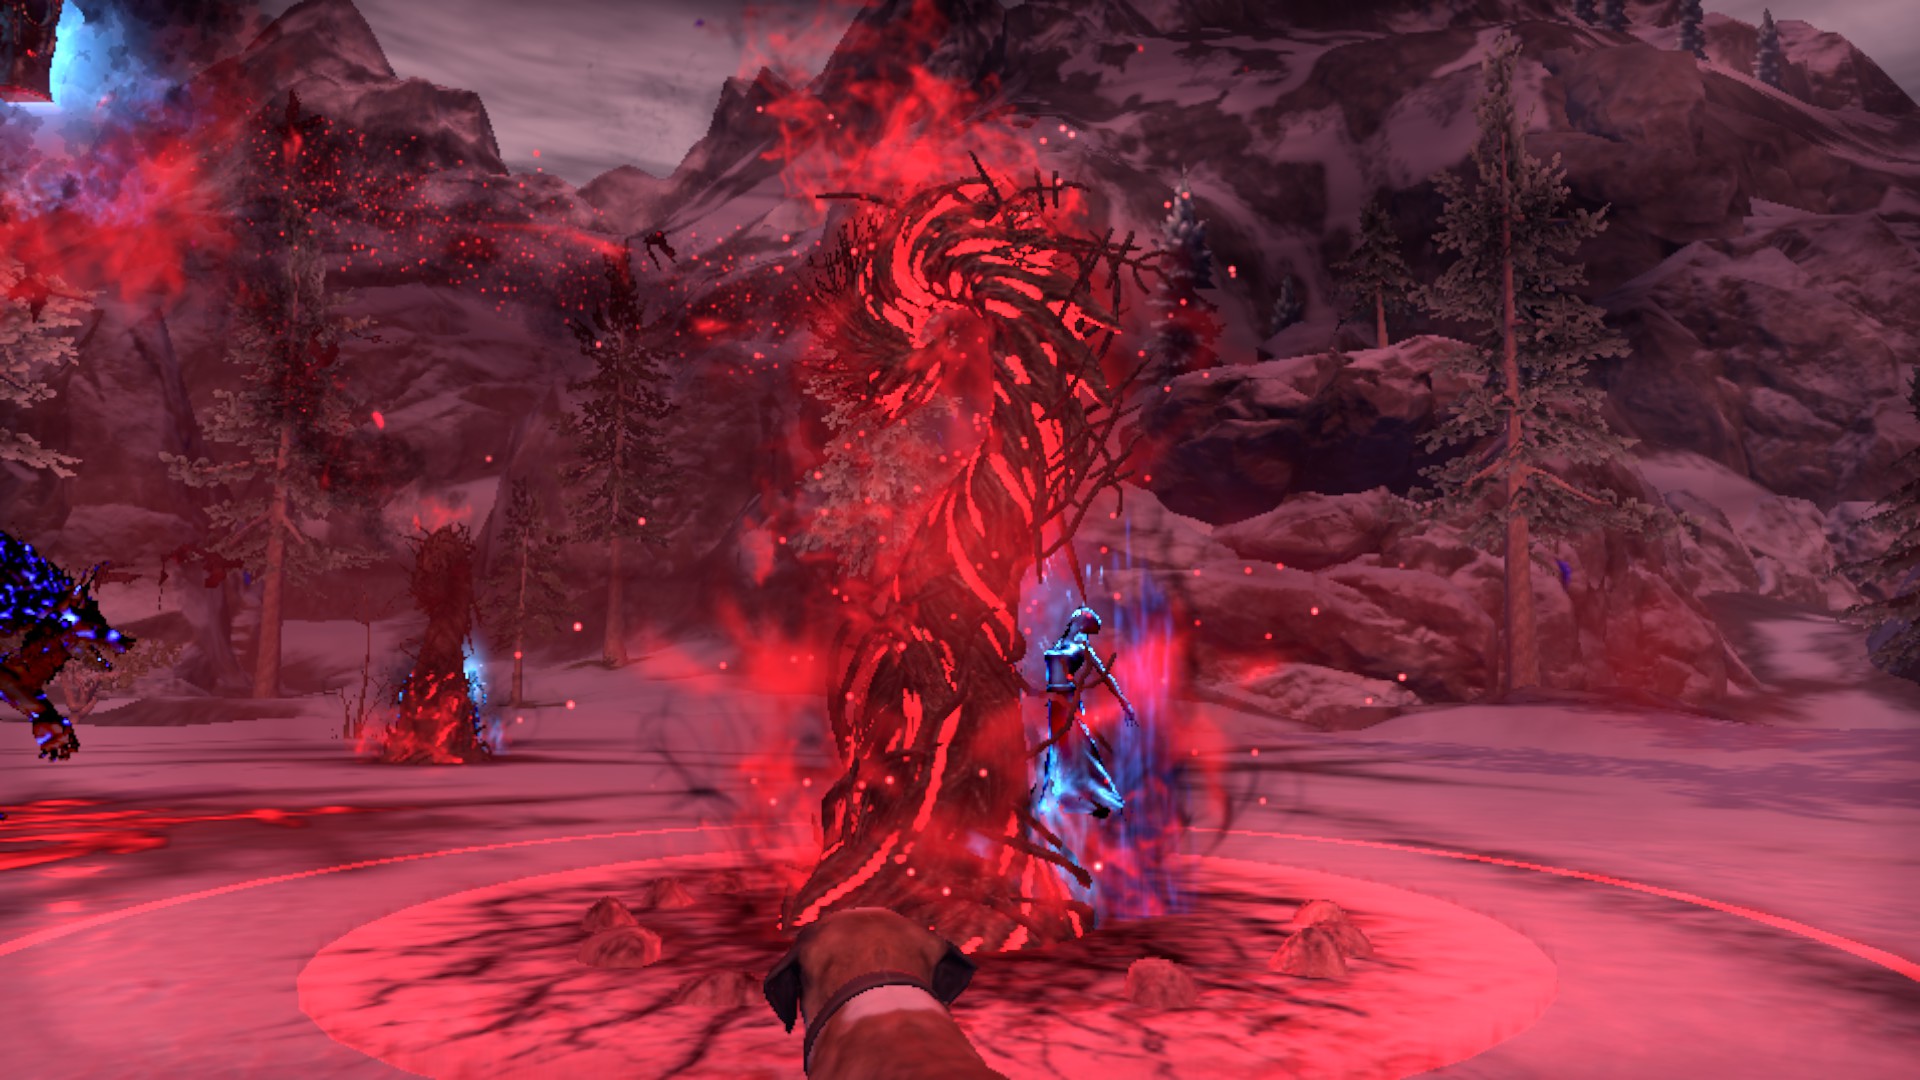
Witch Pike at (max) 3 charges. The AOE you see is the Pike preparing to release the Souls to the central Reliquary for the summoning process.
[CHAMPION SPAWNS]
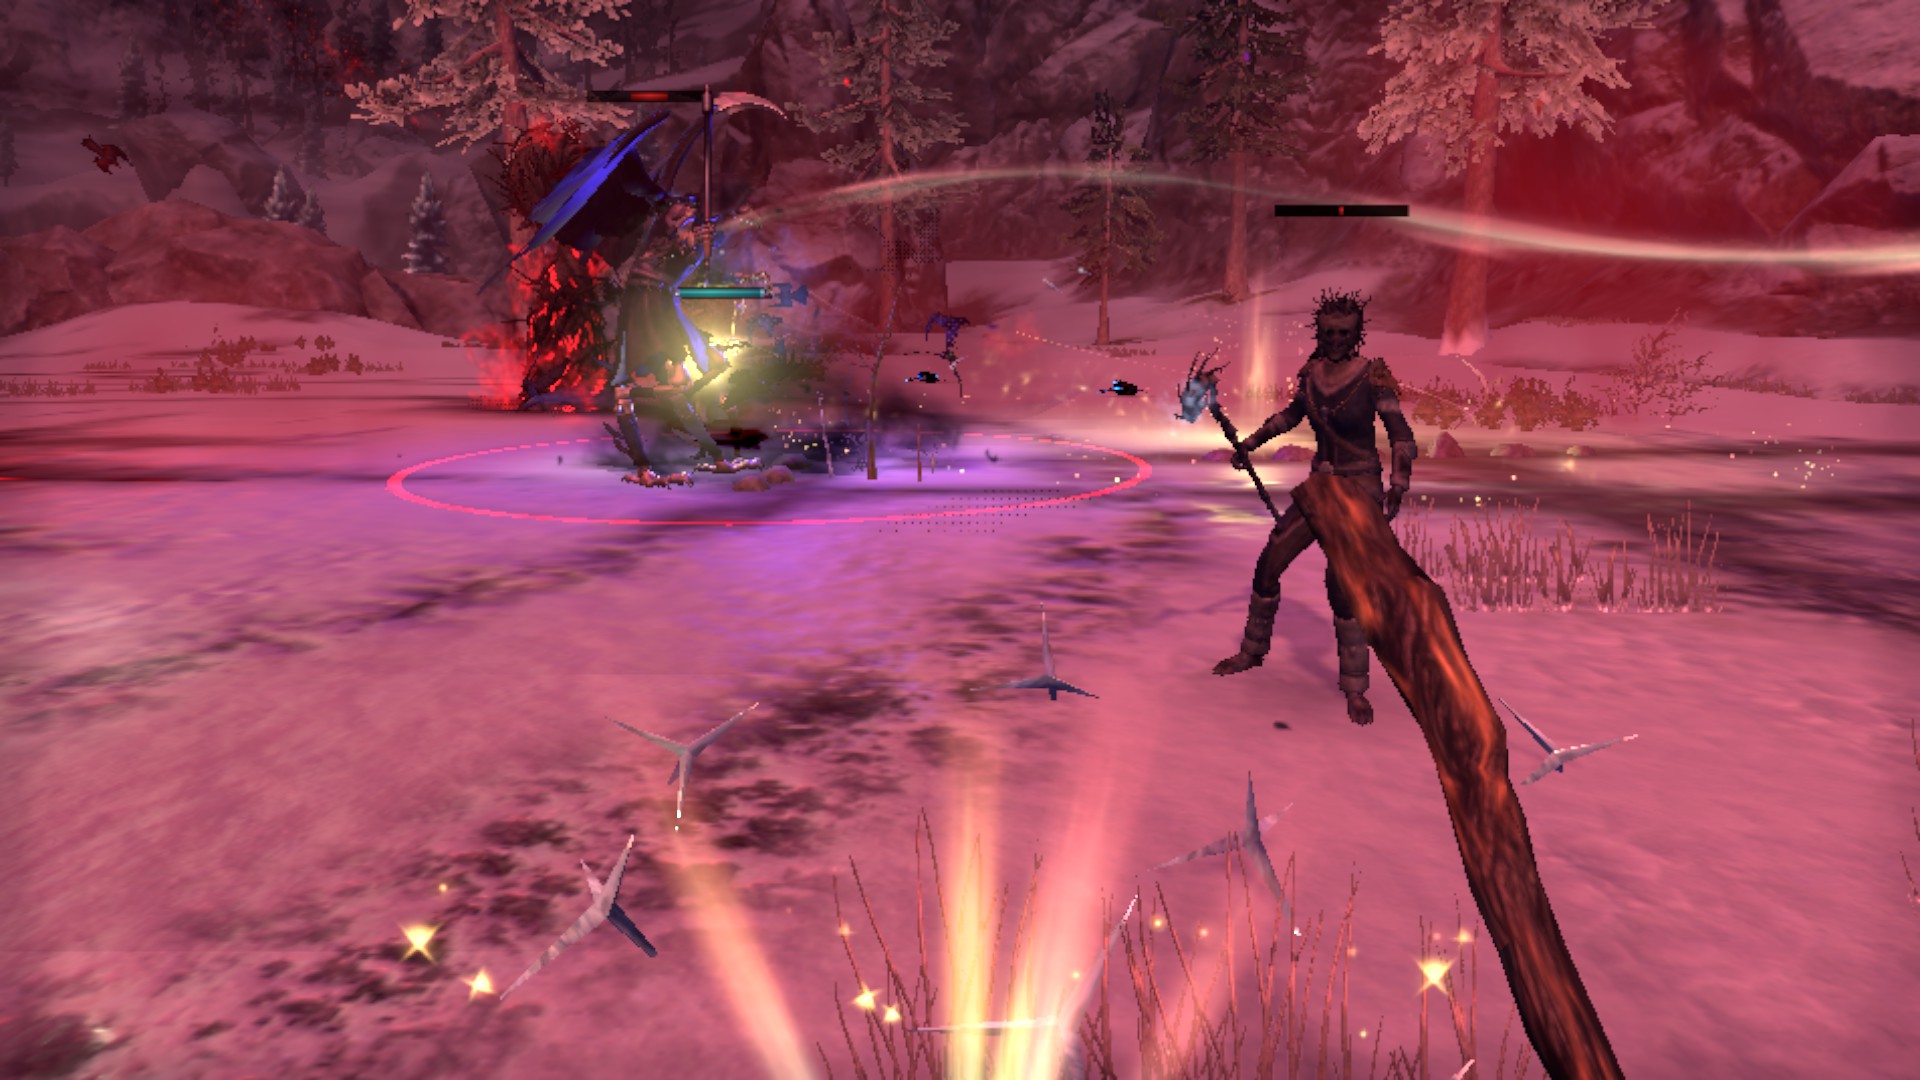
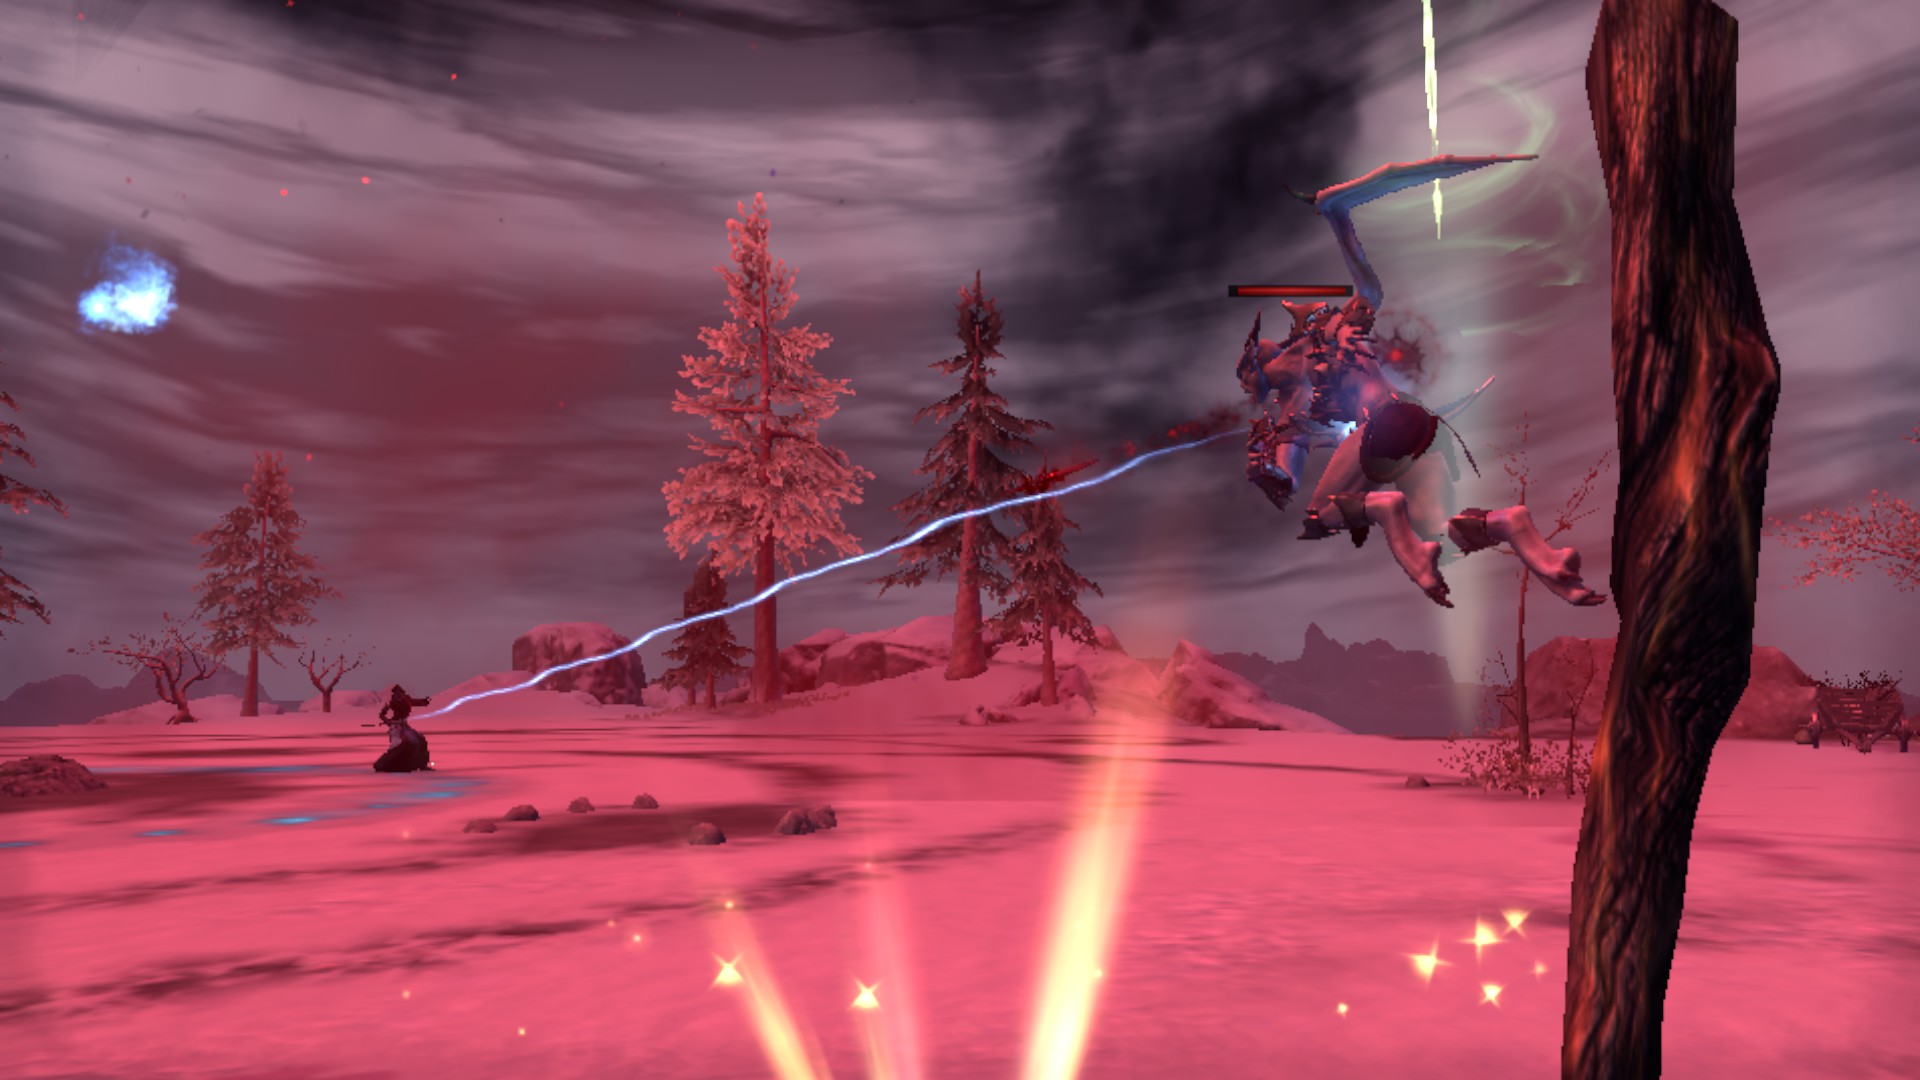
Harrowstorm Shrike
Attacks to watch out for are as follows:
It starts hovering above the ground and waves its scythe about. It shoots out AOEs at players which does quite a good amount of damage. Your best bet would be not to stop moving, which usually results in avoiding the AOEs.

Gray Host Bloodknight
Attacks to look out for are as follows:

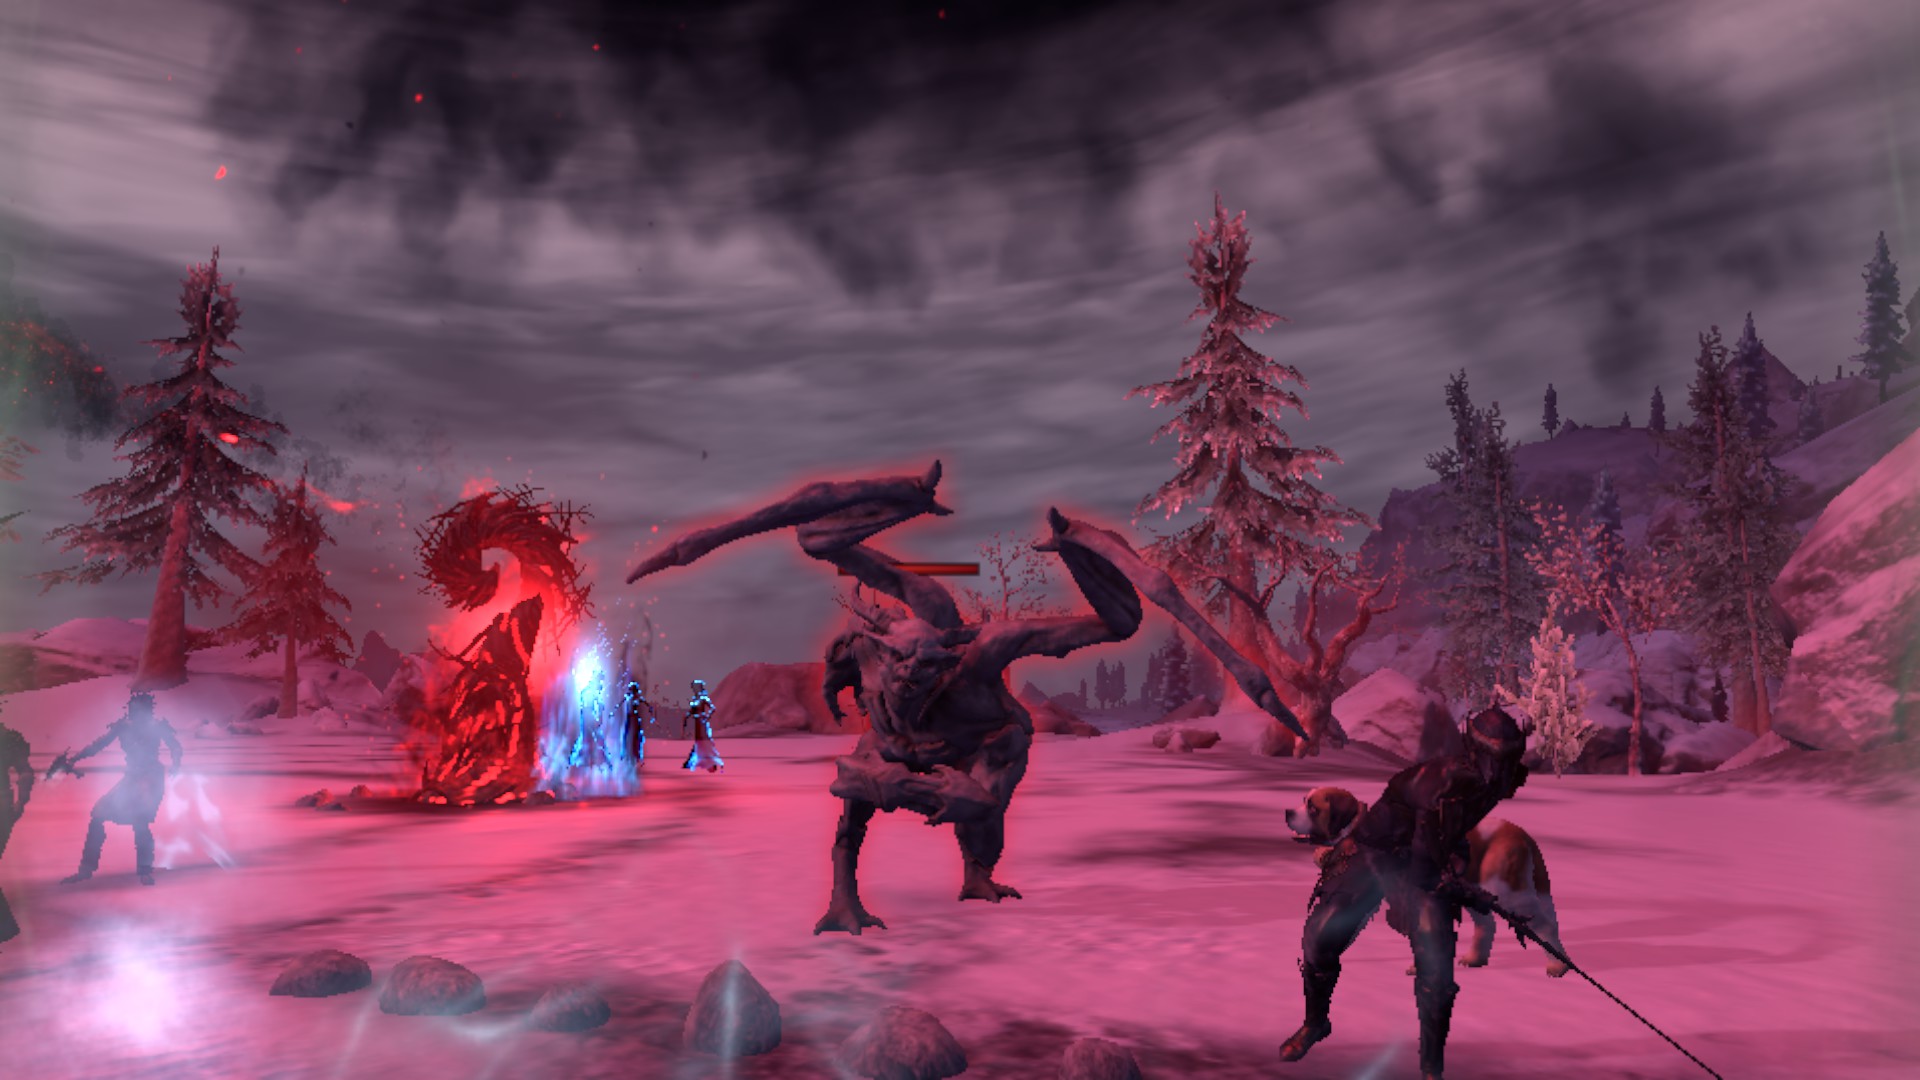
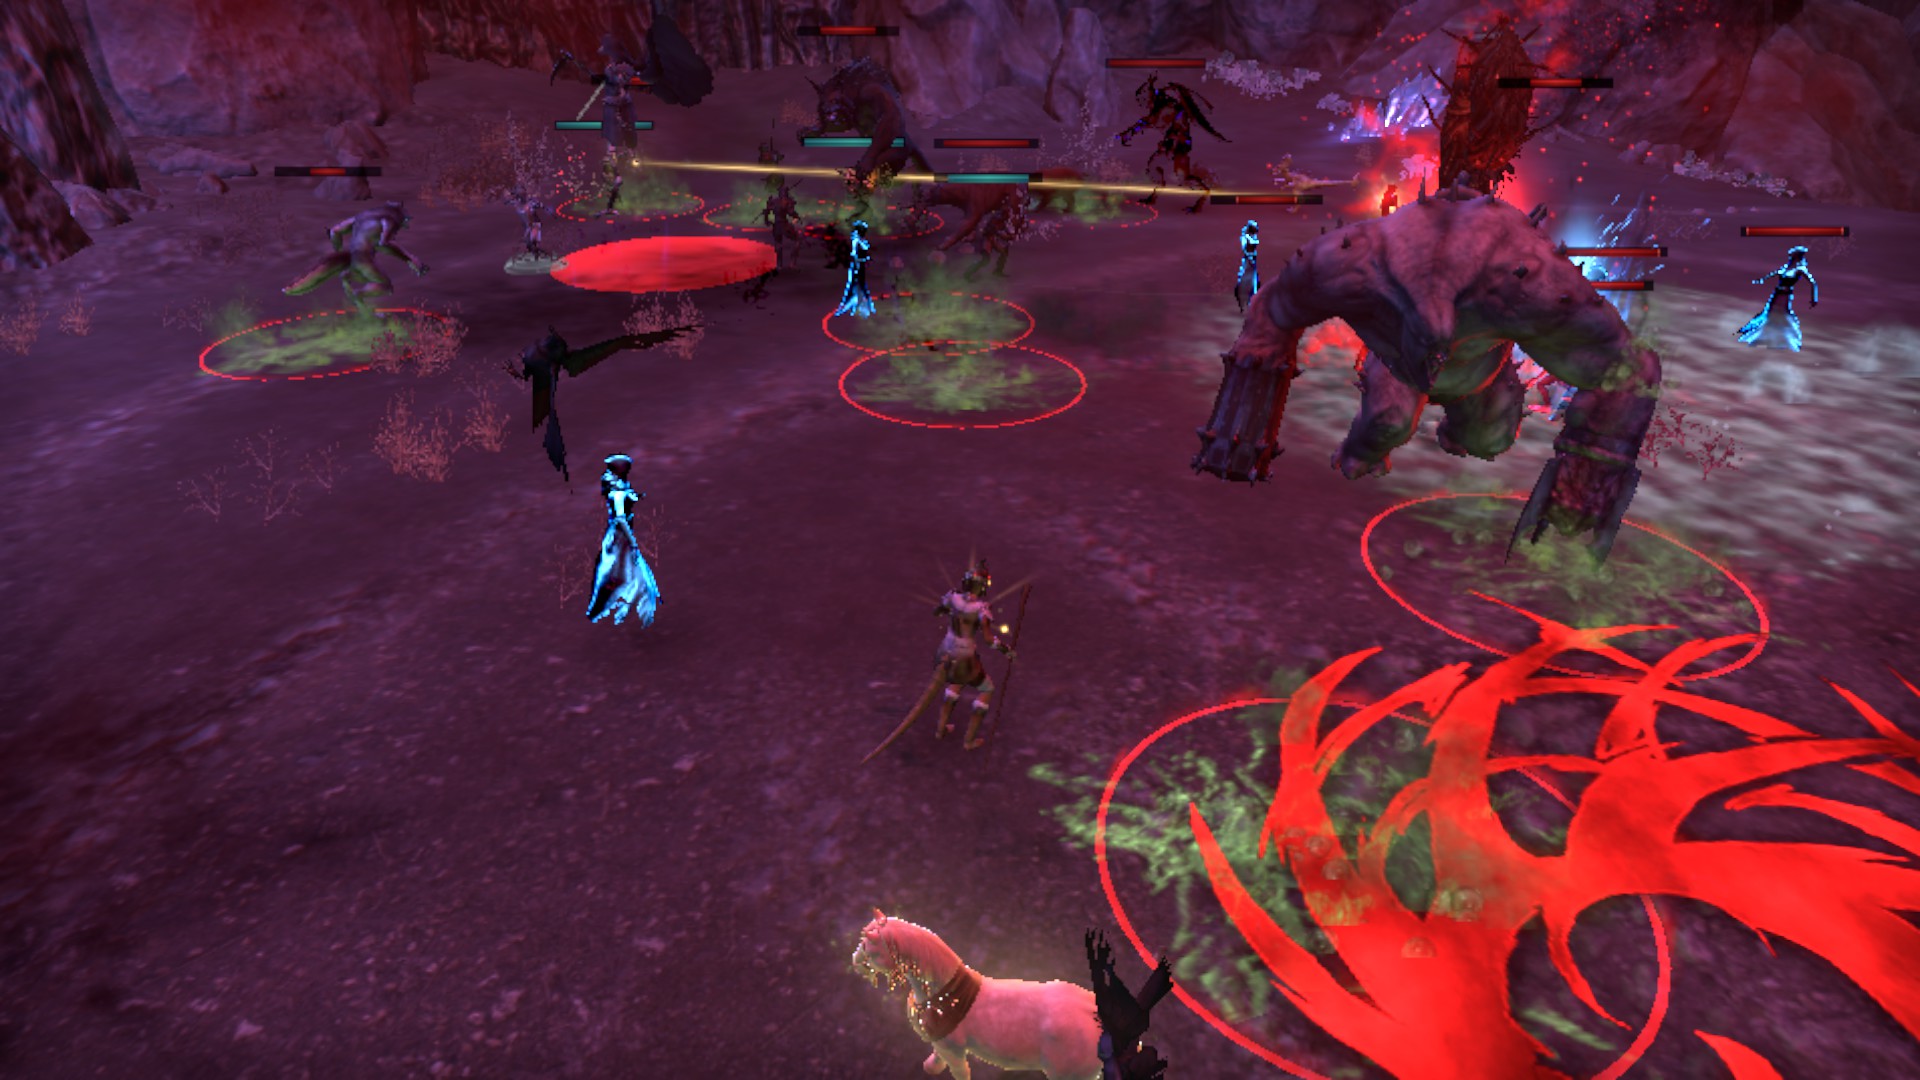
Harrowstorm Gargoyle
Attacks that it will do are as follows:
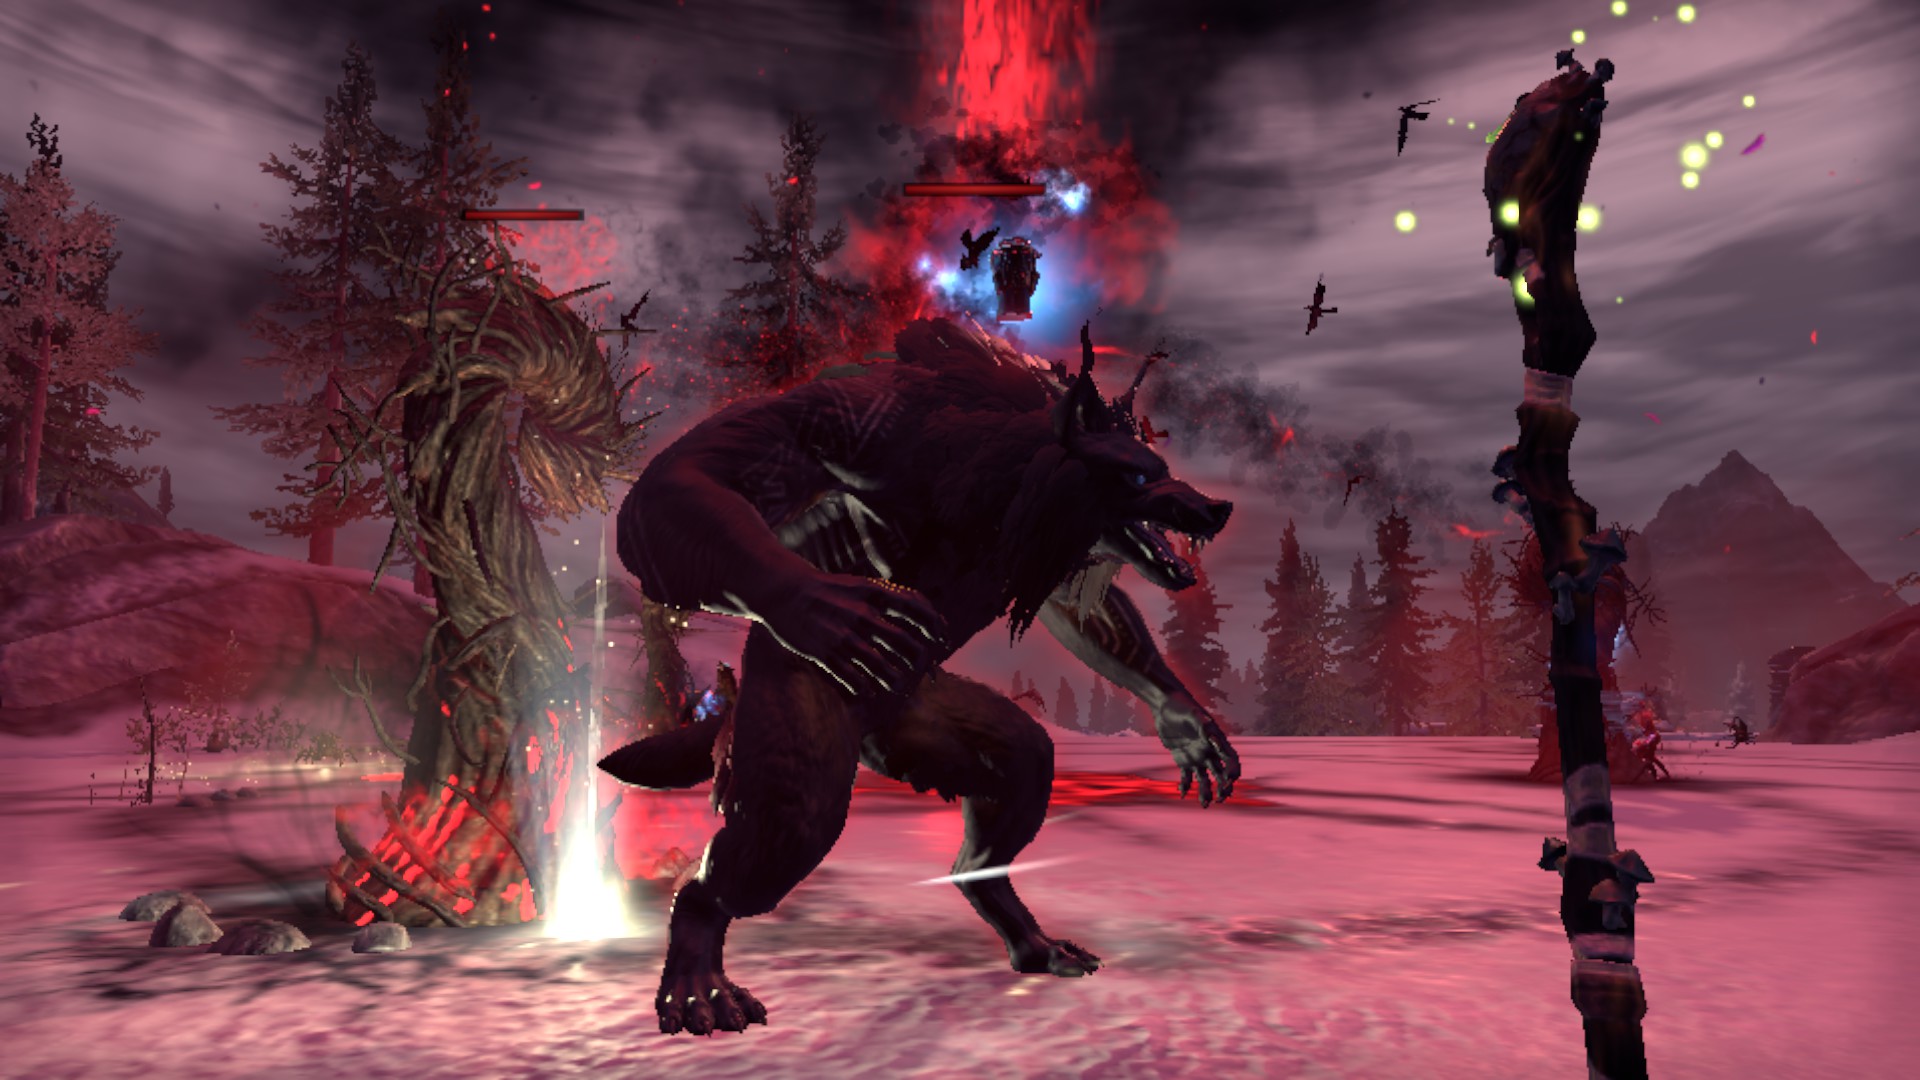
Gray Host Wolflord
Attacks made by the Wolflord are as follows:
A ground smash AOE indicated with the Wolflord in the centre and fills outwards. Being in the AOE when it charges up results in you getting knocked down.

A ground stomp causing small tremors to radiate outwards from the Wolflord. Doesn't deal much damage, but it causes you to be knocked back.
A freeze breath indicated by a conal AOE that charges outwards. Being in this AOE when it is fully charged causes you to be stunned, so you will need to break free.
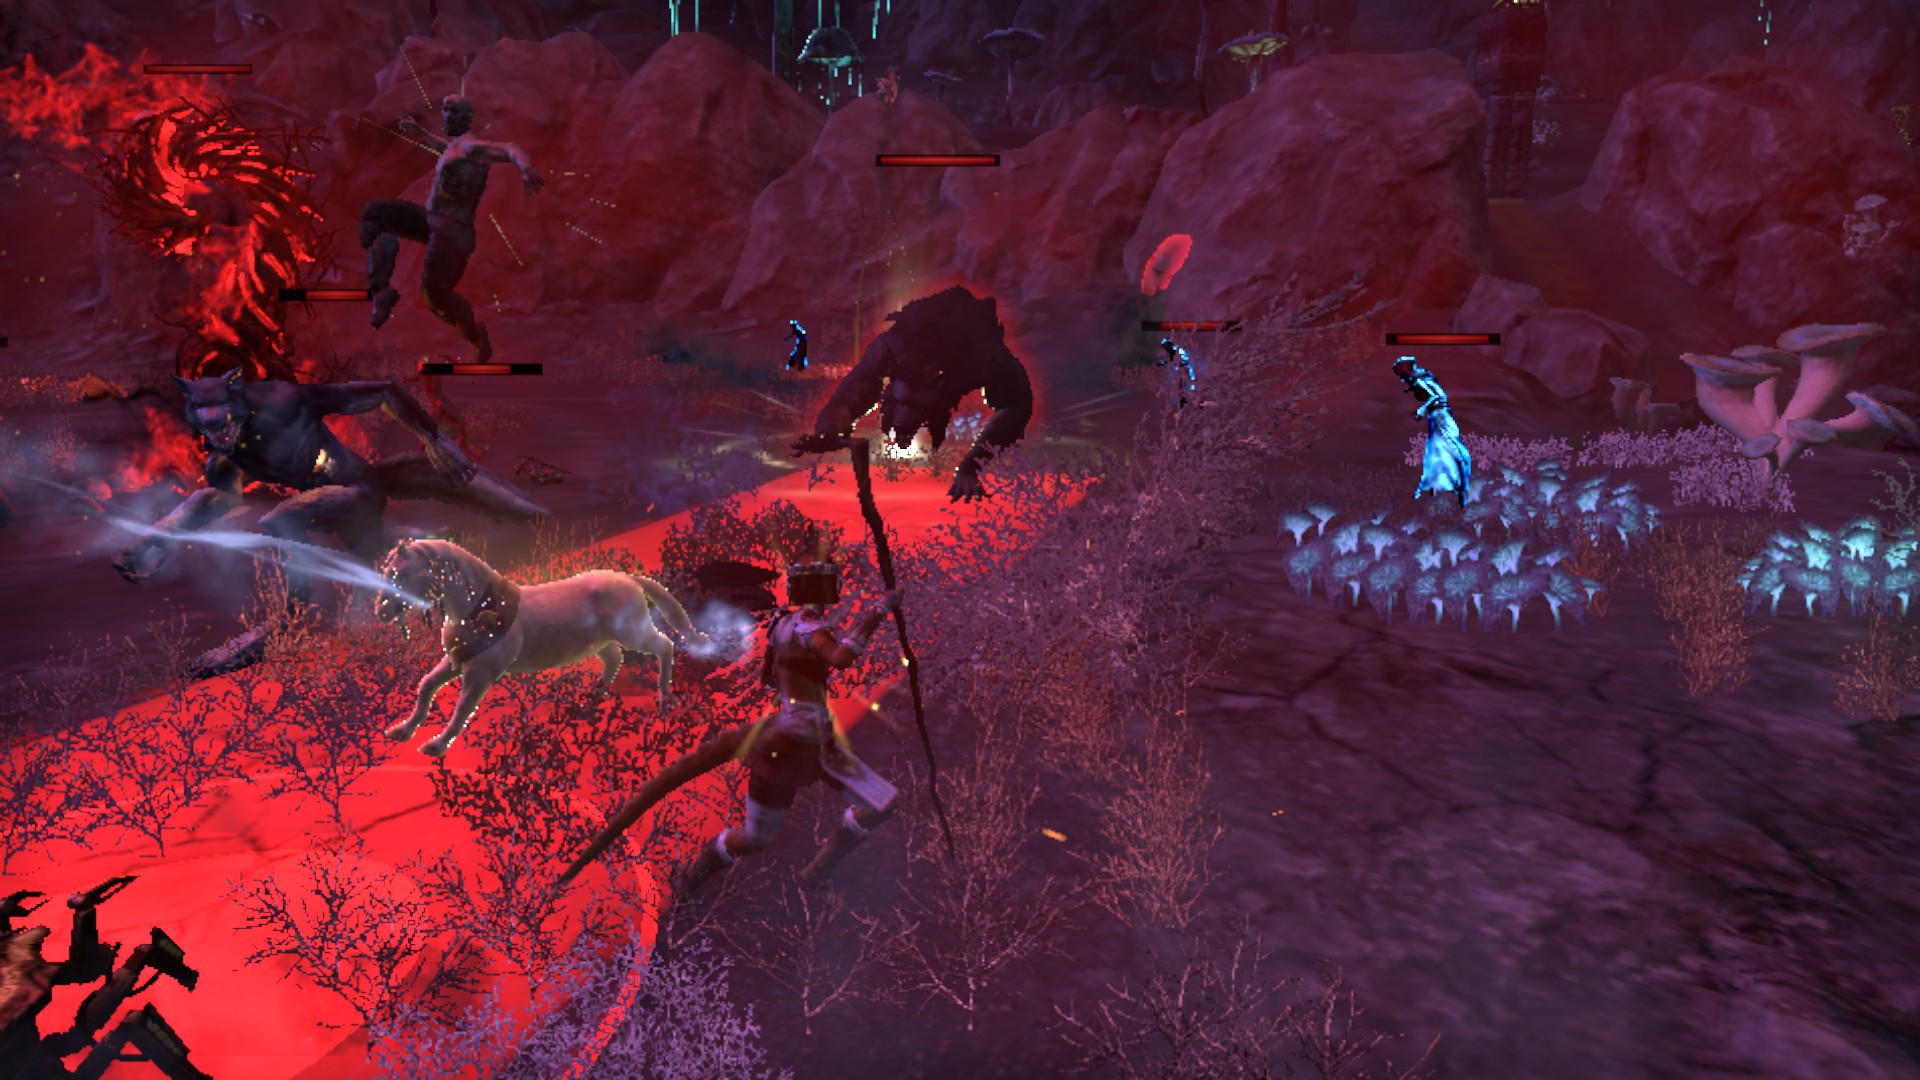
A running charged indicated by a straight red line. It comes out very quickly, so you may not have time to dodge or block. It deals low damage, but it does knock you airborne.
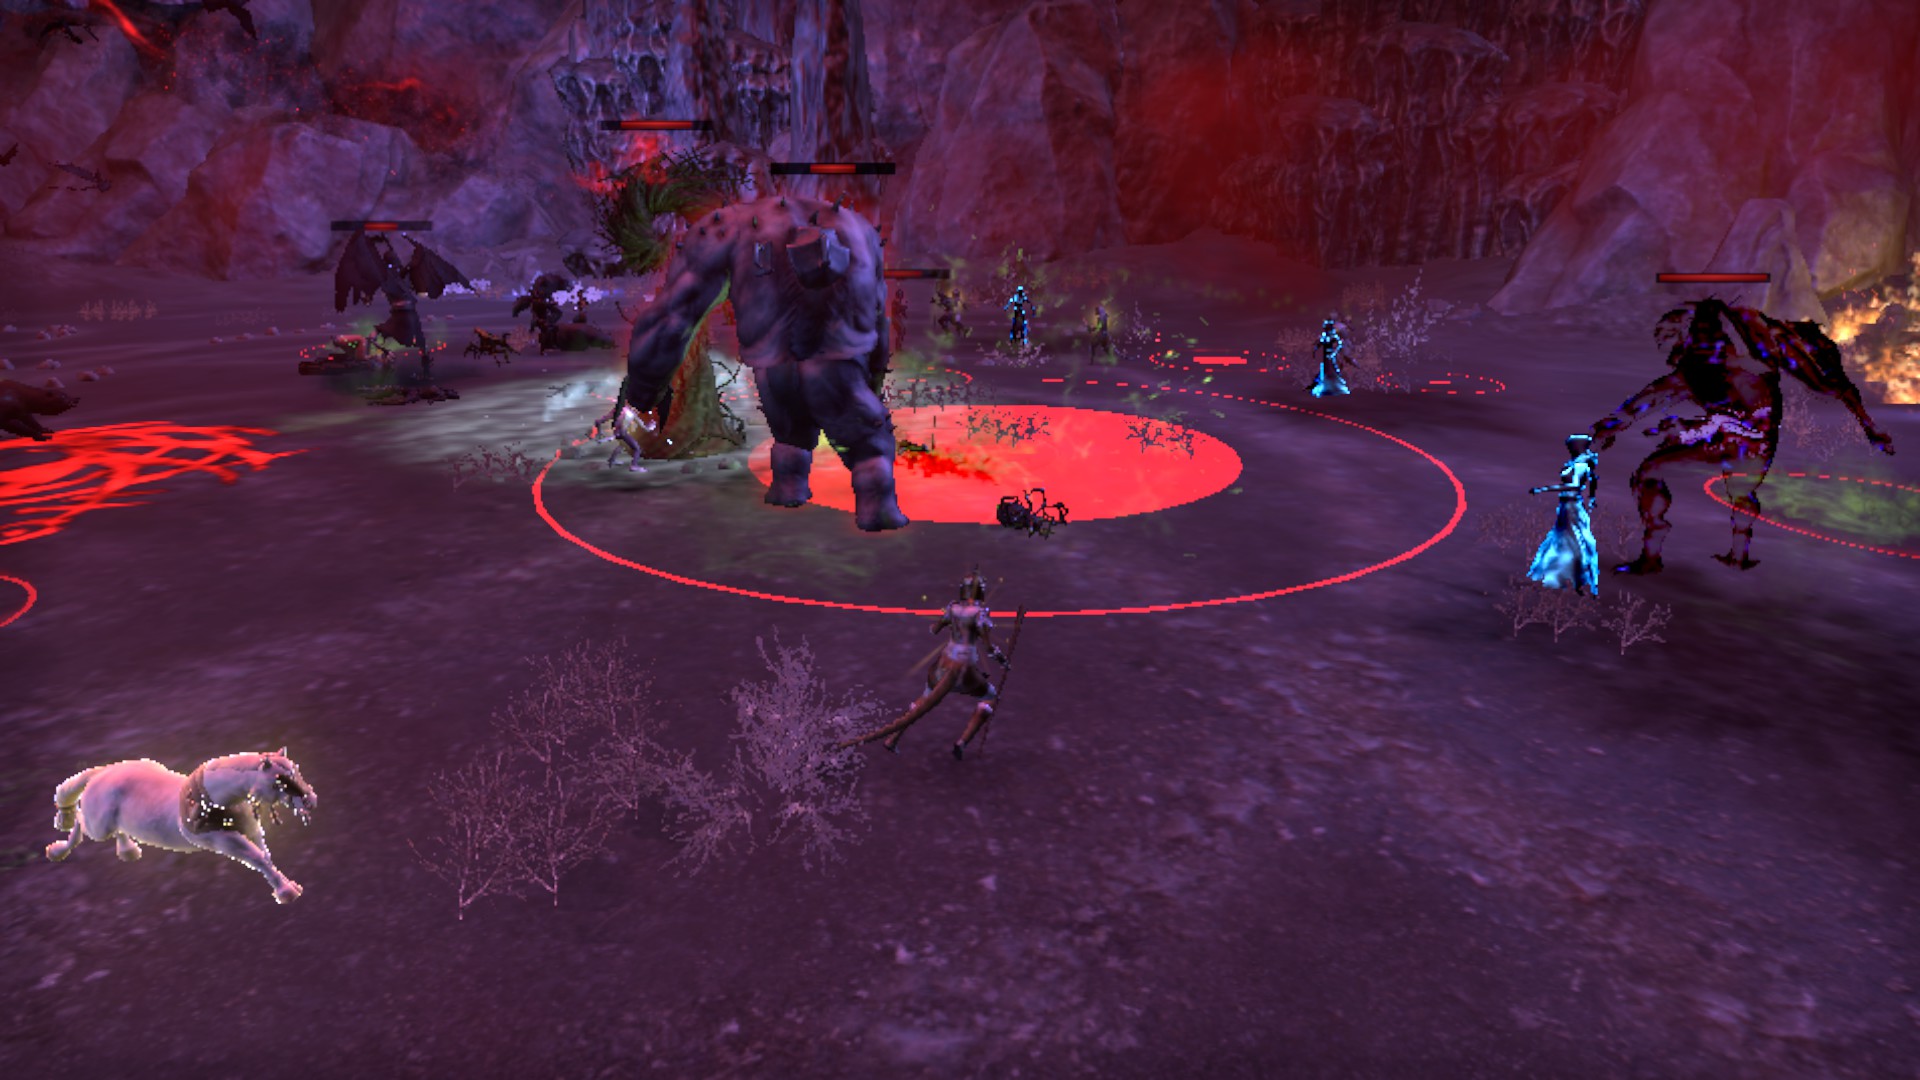
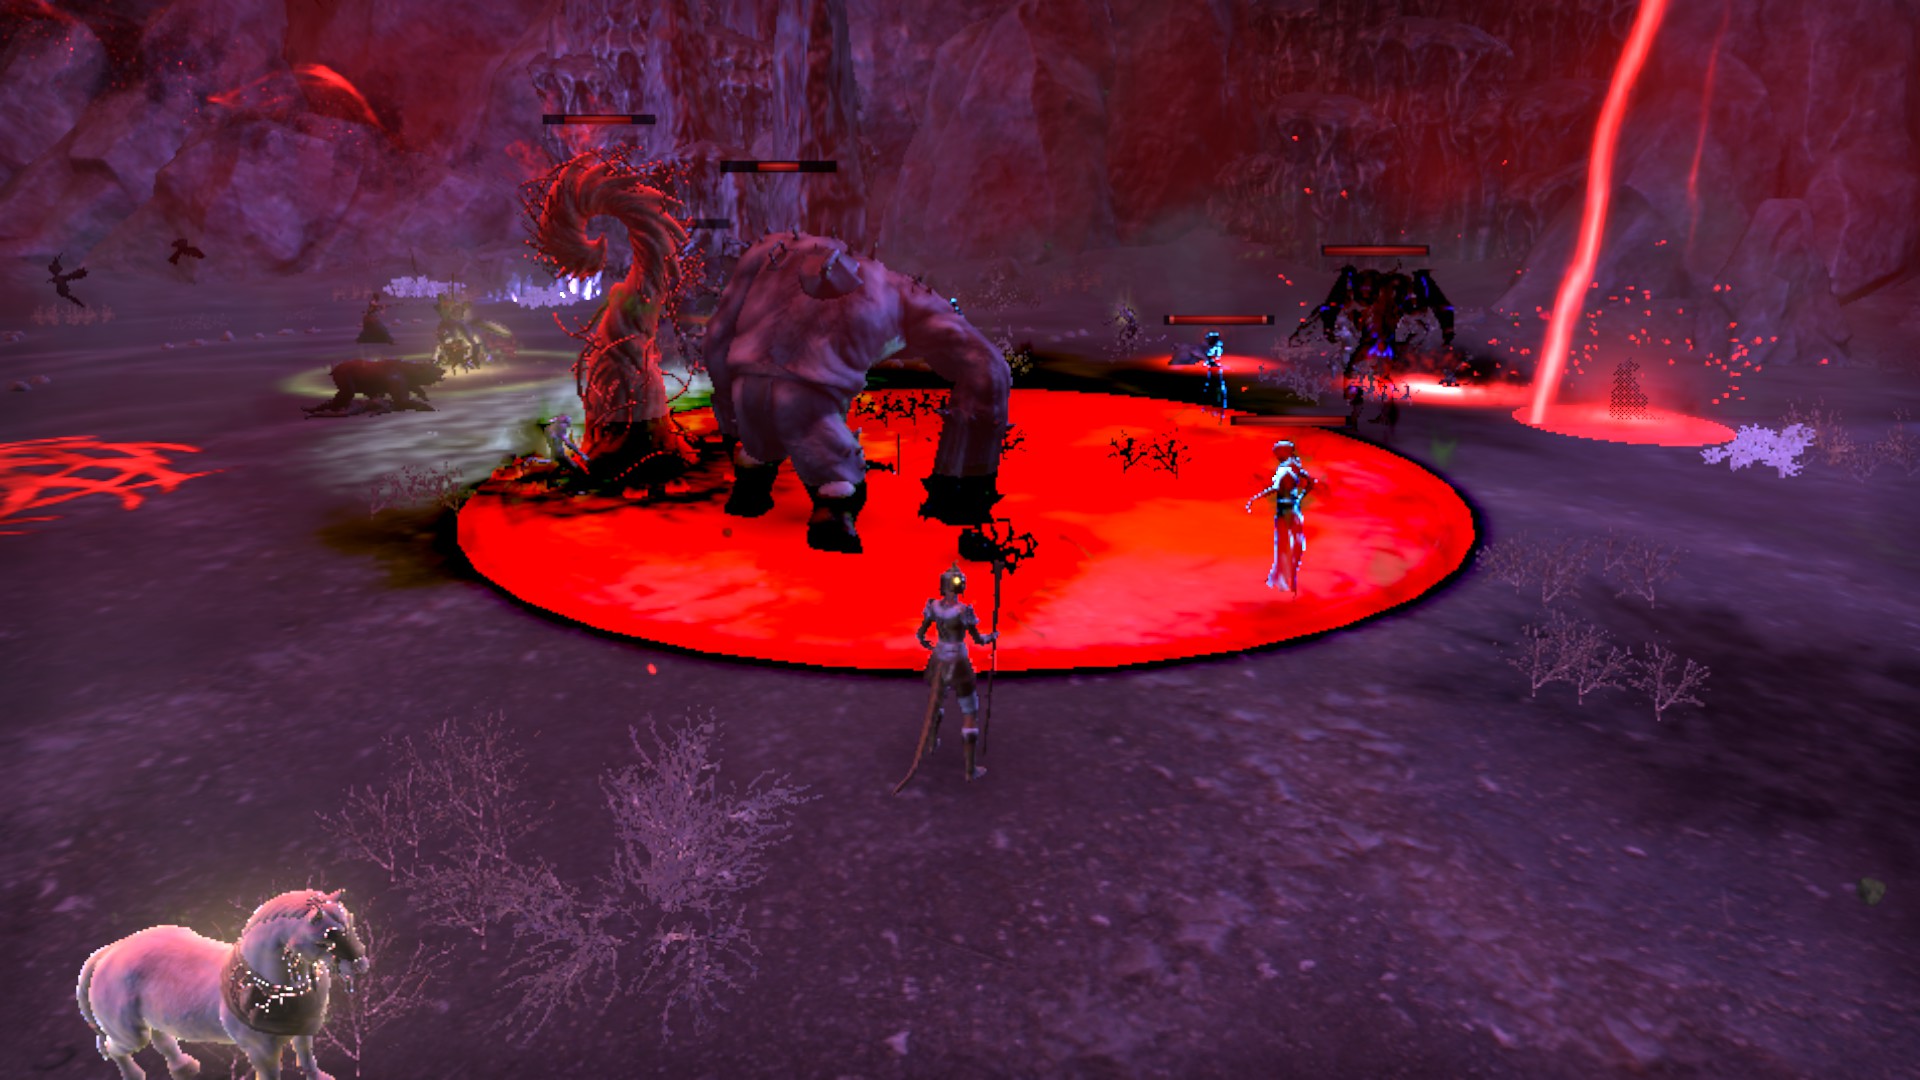
Harrowstorm Abomination
Attacks that the Abomination will do are as follows:
The Abomination slams its hands into the ground and will cause small AOEs to appear. It does quite a good amount of damage if you don't move out of them, but the AOE is very small. However, it causes a large amount of these AOEs so watch where you step.
A large AOE that charges outwards. Once this AOE charges completely, it leaves behind a huge pool of poison that might be an annoyance to melee type characters (though the damage can be outhealed easily). Being in this AOE when it is fully charged will knock you down.
[FINAL BOSSES]
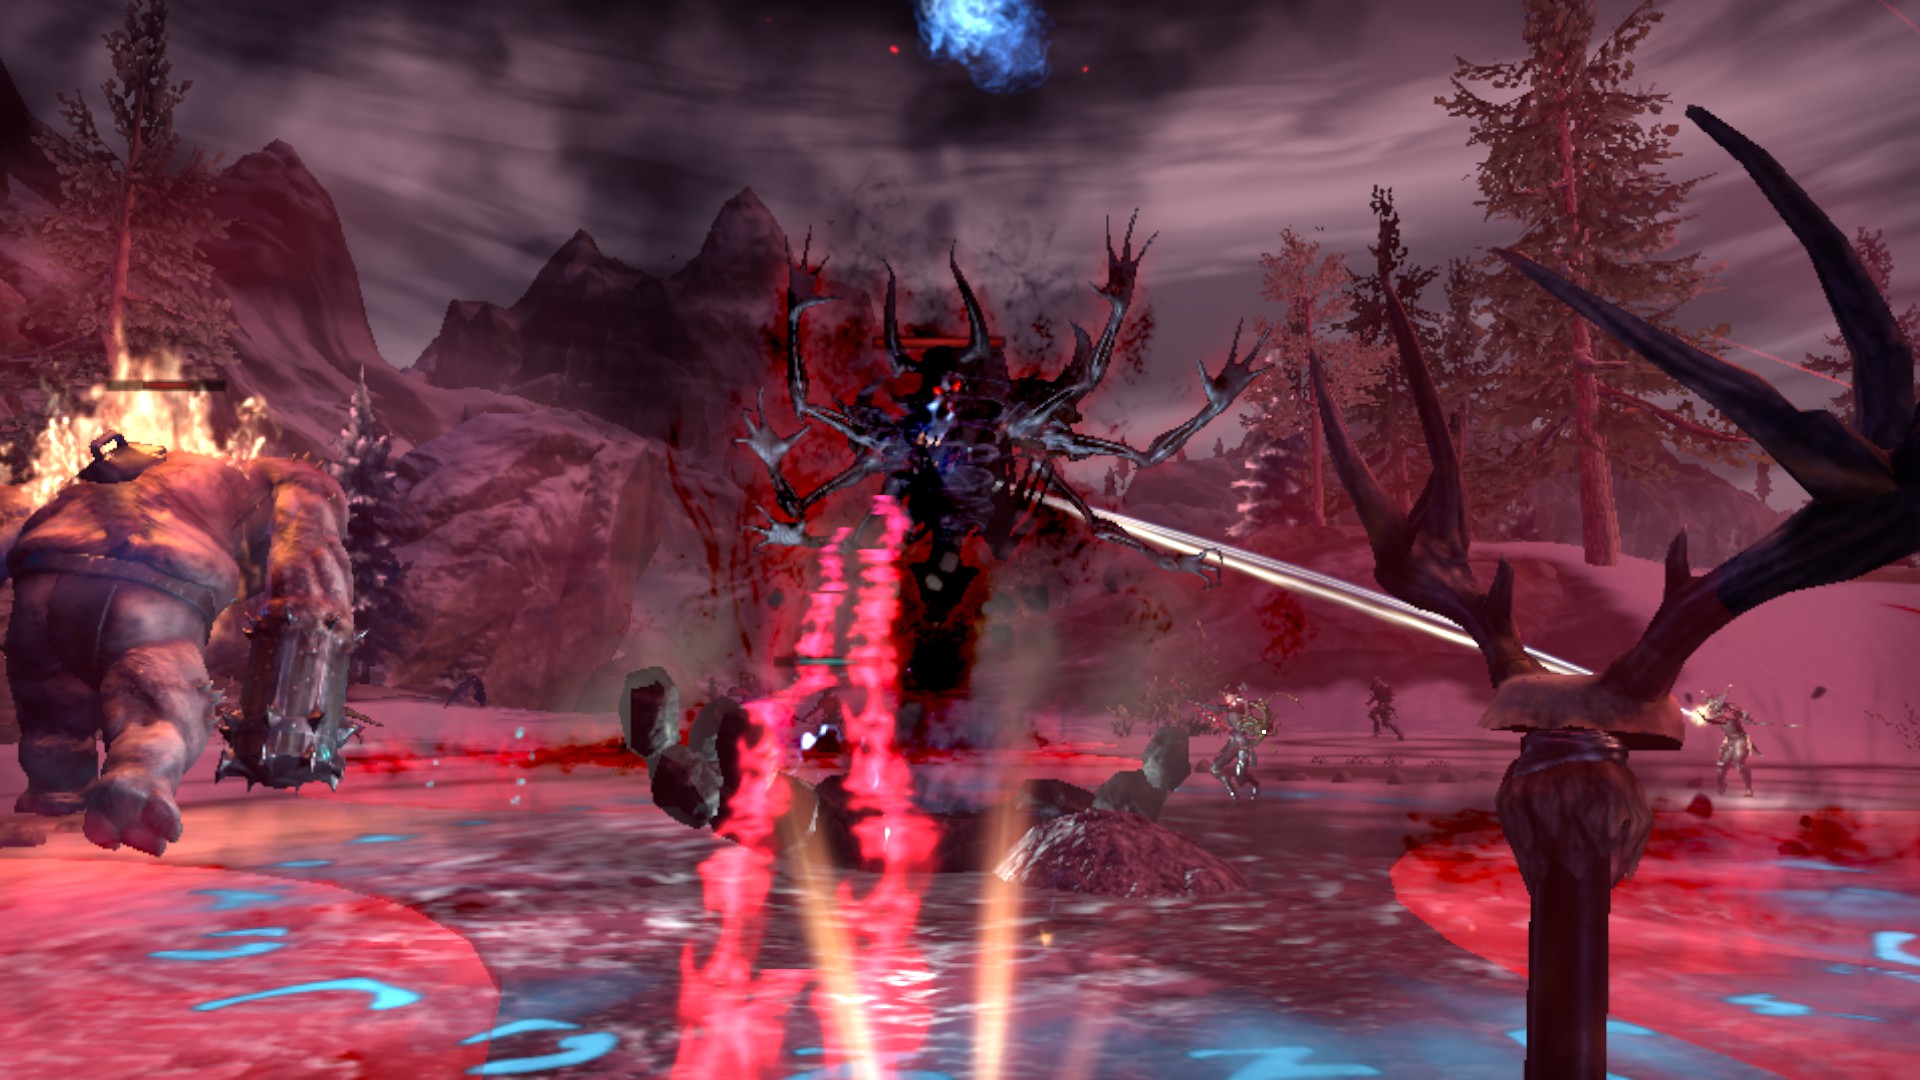
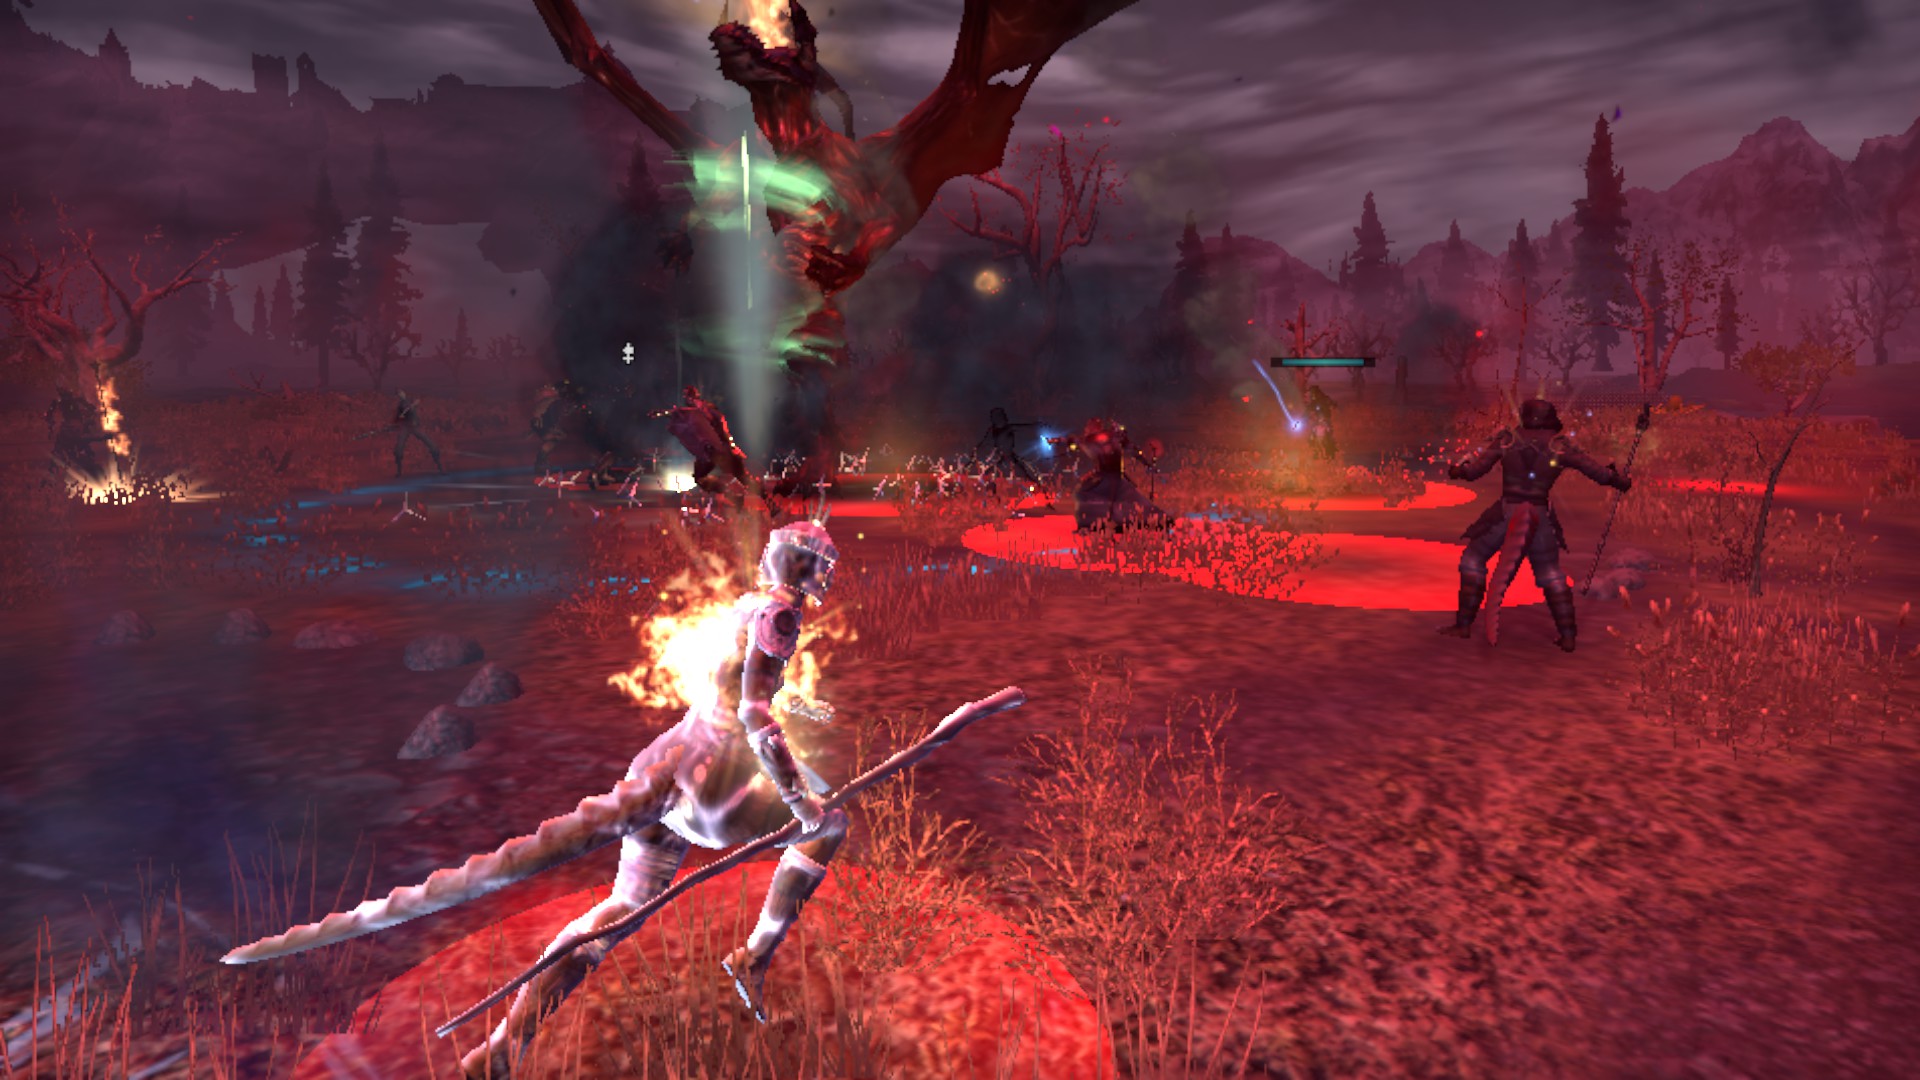
Harrowing Reaper
Attacks to watch out for are as follows:

It will charge up a ball with his hands. It will then do one of two attacks: warp to a player and stunning him, dealing little damage, or it will shoot an AOE onto the floor. This AOE does a lot of damage, and can kill you in just a few ticks, even if you're a tank. If you see him charging up the ball, keep moving and be ready to roll out if you need to. The AOE also summons adds called Haemoglobin that looks like red blobs. Being swarmed by them does cause quite a good amount of damage.
It will do a little spin, which causes anywhere between 1-3 large singularity AOEs to appear (typically 3). These AOEs charge outwards, and if you're caught you will be pulled in. Breaking free as soon as possible lessens the damage, because you might very well die if you get pulled into the centre. Keep watching the floor and keep moving. Your best bet to avoid the singularities is to stick to the boss, as they will always spawn a set distance away from him.
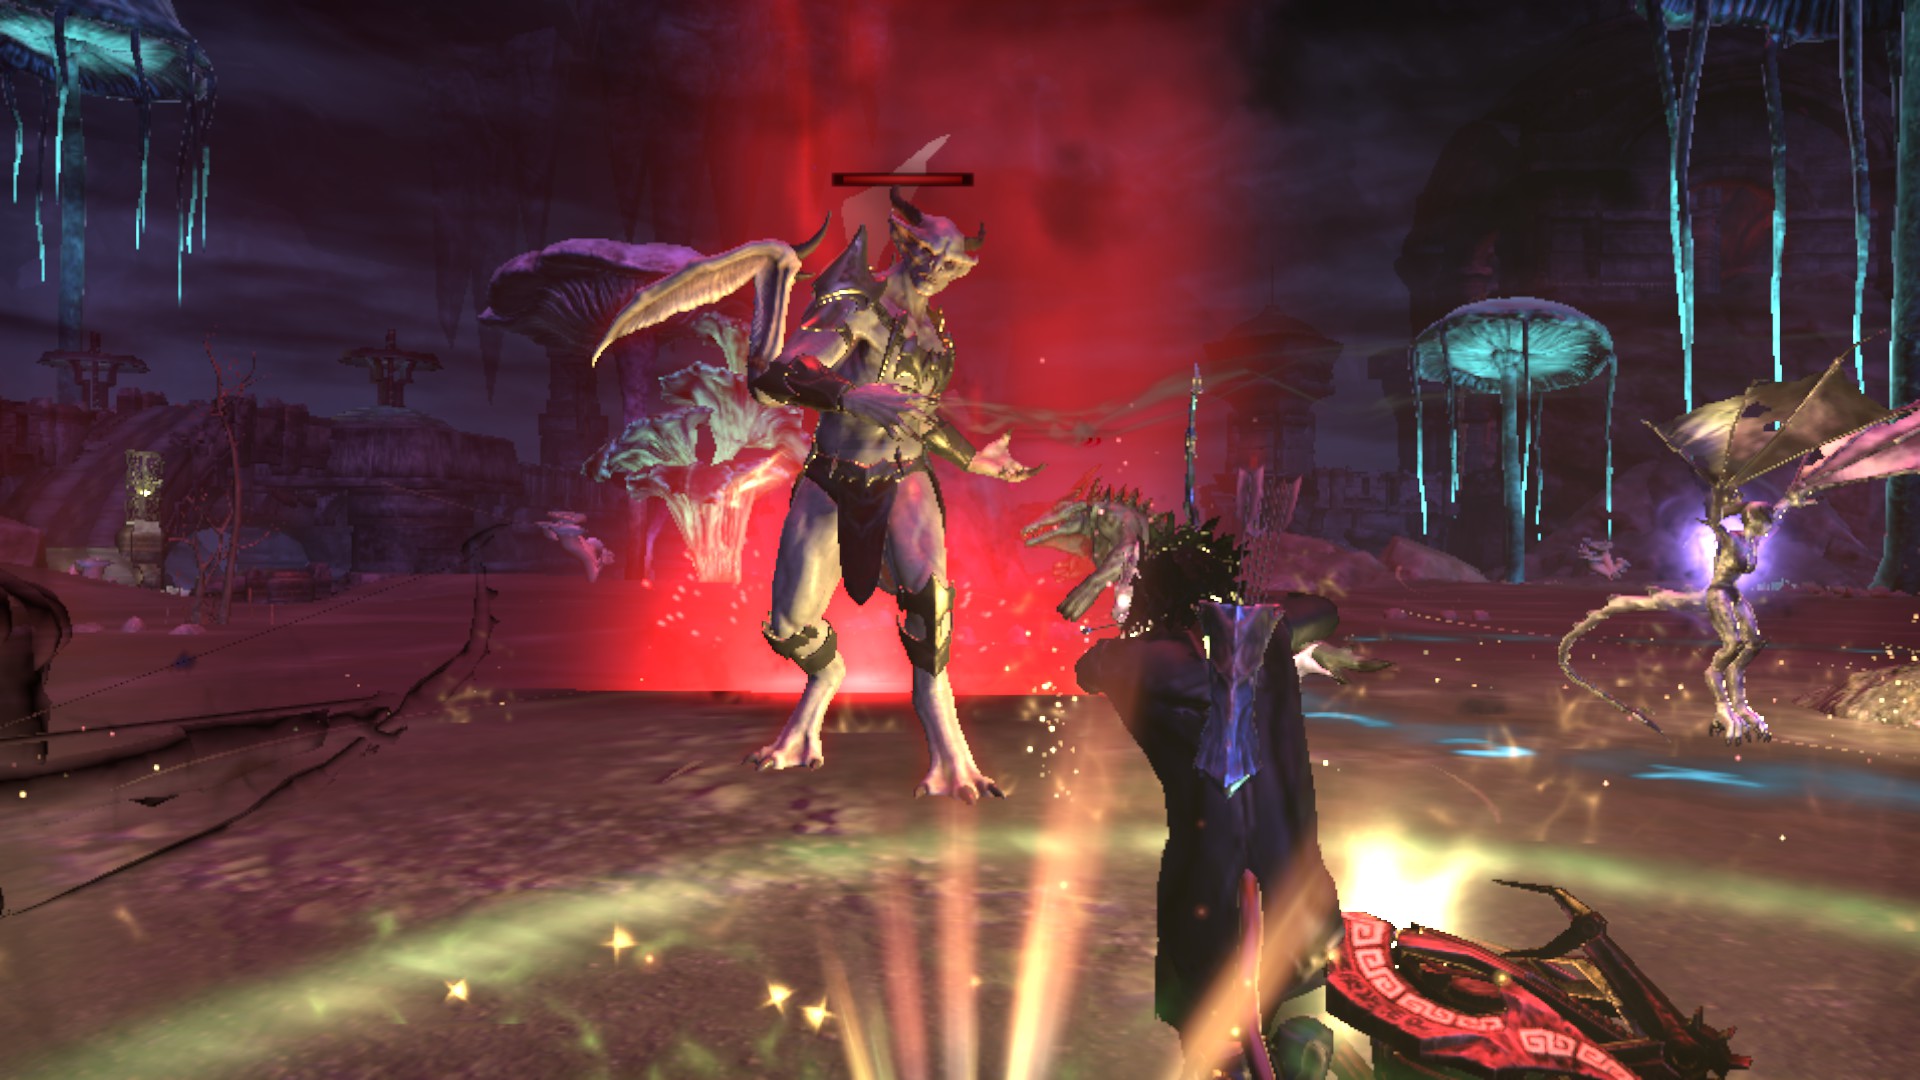
Gray Host Vampire Lord
Attacks to watch out for:
The Vampire Lord will disappear into a swarm of bats. A random player in the Harrowstorm will be feared, and he will be in the centre of an AOE. The affected player can break free to cause the Vampire Lord to reappear. Alternatively, another player can run up to the affected player. While hard to see, you can actually see indicator of a channeled attack (the red lines) next to the affected player. You can bash for the same effect of causing the Vampire Lord to reappear.

The Vampire Lord flies high to the sky on one side, before turning to face the Harrowstorm while hovering. It will then swoop down the centre of the area, while at the same time shooting out AOEs diagonally outwards. Being in the path of the swoop usually results in death (like the dragons of Elsweyr when they do their breath attack while flying overhead). The AOEs do a lot of damage while at the same time slowing you down. You might be able to avoid the AOEs as they have small gaps in between them. Easiest way to do it is to put distance between yourself and the centre of the area.
The Vampire Lord hovers above the ground. You will see it pull back its arms and then throw out red projectiles. It does a lot of damage, and being hit by 2-3 will be enough to kill you. You can block it to reduce damage or quickly heal back up. Alternatively, it can only target players in its FOV, meaning that you will be safe from being targeted from this skill if you are behind the Vampire Lord's back or side (as you can see above, it does not target me).
Other attacks include:
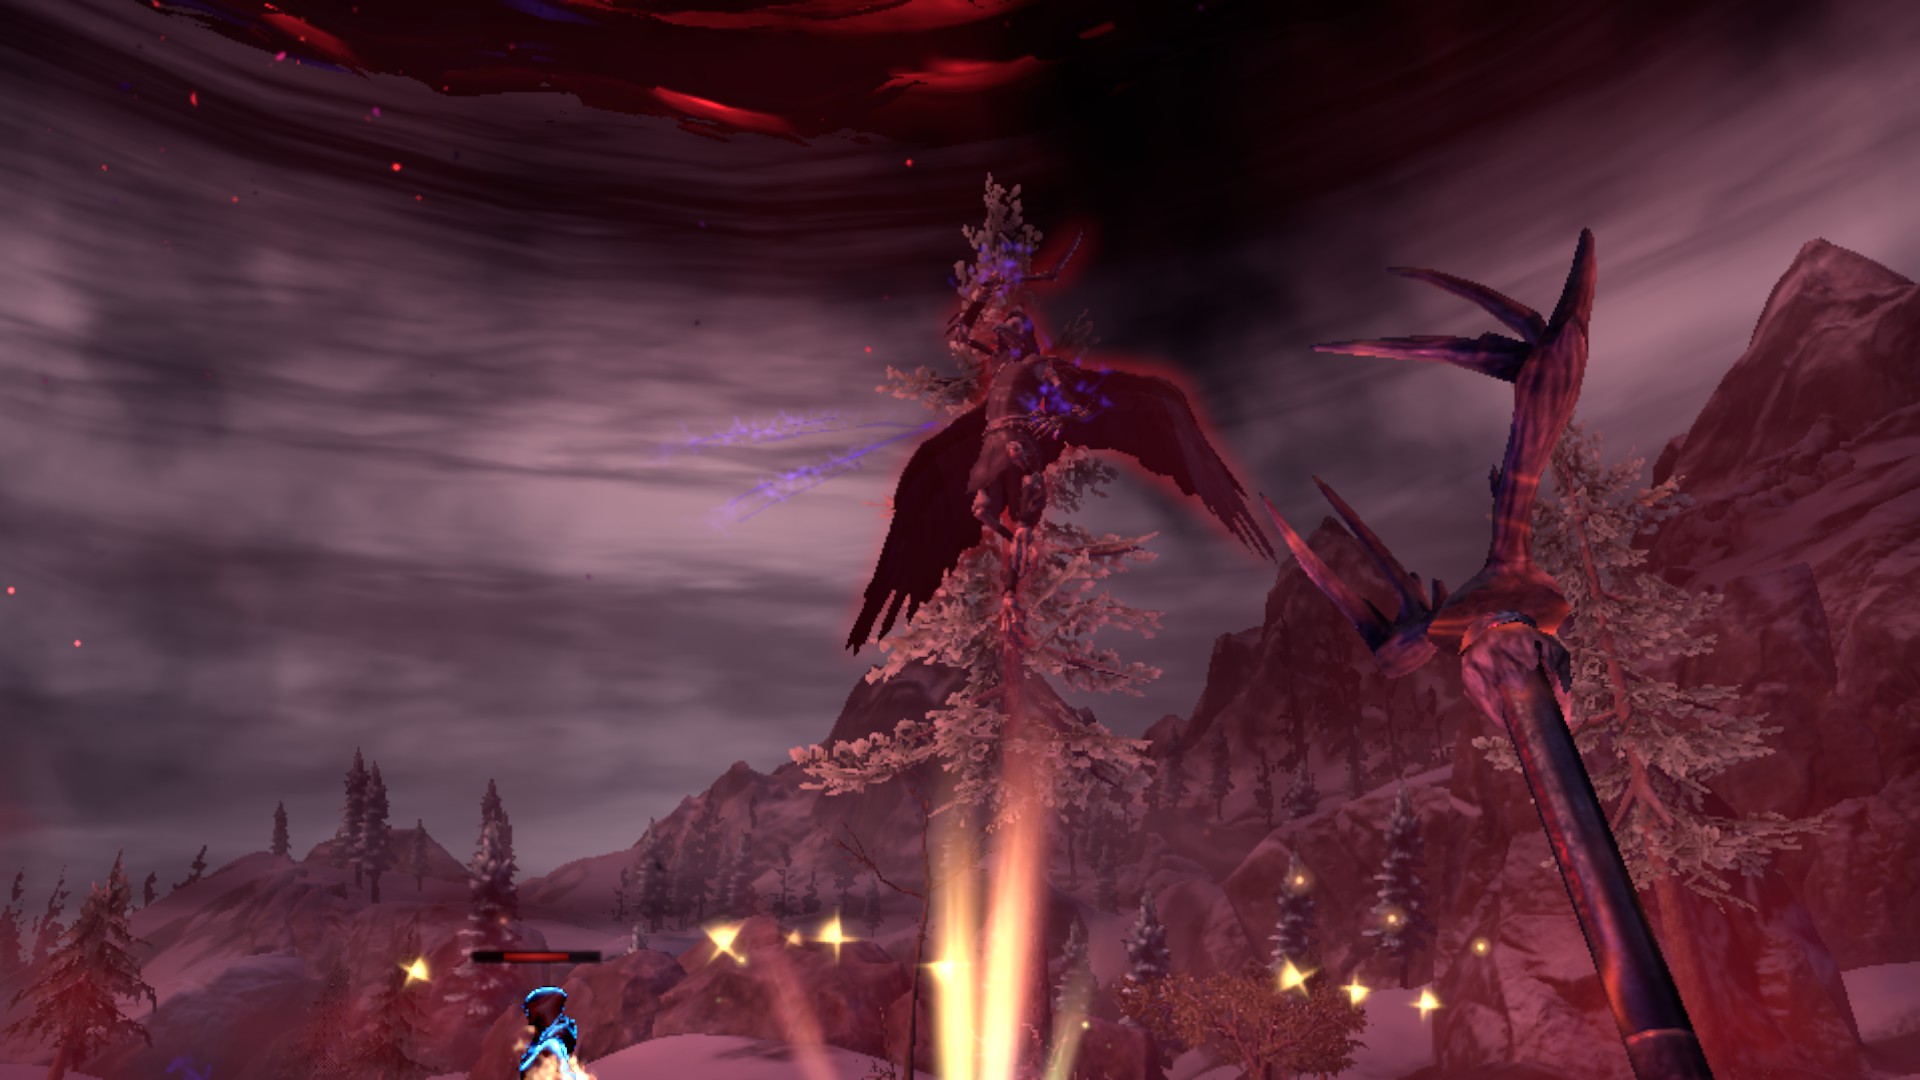
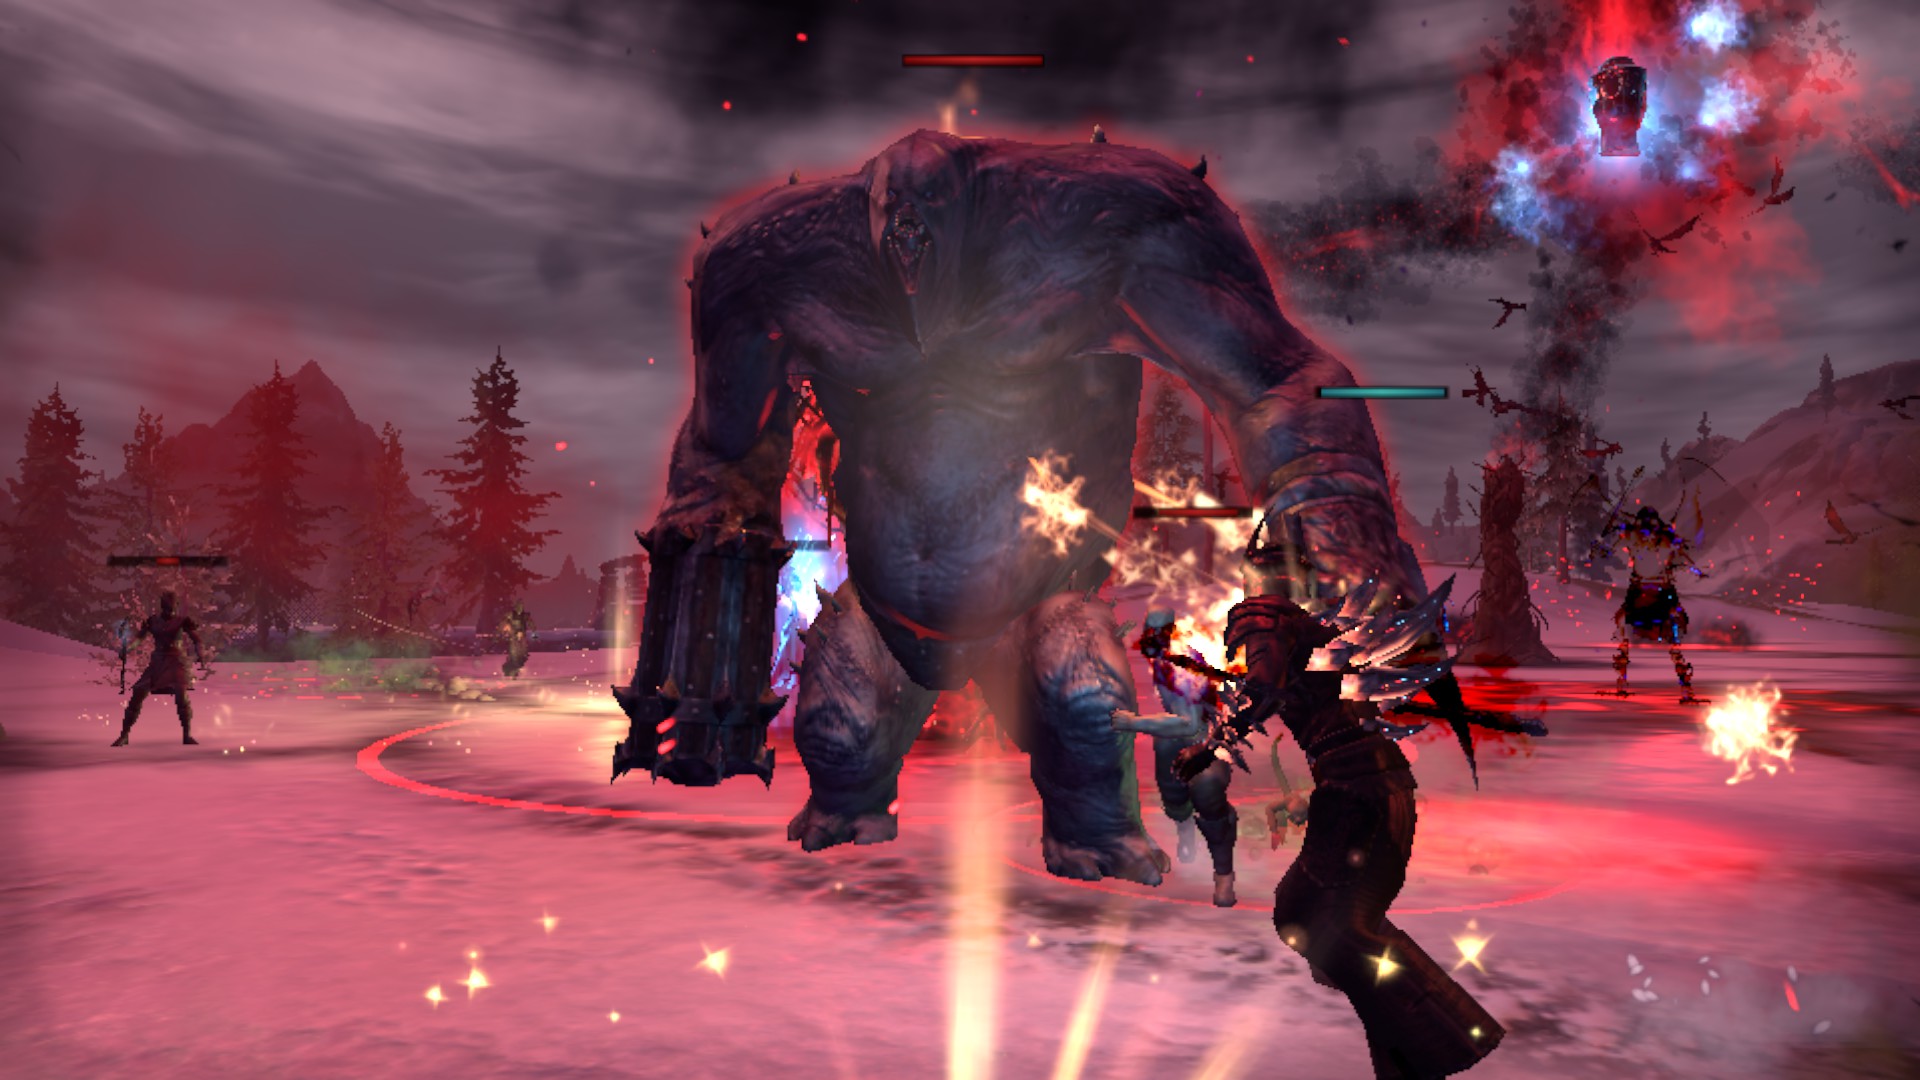
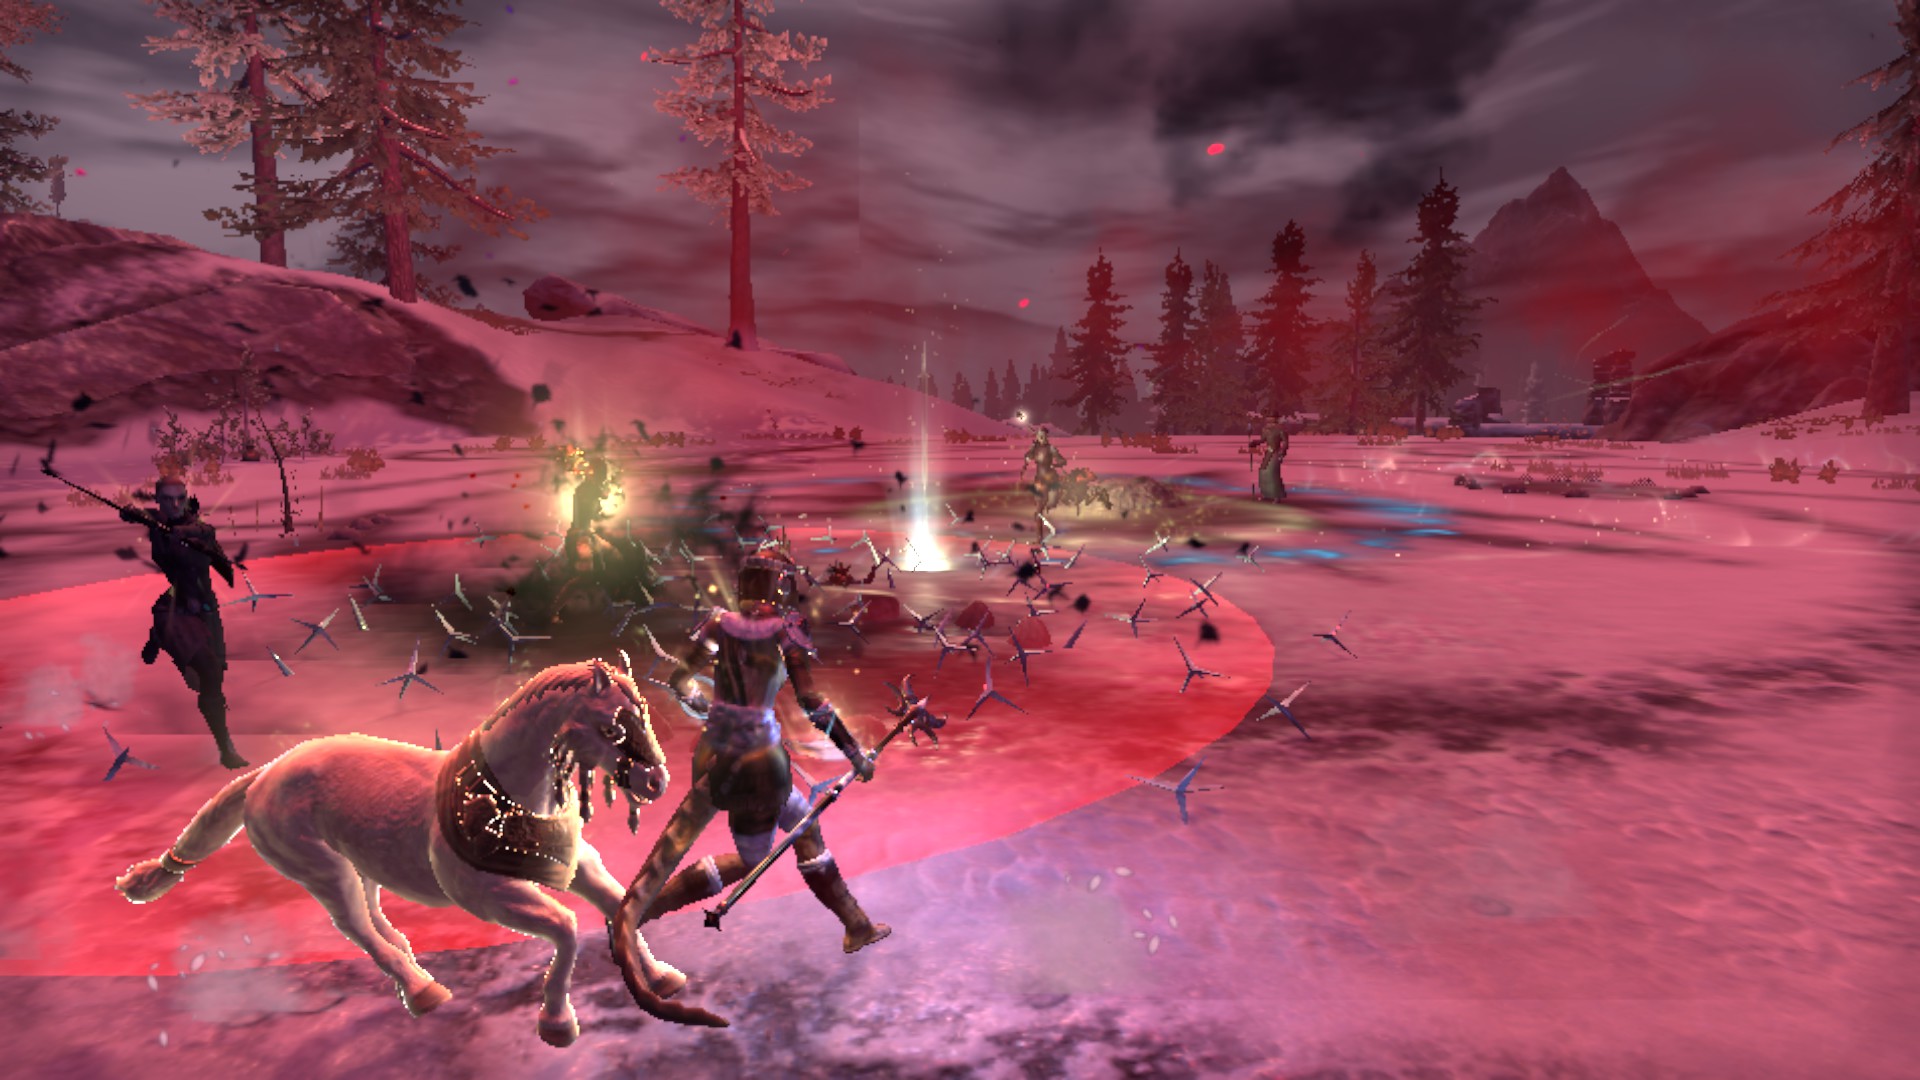
Harrowstorm Titan
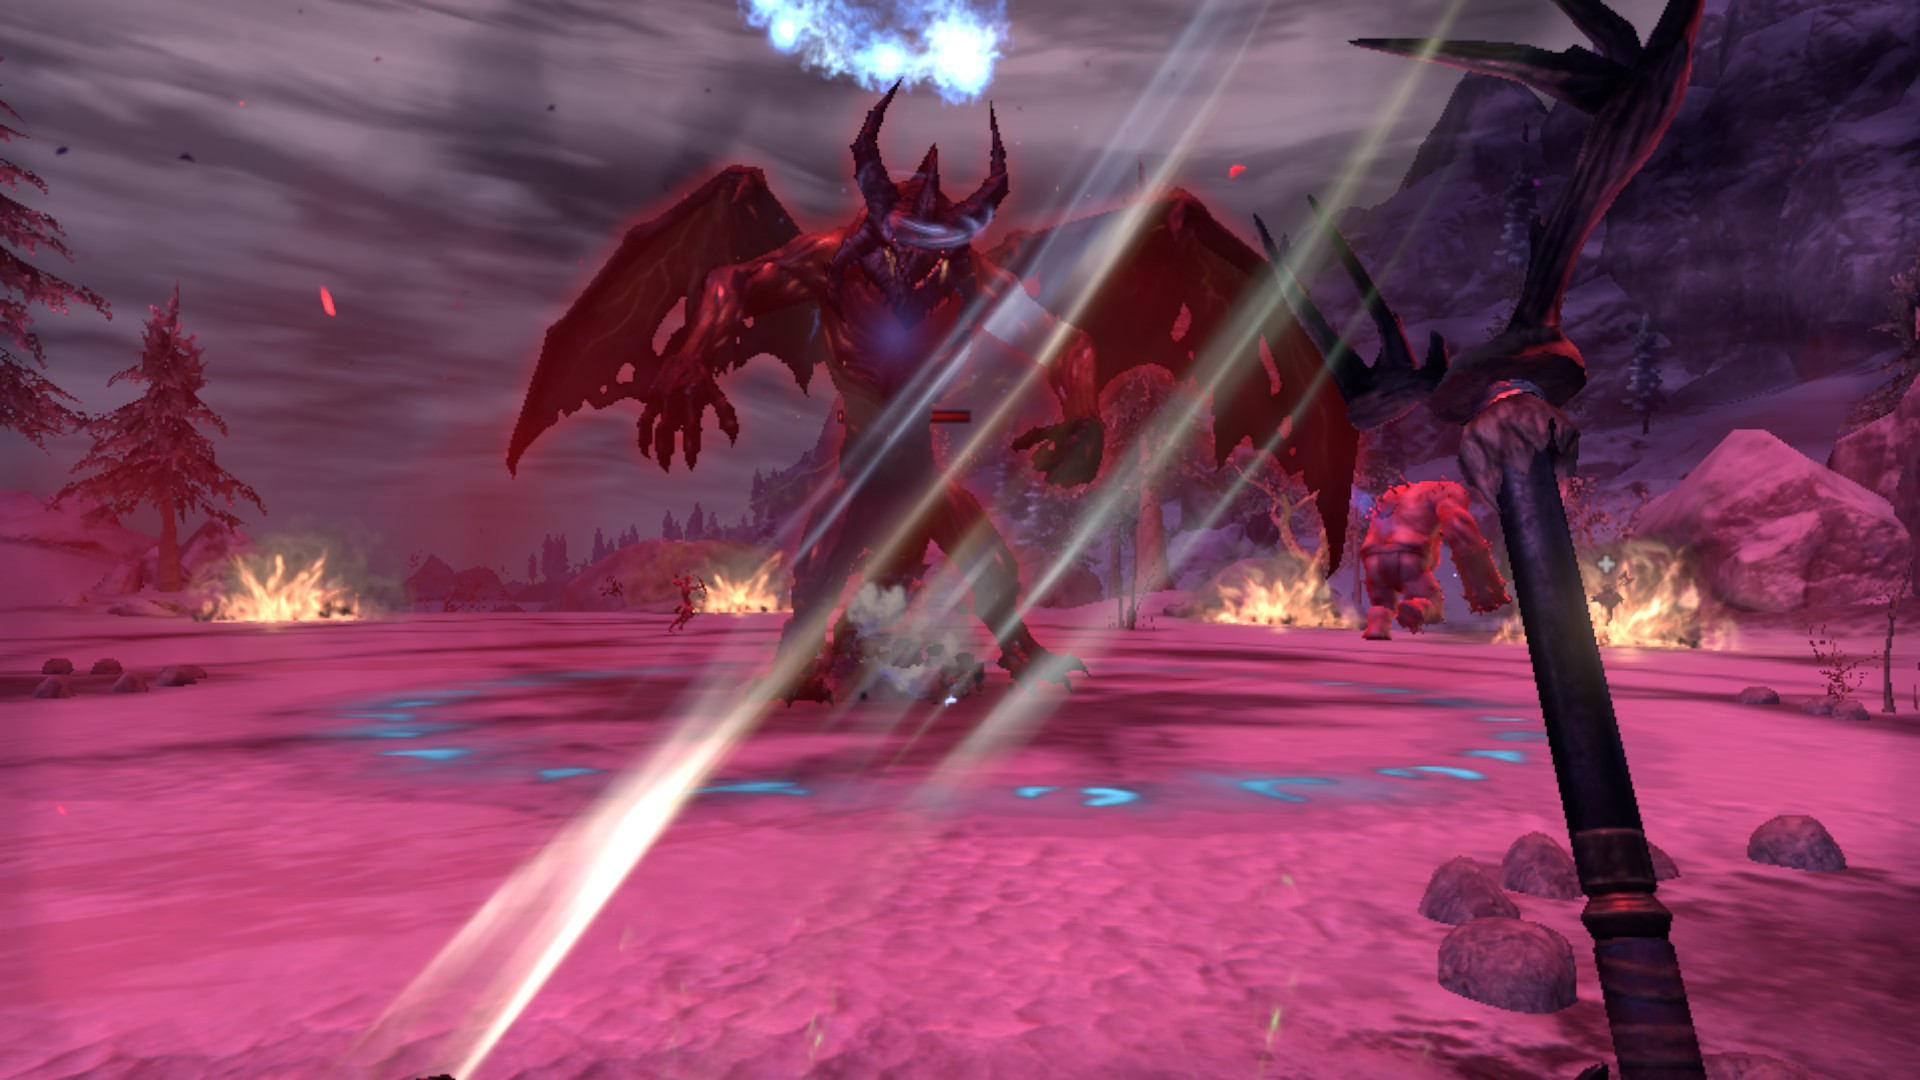
Attacks to watch out for are as follows:
It will look up to the sky. It will either rain down a static flame AOE that doesn't target a player, or a smaller AOE that does. Keep moving during this phase, and if the AOE that targets you is doing fair damage, you can block to reduce the damage you take from this attack.

The Titan will use its wings to knock back all the players in the area. Following this move, the Titan almost always launches out 1-2 fire waves with itself as the centre. Being hit will do a lot of damage and stun you, and if the 2nd wave hits you, you will probably end up dead. If you need to, block the fire and then break free because it does not negate the stun. You should be able to slip past the 2nd wave of fire. However, I would actually recommend that once you get knocked back by the wing flap, put some distance between you and the Titan. You should have little problem sidestepping the waves of fire as they come.
[NOTES]
It used to be that stuns would cause the Lost Souls to be stuck permanently until they despawned and respawned in, whereby a fresh stun applied will cause the same effect to happen. This appeared to be fixed around the time Blackwood was launched.
With the addition of Companions, it would cause a bug whereby the Souls would be stuck in place and seemingly aggroed to your Companion, but again, this was fixed during the July 12/13th patch.
[ACKNOWLEDGEMENTS]
For cross-checking information:
https://en.uesp.net/wiki/Online:Harrowstorms
https://elderscrolls.fandom.com/wiki/Harrowstorms
https://elderscrollsonline.wiki.fextralife.com/Harrowstorm+DLC
Special thanks also to any others whose input might have streamlined my testing and research.
Edited by Danny_Fluke on July 26, 2021 3:46PM With the recent fix(on July 12/13th), mechanics of the Harrowstorm group event in Western Skyrim and the Reach becomes a little more important. Do note that the following information is based on my observations in-game, after which some of the information is cross-checked with other sites. It may differ, but I have tested and researched a lot to reach the following results.
Just a side note, I'm the author of this guide so if it looks near identical, I did not plagiarize from here: https://steamcommunity.com/sharedfiles/filedetails/?id=2170035078 (if it cannot be accessed, it might have been recently edited).
The pictures are a little low resolution, as unfortunately my setup cannot run at higher resolutions.
[HARROWSTORM FLOW]
There will always be a Harrowstorm active at a given point in time; once one goes down, another Harrowstorm will go active after a brief moment. The order of the Harrowstorms are random, and now the active Harrowstorm is denoted by a marker that can be seen on the map, similar to the Dragons of Elsweyr.
The 3 Witch Pikes are your main target. Taking them down causes the Harrowstorm to enter the next phase, which summons one of 3 final bosses (very rarely, this last boss doesn't spawn in, and it skips this phase). Taking down this final boss will end the Harrowstorm, and you will be able to loot the rewards from the ash pile in the centre where the reliquary was. Do note that the lightning might damage you if you get struck, and temporarily put you into combat, making you unable to interact with the ash pile.
There are persistent adds that spawn in, one of which are called Lost Souls, which look like blue ghosts that will keep spawning in and moving towards the Pikes. Each Soul reaching the Pike will heal it, and Pikes will get charged with each Soul. Upon reaching 3 charges, the Pike will release a ball of energy to the central Reliquary. 3 of these instances will cause a Champion/Elite to spawn in. There can be up to 5 Champions active at a given time, before the Reliquary will start to summon more via the same process. You can see the charge status of the Pikes by the glow, and the same goes for the incoming Champion that will be coming in. Hence, stopping these Souls will make it easier for you to tackle a Harrowstorm without fear of the Champions (unless you need that particular achievement or just want the challenge).
Champion with 1 charge. It is very translucent (see-through) and the flowing energy is not very quick.
Champion with 2 charges. It becomes near opaque and the flowing energy is highly visible. The next charge the Reliquary receives will cause this Champion to spawn in.
You should be easily able to kill the Lost Souls with some snares, especially the wider area ones. Then some AOEs on the Witch Pikes should kill the Souls as they draw nearer.
Other random adds will also spawn in periodically in groups. They can include witch cultists (ranged and melee), bloodfiends, dread dogs and werewolves. Most of these adds will be able to slow you down or stun you, which is annoying but otherwise they shouldn't cause too much of an issue.
[PERSISTENT ENEMIES]
Random Adds
- As mentioned, they vary between ranged and melee witch Cultists, werewolves, bloodfiends and dread dogs.
- Spawn in a group of 5-6.
- Typically tend to snare or stun you.
- Ranged cultists damage can cumulatively deal quite a bit of damage to you as they usually spawn 2-3 at one go.
Example of the ranged Cultists that spawn in
Lost Souls
- Has 50k HP
- Does not attack players, and heads straight for the Pikes.
- Each Soul reaching a Pike heals it for roughly 4% of its max HP (around 72k HP).
- Ties directly into the mechanics of spawning in extra Champions.
- Respawns in 8-15 seconds after the last Soul of the wave is killed / despawned upon reaching the Pikes.
- It takes about 10 seconds for the first Soul of the wave to reach a Pike, and anywhere up to about 20 seconds for the last one.
Witch Pikes
- Has 1.8 million HP.
- Each Lost Soul reaching heals it for 4% max HP / 72k HP.
- Charges up the central reliquary for the Champion spawning process (applies to all Pikes still standing, charge status can be seen by the red glowing effect).
- Does not attack players.
Witch Pike without a charge
Witch Pike with 1 charge
Witch Pike with 2 charges
Witch Pike at (max) 3 charges. The AOE you see is the Pike preparing to release the Souls to the central Reliquary for the summoning process.
[CHAMPION SPAWNS]
Harrowstorm Shrike
- Has 1.3 mil HP.
- Considerably the most dangerous of the bunch.
Attacks to watch out for are as follows:
It starts hovering above the ground and waves its scythe about. It shoots out AOEs at players which does quite a good amount of damage. Your best bet would be not to stop moving, which usually results in avoiding the AOEs.
Gray Host Bloodknight
- Has 1.4 mil HP.
- The next most dangerous of the whole group, if you're not paying attention.
Attacks to look out for are as follows:
Harrowstorm Gargoyle
- Has 1.5 mil HP.
- Doesn't have very dangerous attacks.
Attacks that it will do are as follows:
- Heavy attack (block or dodge as with any other heavy attack)
- Forward flame wave attack (does low-moderate damage)
- Ranged pounce. This attack stuns so just remember to break free.
Gray Host Wolflord
- Has 1.7 mil HP.
- Has many attacks that causes CC effects, but should not be otherwise outright lethal.
Attacks made by the Wolflord are as follows:
A ground smash AOE indicated with the Wolflord in the centre and fills outwards. Being in the AOE when it charges up results in you getting knocked down.
A ground stomp causing small tremors to radiate outwards from the Wolflord. Doesn't deal much damage, but it causes you to be knocked back.
A freeze breath indicated by a conal AOE that charges outwards. Being in this AOE when it is fully charged causes you to be stunned, so you will need to break free.
A running charged indicated by a straight red line. It comes out very quickly, so you may not have time to dodge or block. It deals low damage, but it does knock you airborne.
Harrowstorm Abomination
- Has 2 mil HP.
- Tends to use AOE type attacks.
Attacks that the Abomination will do are as follows:
The Abomination slams its hands into the ground and will cause small AOEs to appear. It does quite a good amount of damage if you don't move out of them, but the AOE is very small. However, it causes a large amount of these AOEs so watch where you step.
A large AOE that charges outwards. Once this AOE charges completely, it leaves behind a huge pool of poison that might be an annoyance to melee type characters (though the damage can be outhealed easily). Being in this AOE when it is fully charged will knock you down.
[FINAL BOSSES]
Harrowing Reaper
- Has 3mil HP.
- Watch the floor and his hands!
Attacks to watch out for are as follows:
It will charge up a ball with his hands. It will then do one of two attacks: warp to a player and stunning him, dealing little damage, or it will shoot an AOE onto the floor. This AOE does a lot of damage, and can kill you in just a few ticks, even if you're a tank. If you see him charging up the ball, keep moving and be ready to roll out if you need to. The AOE also summons adds called Haemoglobin that looks like red blobs. Being swarmed by them does cause quite a good amount of damage.
It will do a little spin, which causes anywhere between 1-3 large singularity AOEs to appear (typically 3). These AOEs charge outwards, and if you're caught you will be pulled in. Breaking free as soon as possible lessens the damage, because you might very well die if you get pulled into the centre. Keep watching the floor and keep moving. Your best bet to avoid the singularities is to stick to the boss, as they will always spawn a set distance away from him.
Gray Host Vampire Lord
- Has 3.2 mil HP.
- Tendency to reposition himself rapidly.
- Melee attacks deal damage in a cone in front of him. Tanks holding aggro should face him away. If you are not a tank and you have aggro, if a healer is available they should be able to outheal the damage he does. Kiting around him endangers others because of this cleave damage.
Attacks to watch out for:
The Vampire Lord will disappear into a swarm of bats. A random player in the Harrowstorm will be feared, and he will be in the centre of an AOE. The affected player can break free to cause the Vampire Lord to reappear. Alternatively, another player can run up to the affected player. While hard to see, you can actually see indicator of a channeled attack (the red lines) next to the affected player. You can bash for the same effect of causing the Vampire Lord to reappear.
The Vampire Lord flies high to the sky on one side, before turning to face the Harrowstorm while hovering. It will then swoop down the centre of the area, while at the same time shooting out AOEs diagonally outwards. Being in the path of the swoop usually results in death (like the dragons of Elsweyr when they do their breath attack while flying overhead). The AOEs do a lot of damage while at the same time slowing you down. You might be able to avoid the AOEs as they have small gaps in between them. Easiest way to do it is to put distance between yourself and the centre of the area.
The Vampire Lord hovers above the ground. You will see it pull back its arms and then throw out red projectiles. It does a lot of damage, and being hit by 2-3 will be enough to kill you. You can block it to reduce damage or quickly heal back up. Alternatively, it can only target players in its FOV, meaning that you will be safe from being targeted from this skill if you are behind the Vampire Lord's back or side (as you can see above, it does not target me).
Other attacks include:
- An AOE will appear on a player that charges outwards. Once it is filled, the Vampire Lord instantly dashes to it, knocking players airborne and dealing damage. He might follow up with the same attack, but it gets dangerous if he doesn't and goes to melee you before you recover.
- The Vampire Lord flies above the area. It will circle the area and shoot down some small AOEs that slow you down. It doesn't deal that much damage so just move out and don't walk back inside.
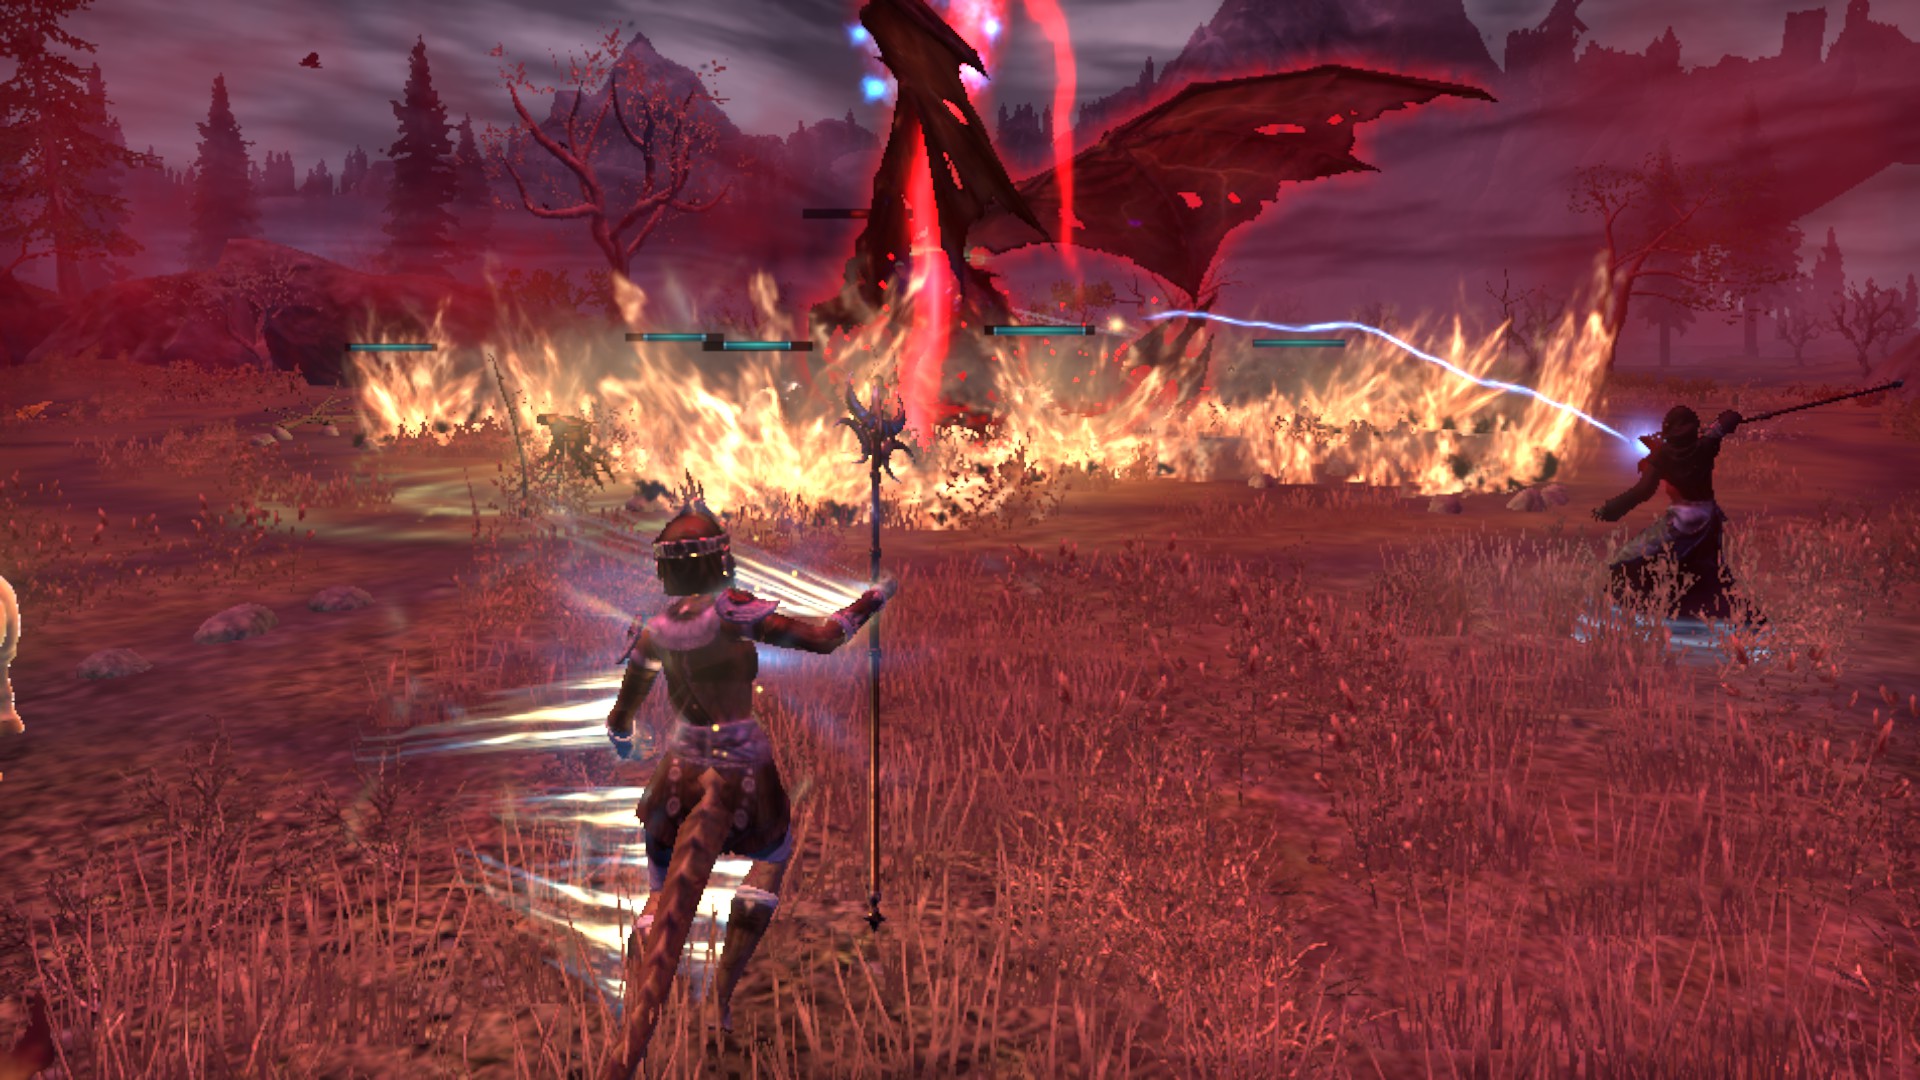
Harrowstorm Titan
- Has 3.5 mil HP
- Attacks deal quite a lot of damage, and are mostly AOE.
Attacks to watch out for are as follows:
It will look up to the sky. It will either rain down a static flame AOE that doesn't target a player, or a smaller AOE that does. Keep moving during this phase, and if the AOE that targets you is doing fair damage, you can block to reduce the damage you take from this attack.
The Titan will use its wings to knock back all the players in the area. Following this move, the Titan almost always launches out 1-2 fire waves with itself as the centre. Being hit will do a lot of damage and stun you, and if the 2nd wave hits you, you will probably end up dead. If you need to, block the fire and then break free because it does not negate the stun. You should be able to slip past the 2nd wave of fire. However, I would actually recommend that once you get knocked back by the wing flap, put some distance between you and the Titan. You should have little problem sidestepping the waves of fire as they come.
[NOTES]
It used to be that stuns would cause the Lost Souls to be stuck permanently until they despawned and respawned in, whereby a fresh stun applied will cause the same effect to happen. This appeared to be fixed around the time Blackwood was launched.
With the addition of Companions, it would cause a bug whereby the Souls would be stuck in place and seemingly aggroed to your Companion, but again, this was fixed during the July 12/13th patch.
[ACKNOWLEDGEMENTS]
For cross-checking information:
https://en.uesp.net/wiki/Online:Harrowstorms
https://elderscrolls.fandom.com/wiki/Harrowstorms
https://elderscrollsonline.wiki.fextralife.com/Harrowstorm+DLC
Special thanks also to any others whose input might have streamlined my testing and research.
0